
 تويت
تويت
Mastering Flash Photography for Macro and Close-Up Photos
إتقان تصوير الفلاش لصور الماكرو والتصوير القريب
It’s challenging to photograph subjects that are extremely close to the camera lens, particularly when it comes to flash photography and lighting. For some lenses, the effective working distance is practically zero when trying to shoot at maximum magnification. It becomes difficult to achieve soft, even lighting while avoiding unwanted shadows. Luckily, there are still several ways photographers can cast high-quality light on a close subject – even if it’s almost touching the lens!
يُعدّ تصوير الأجسام القريبة جدًا من عدسة الكاميرا أمرًا صعبًا، خاصةً عند استخدام الفلاش والإضاءة. فبالنسبة لبعض العدسات، تكون مسافة العمل الفعلية صفرًا تقريبًا عند محاولة التصوير بأقصى تكبير. ويُصبح من الصعب الحصول على إضاءة ناعمة ومتساوية مع تجنب الظلال غير المرغوب فيها. ولحسن الحظ، لا تزال هناك طرق عديدة تُمكّن المصورين من تسليط إضاءة عالية الجودة على جسم قريب - حتى لو كان يكاد يلامس العدسة!
 Voila, exquisite!
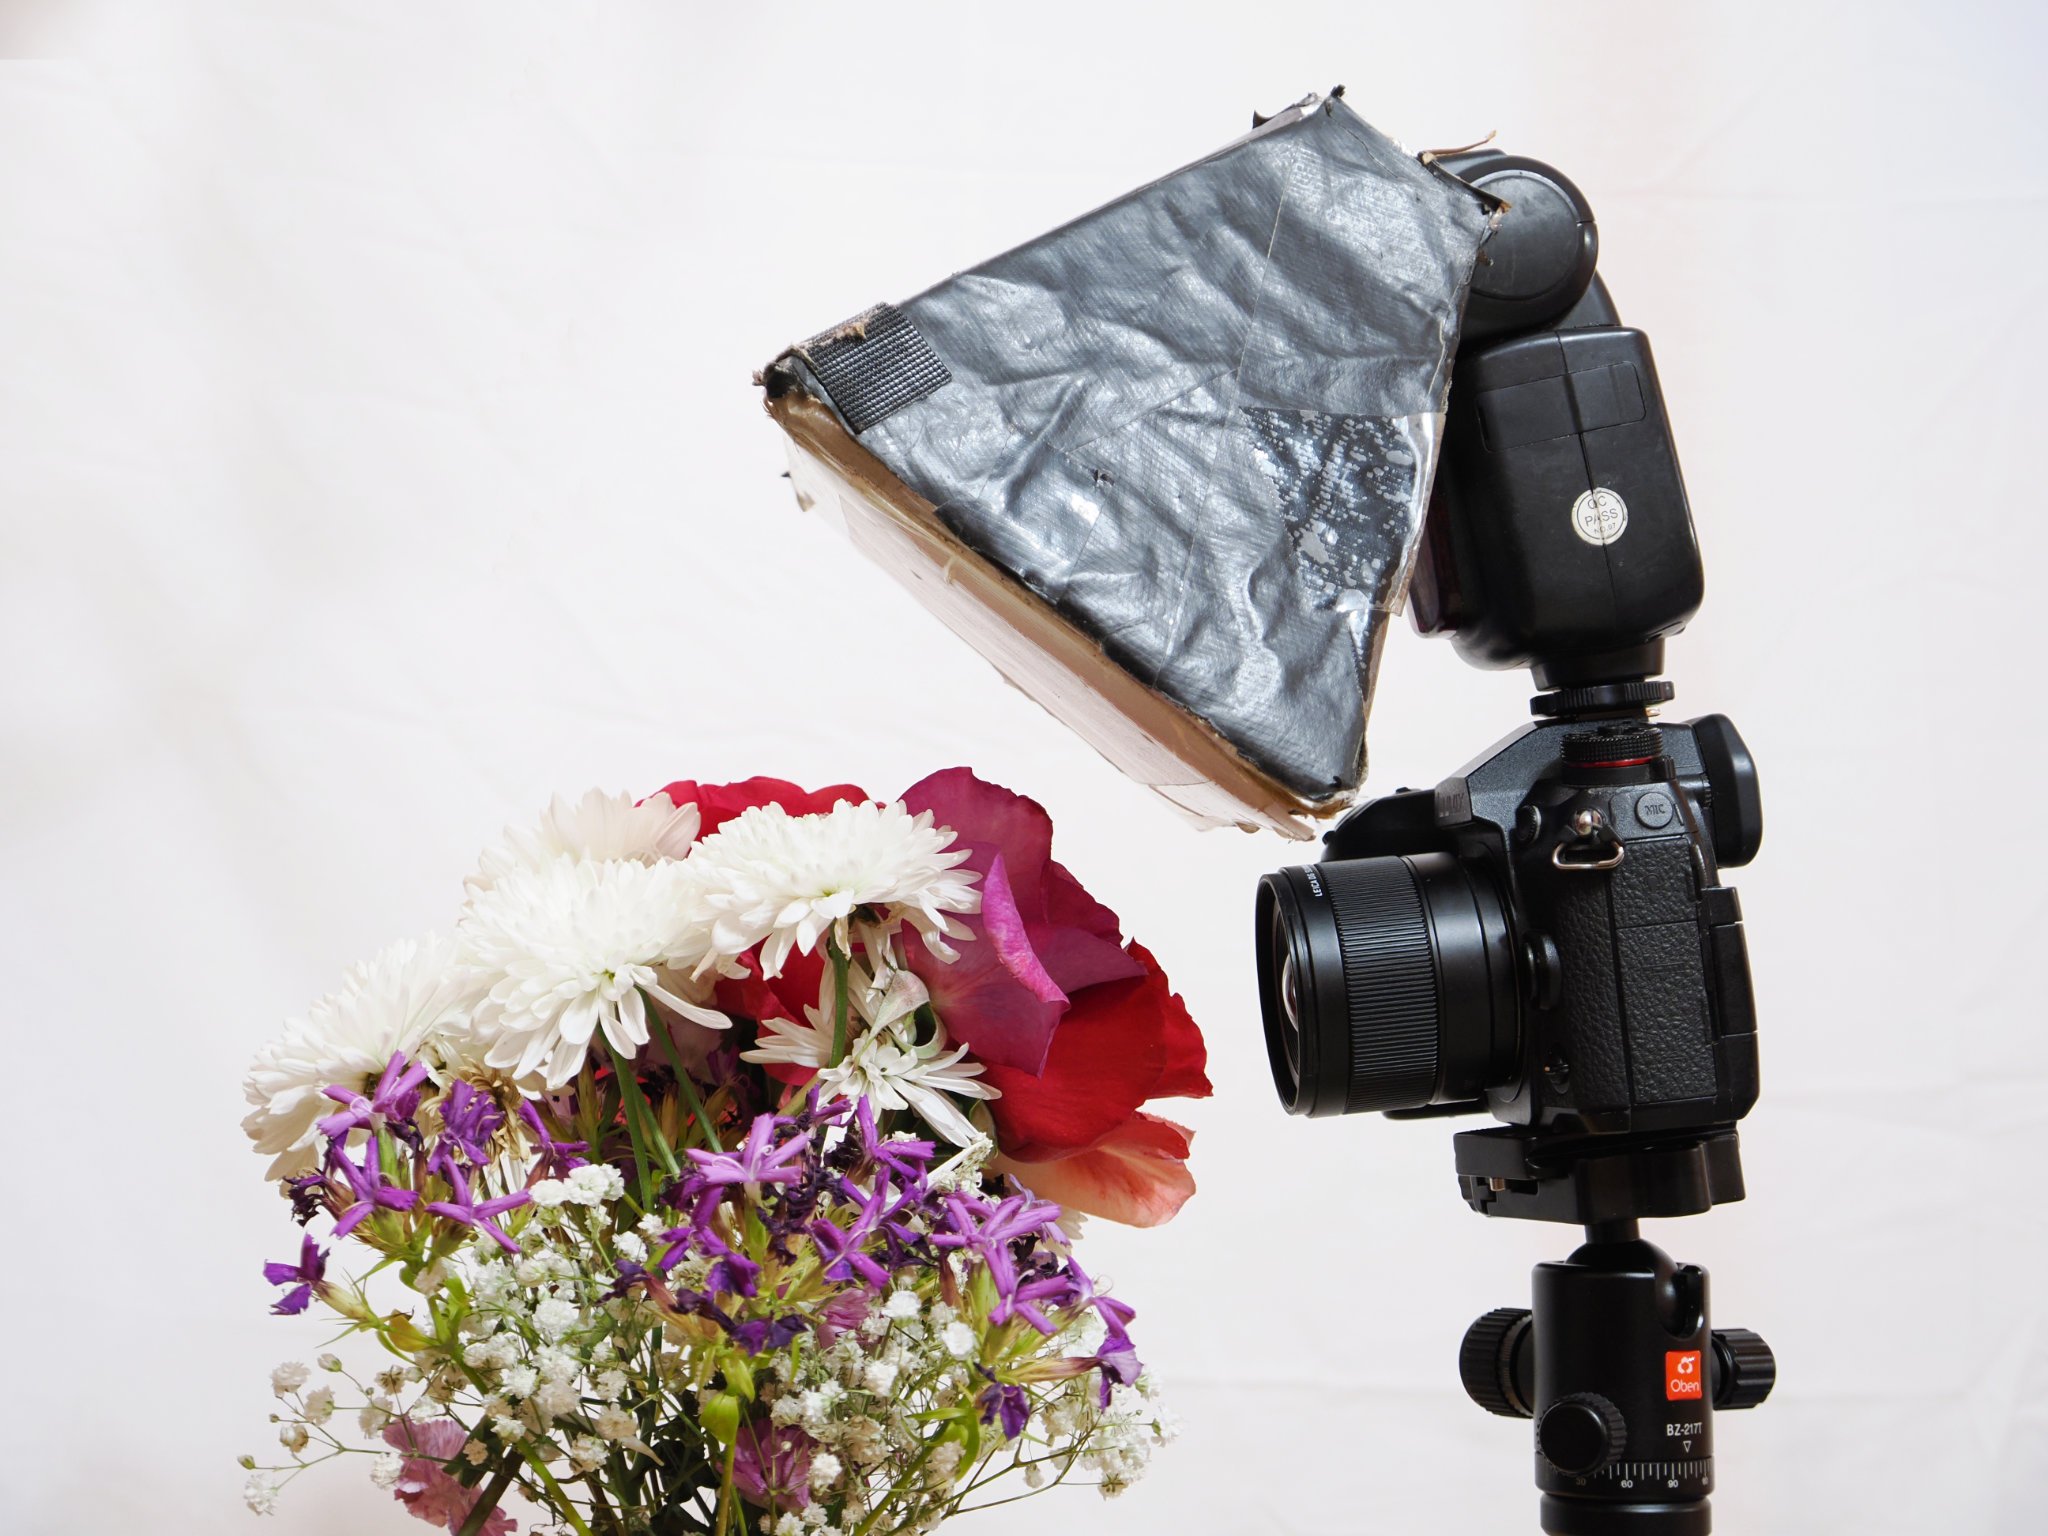 Now we put on a diffuser
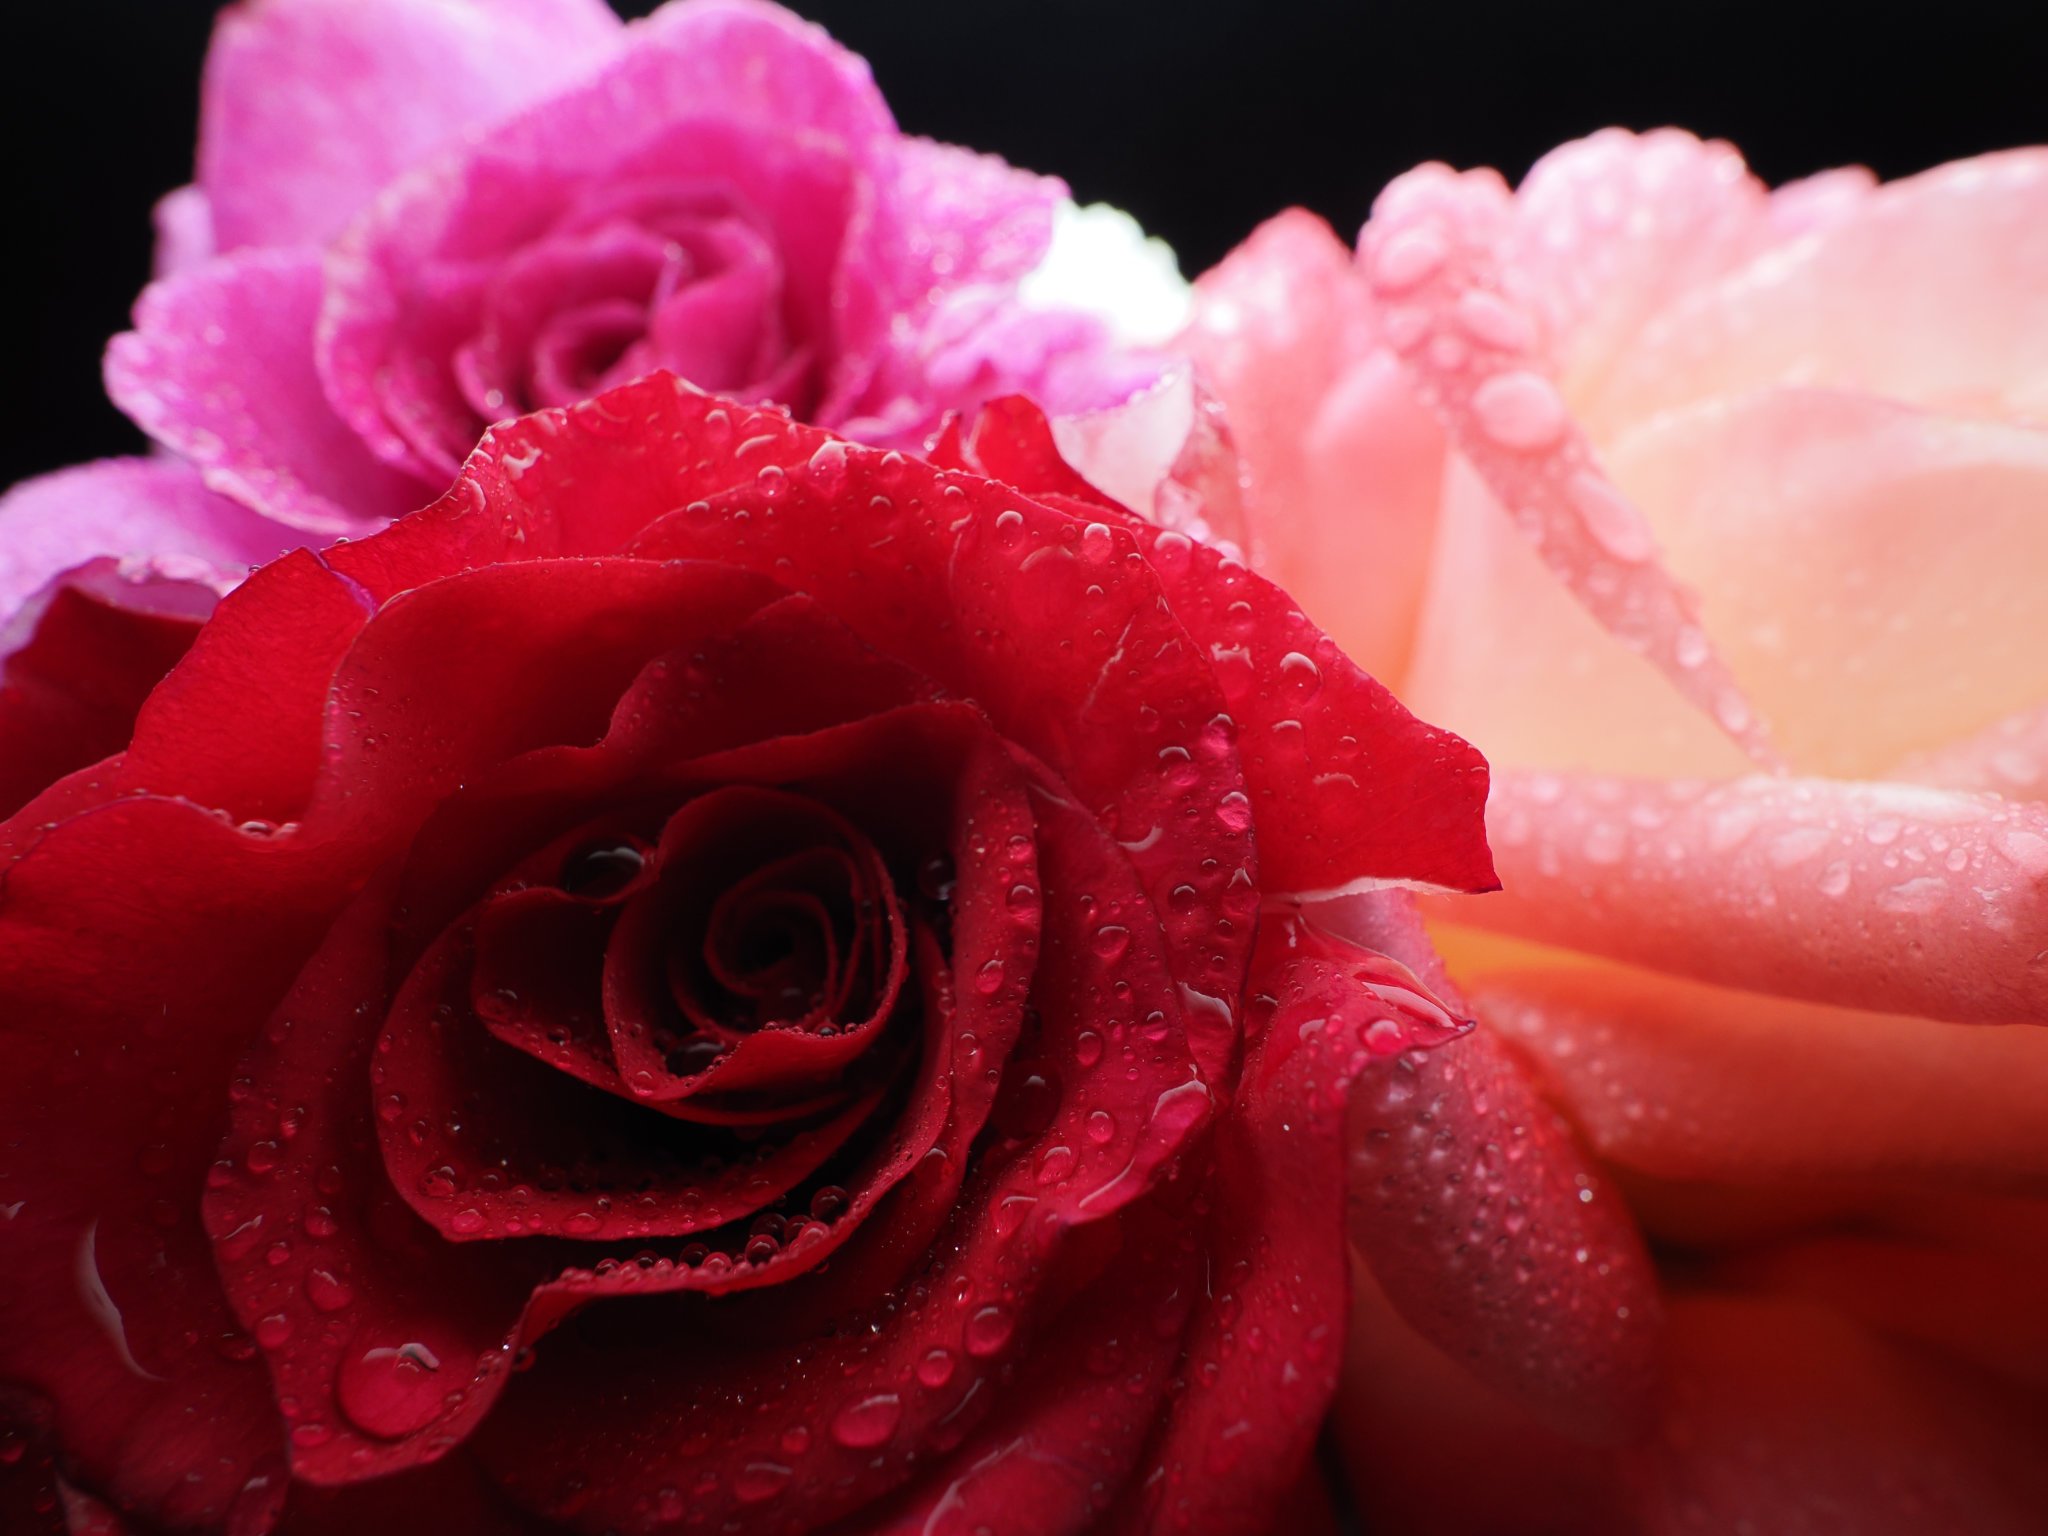 Now we are getting somewhere, the shadows and highlights look more even, but the closest rose didn’t catch as much light as the ones in the back
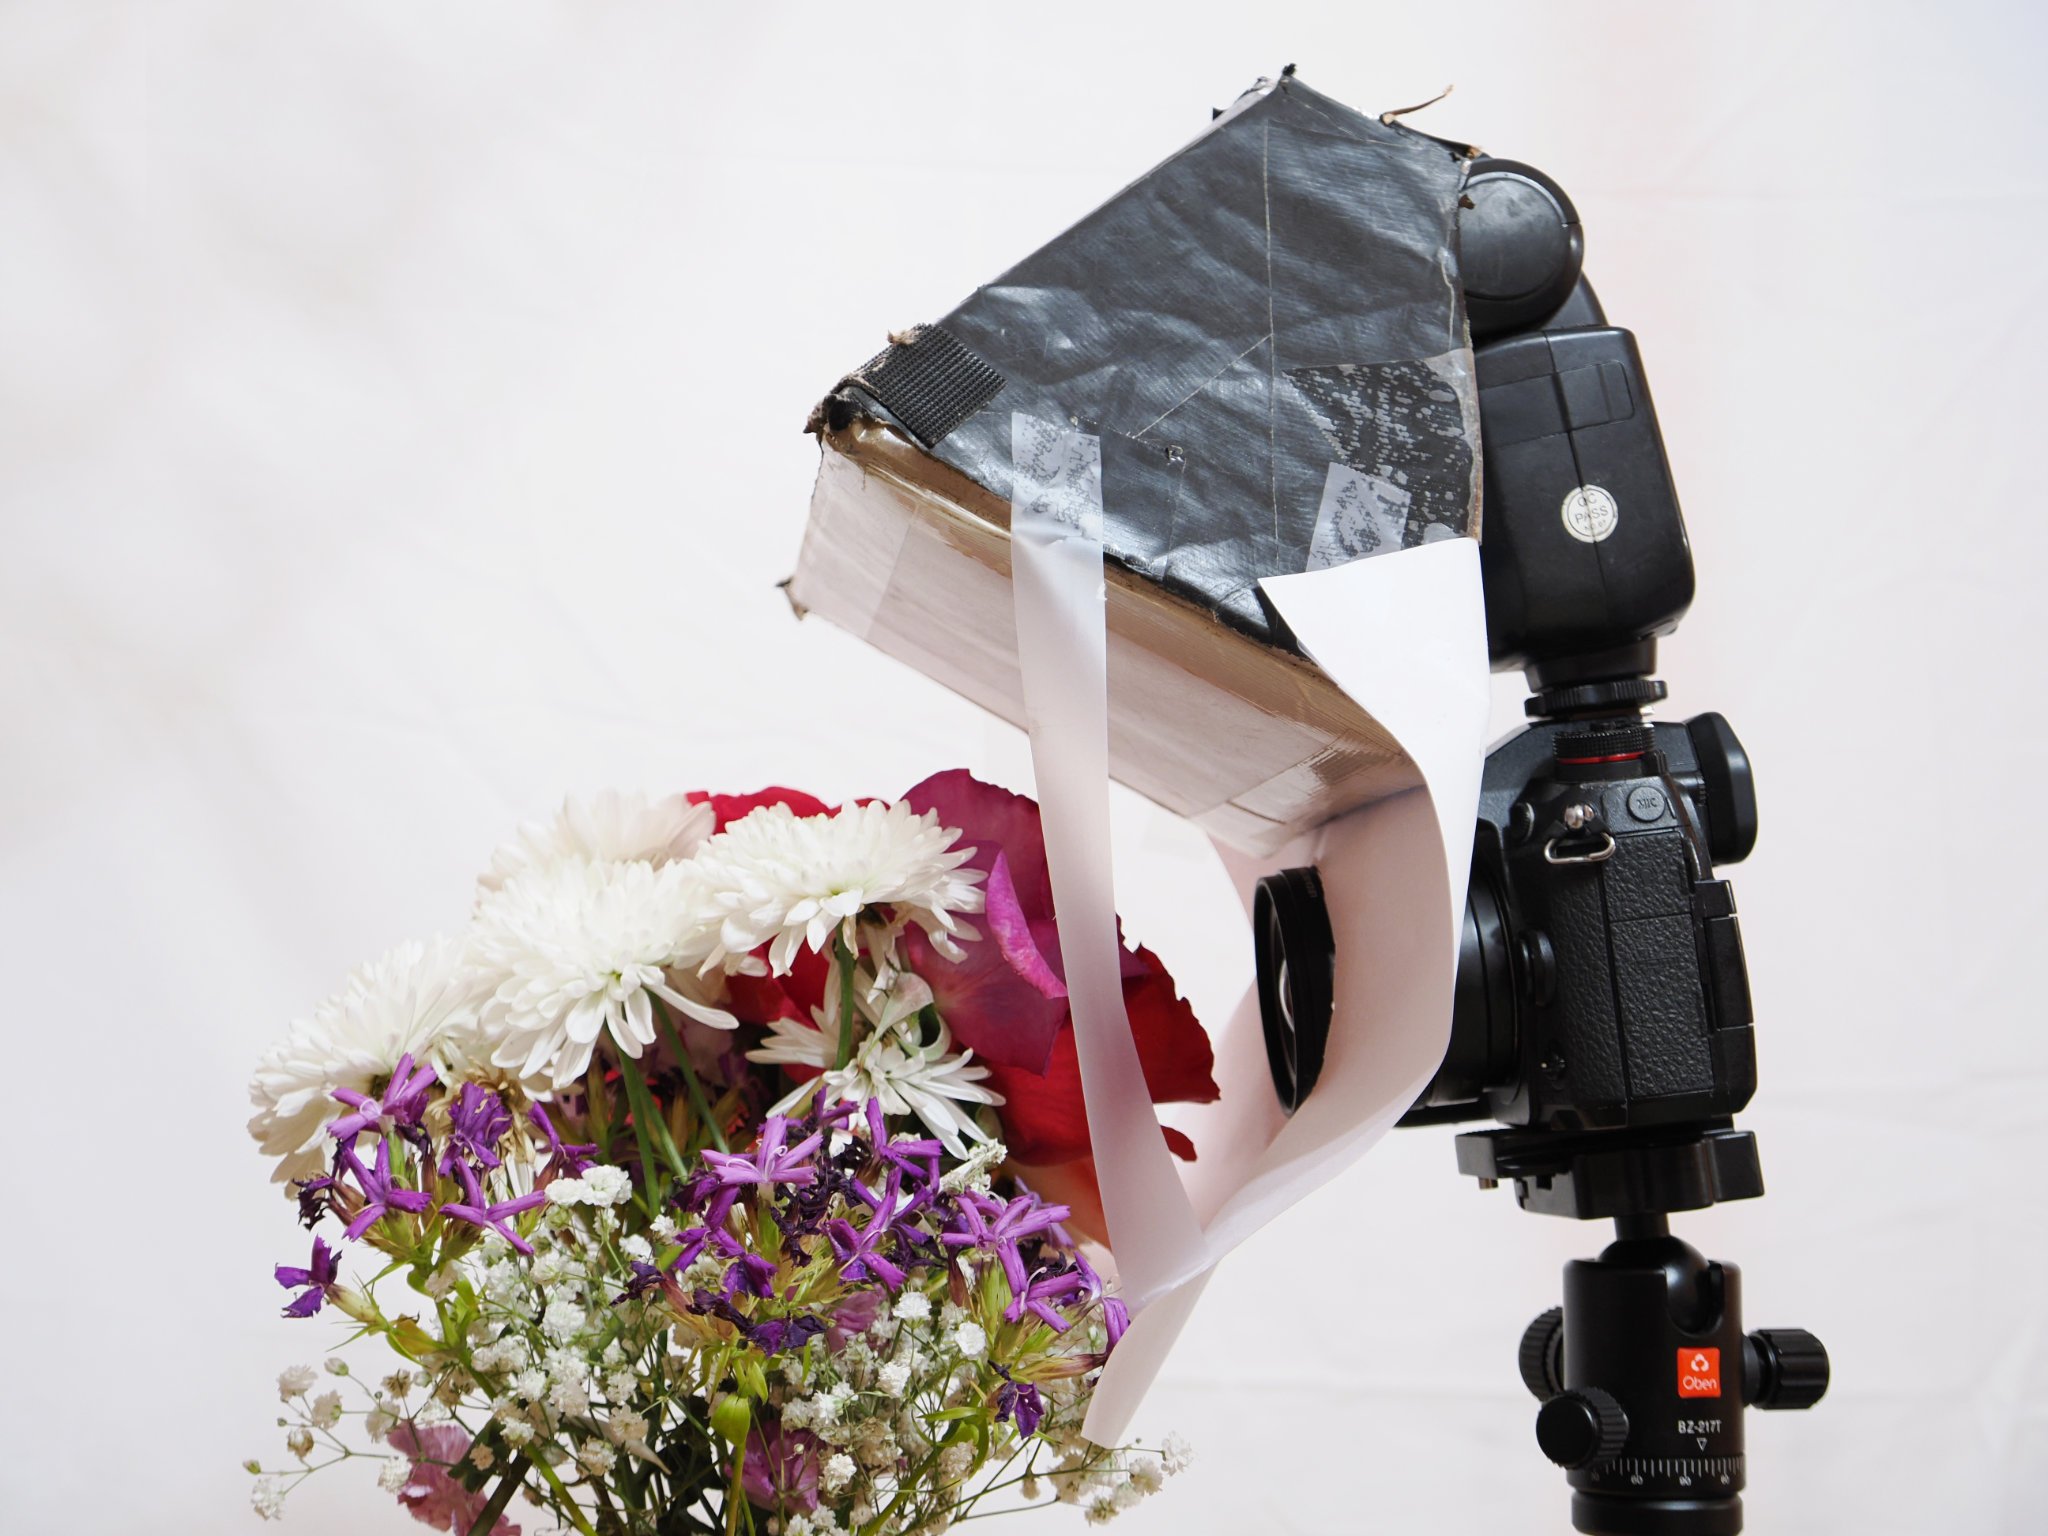 I’ve added a reflector so some light comes from below too
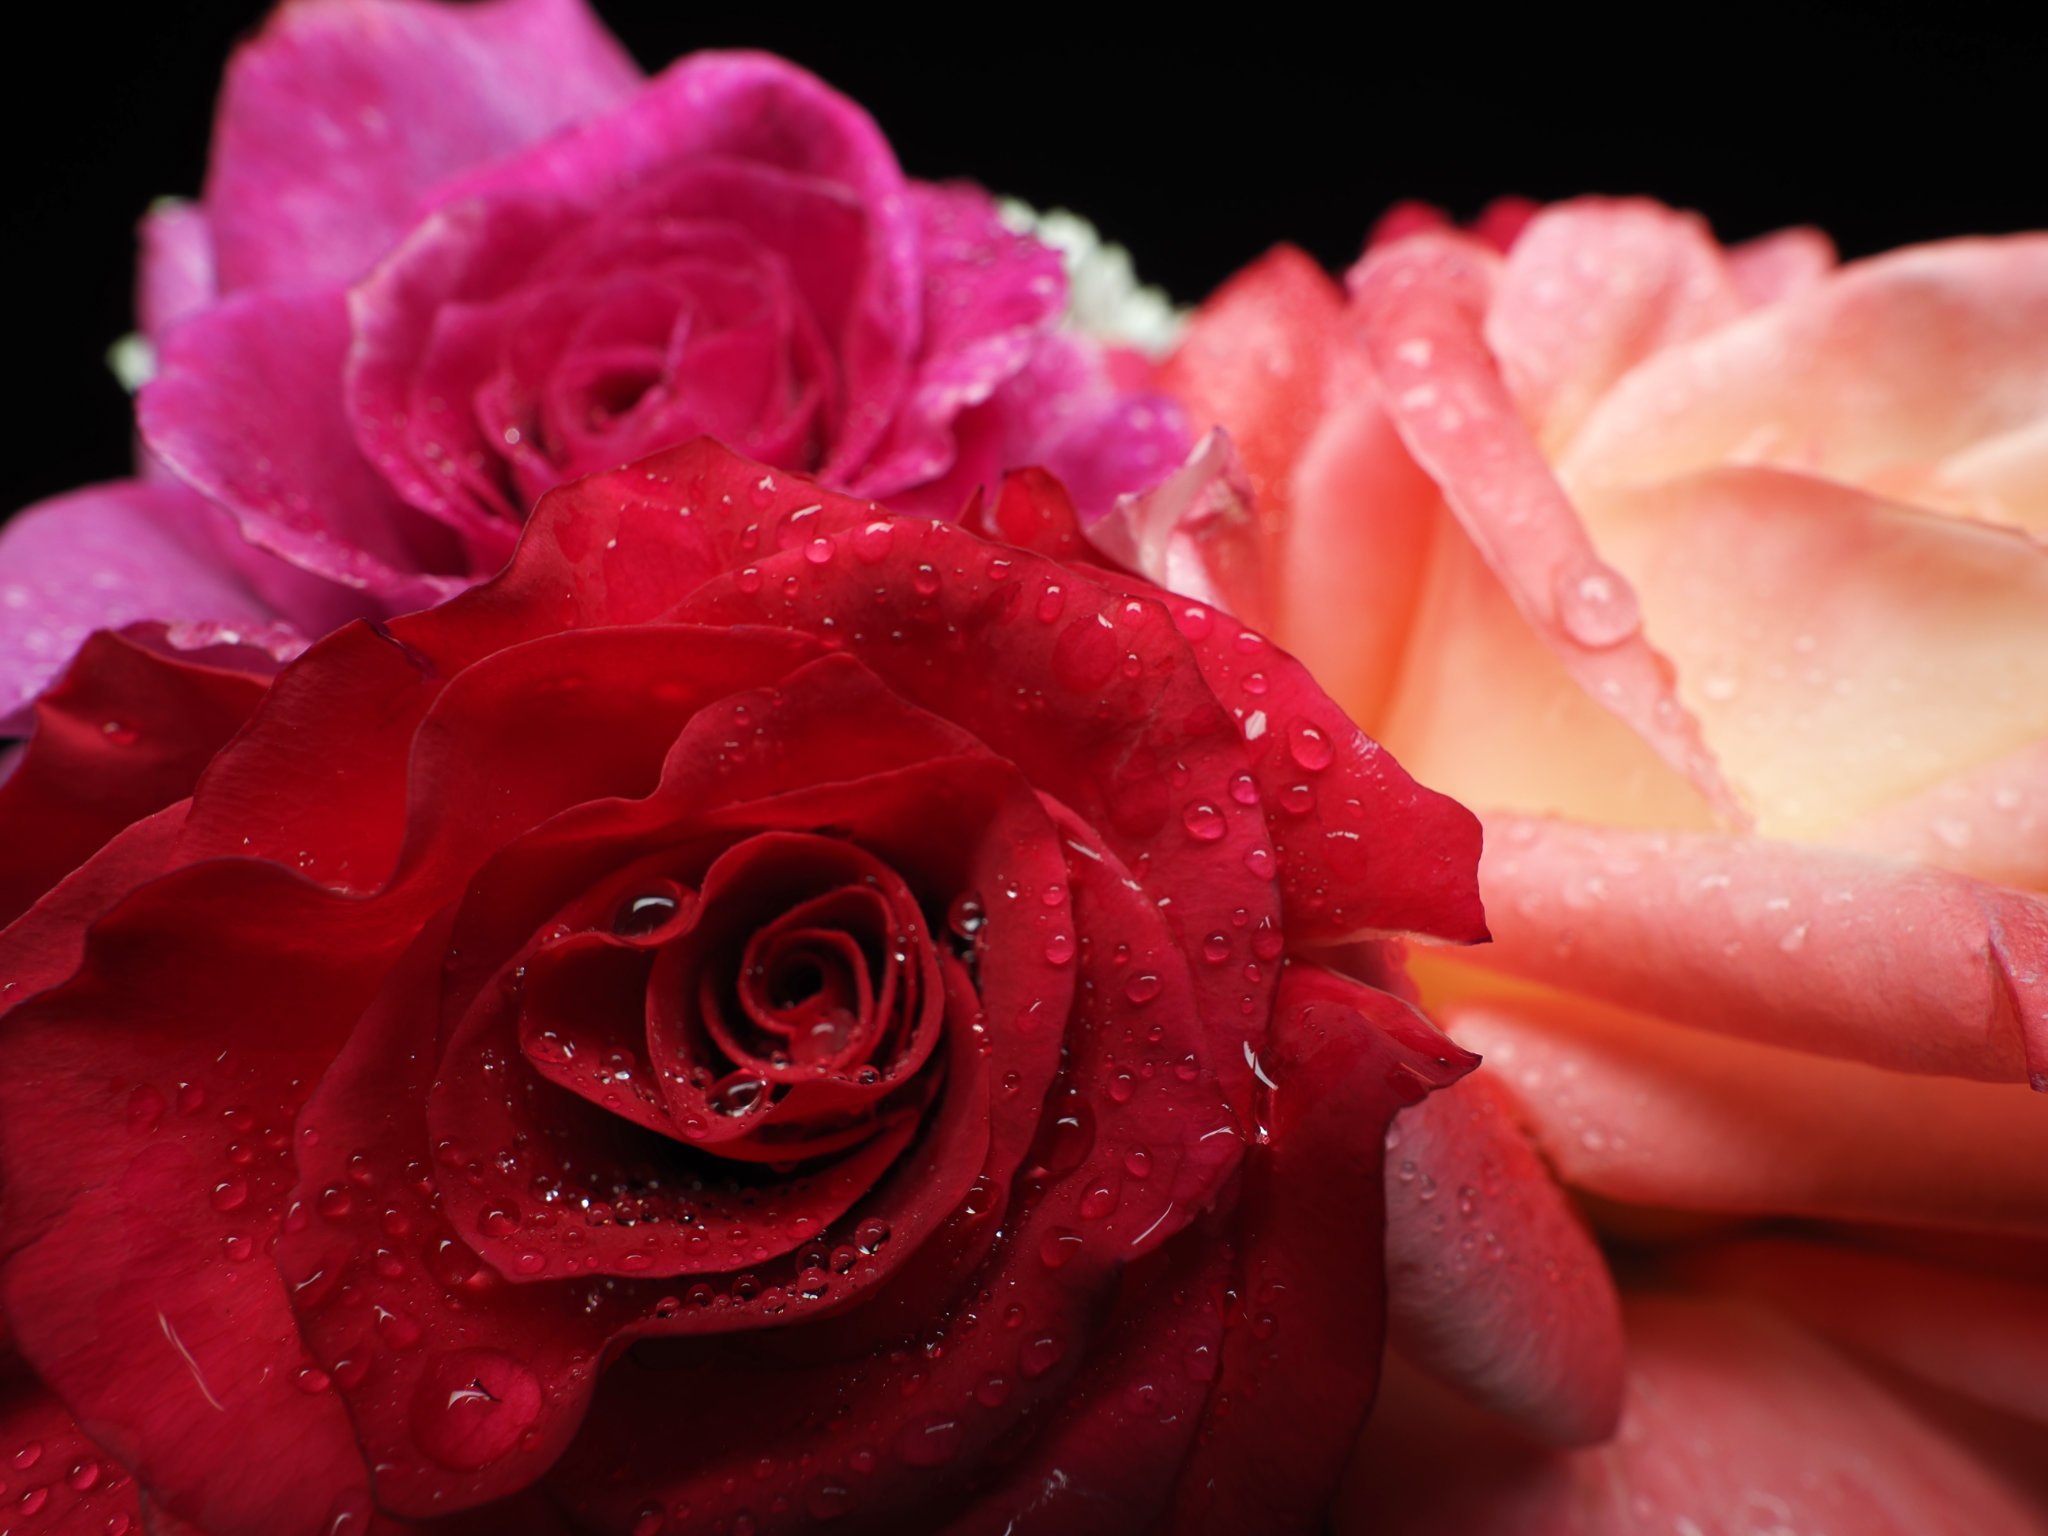 can cause some shadow in the foreground to creep in, plus the reflections can become more poignant
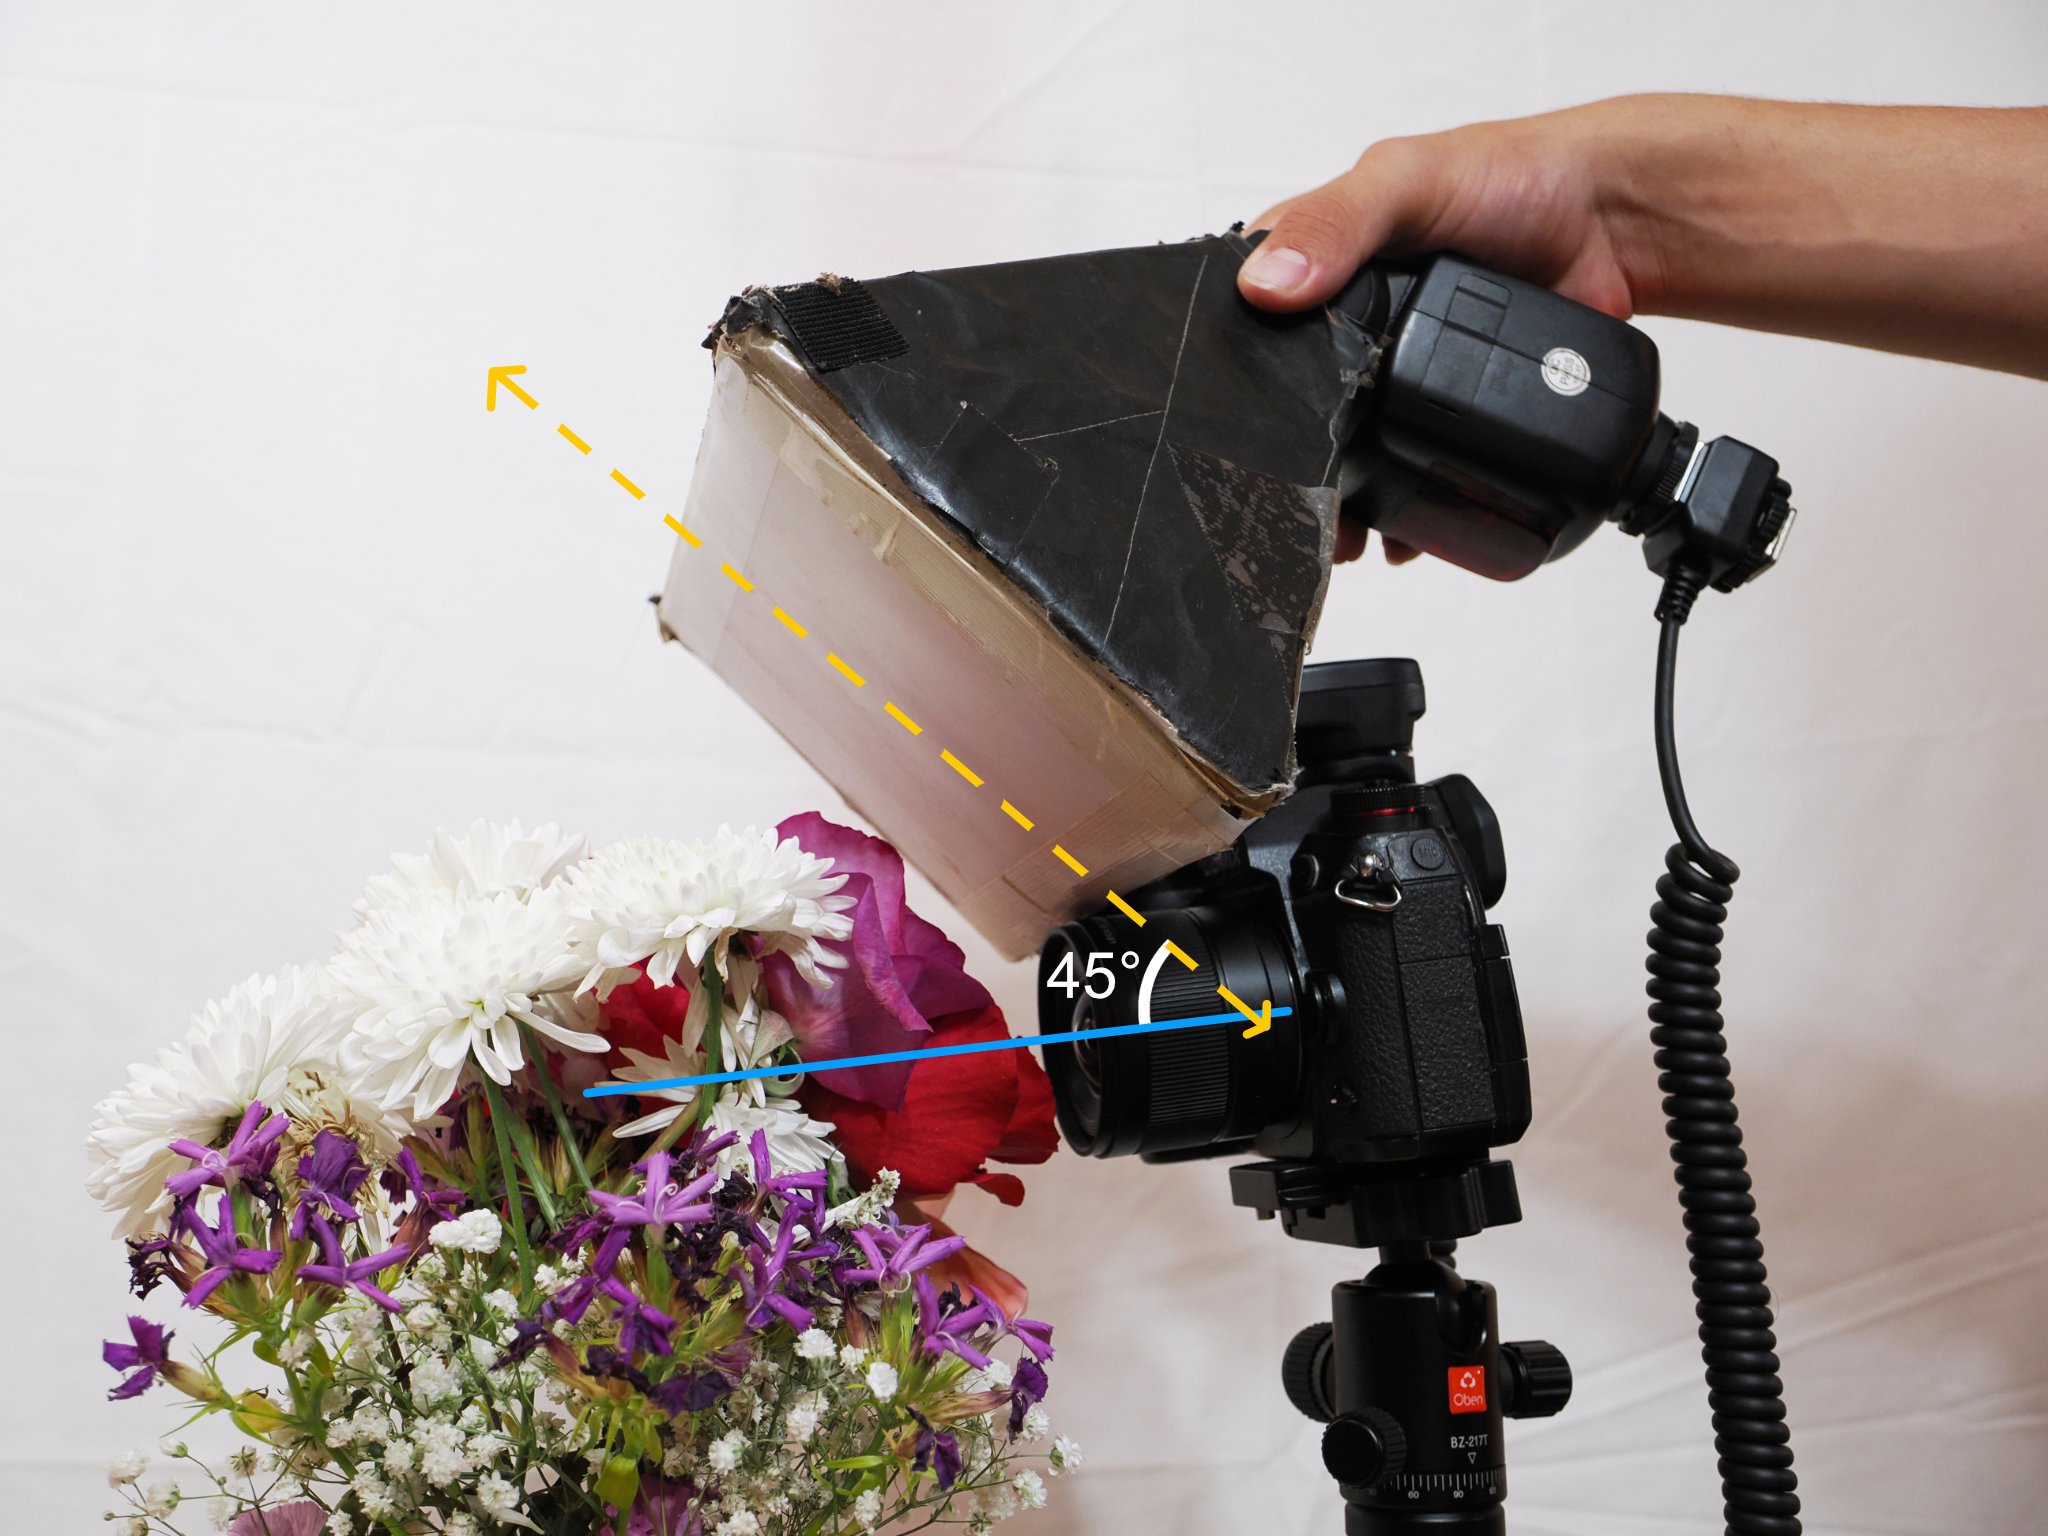 The ideal position of a diffuser should have the bottom of the diffuser meet the lens tip at a 45 degree angle
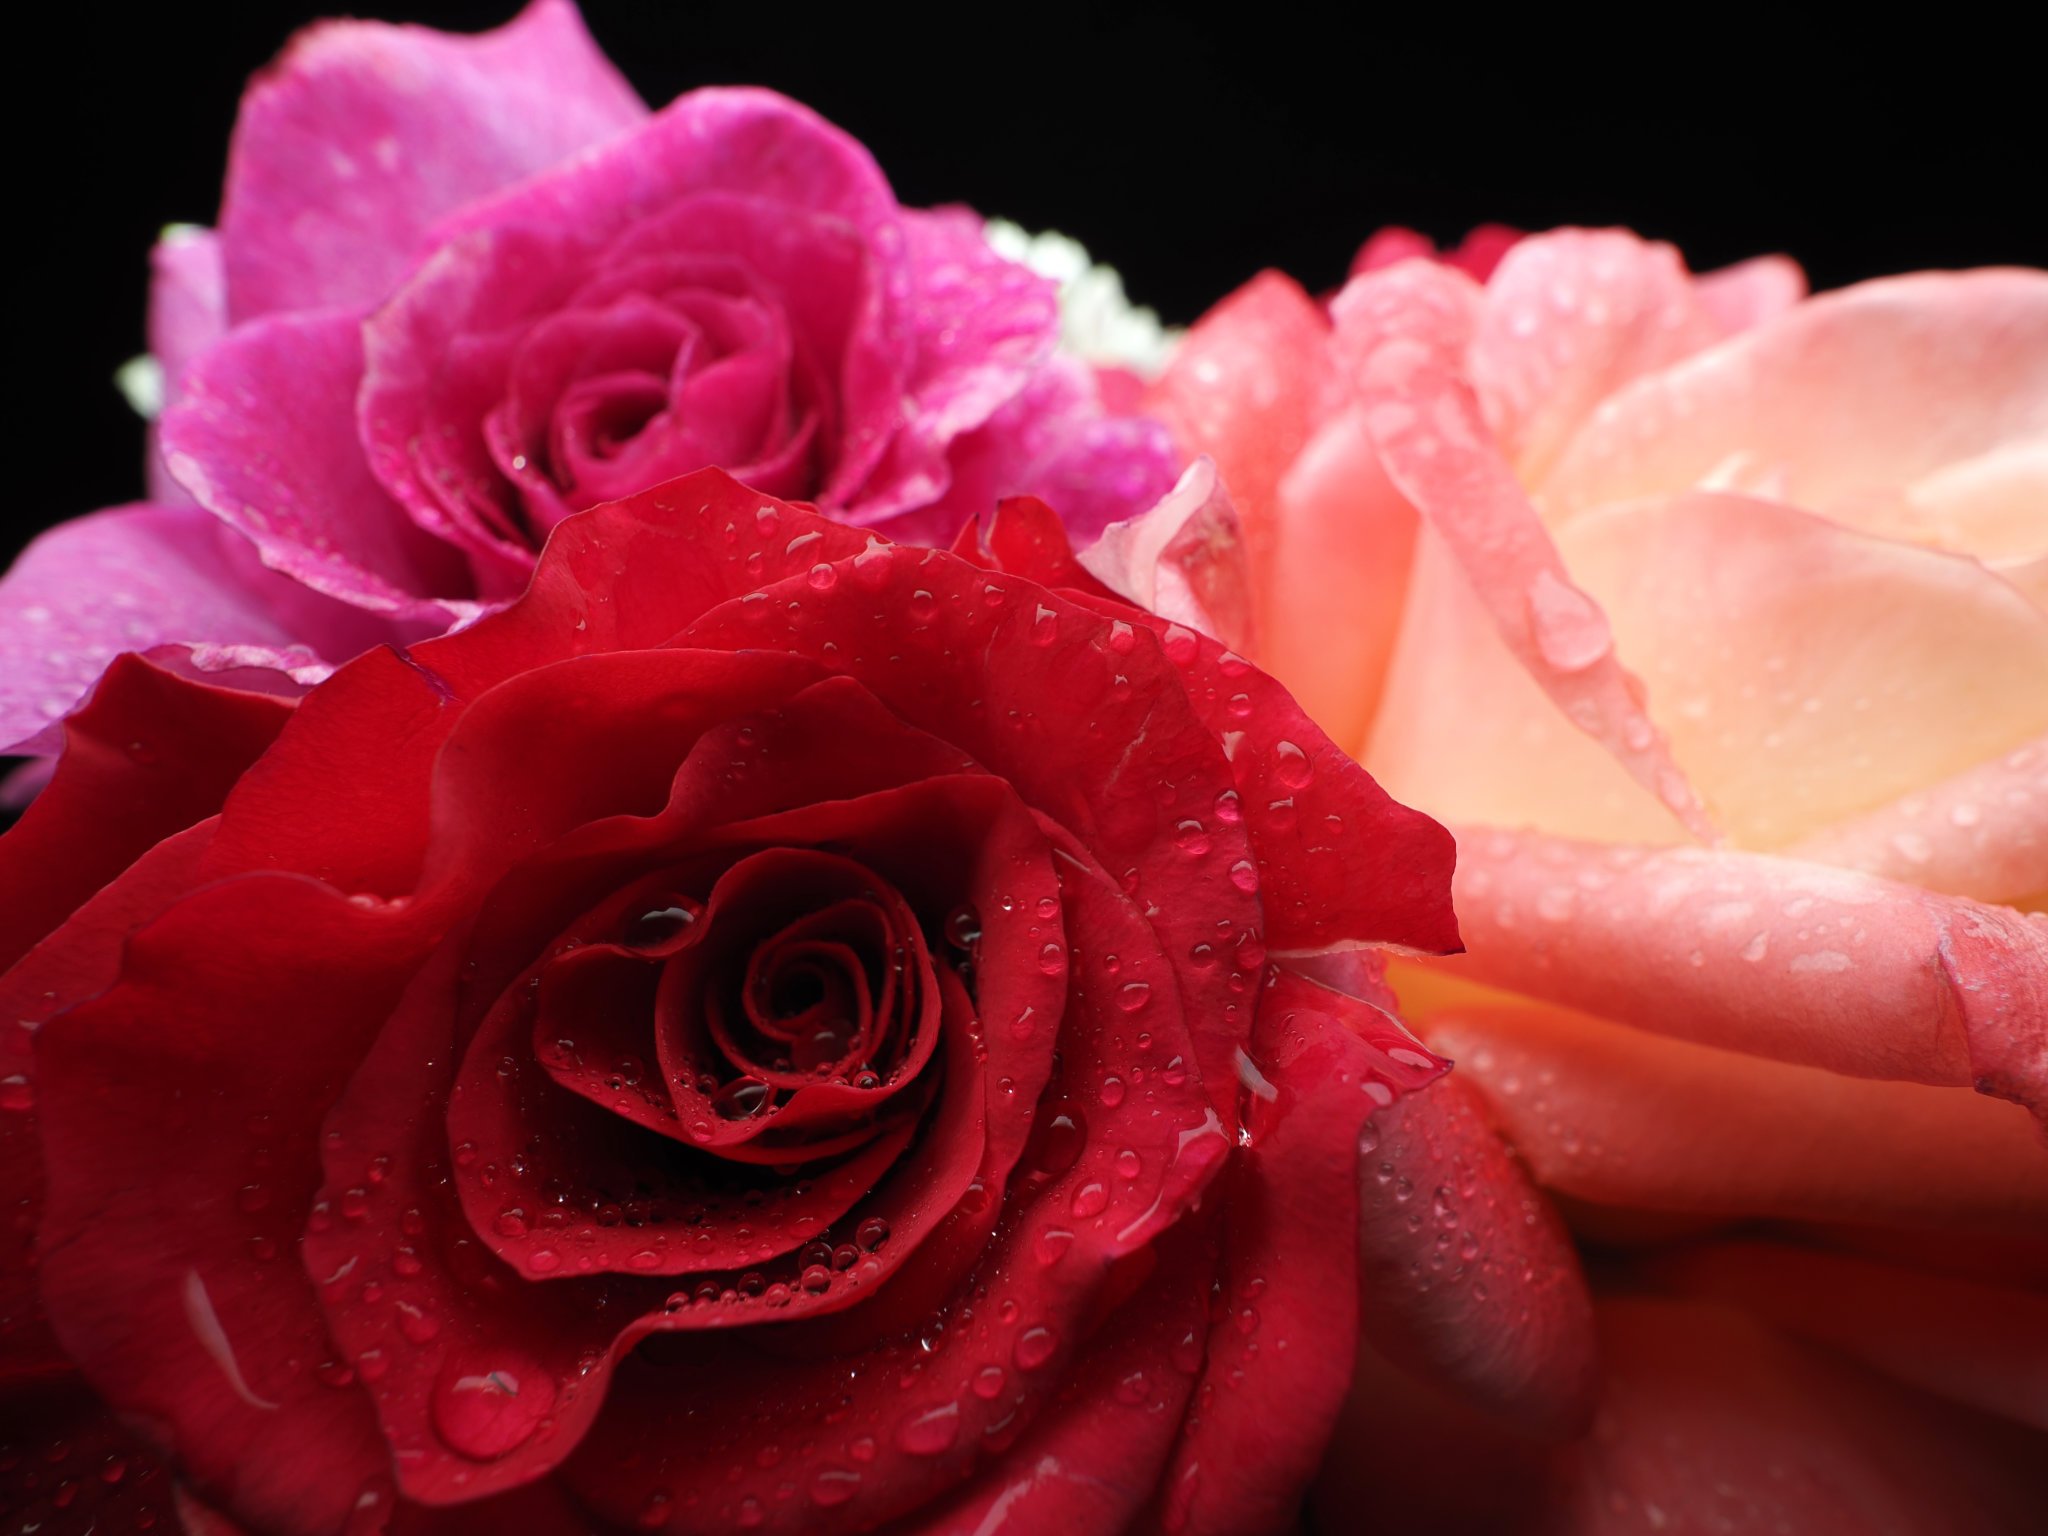 It should look something nice like this (could be improved with reflector)
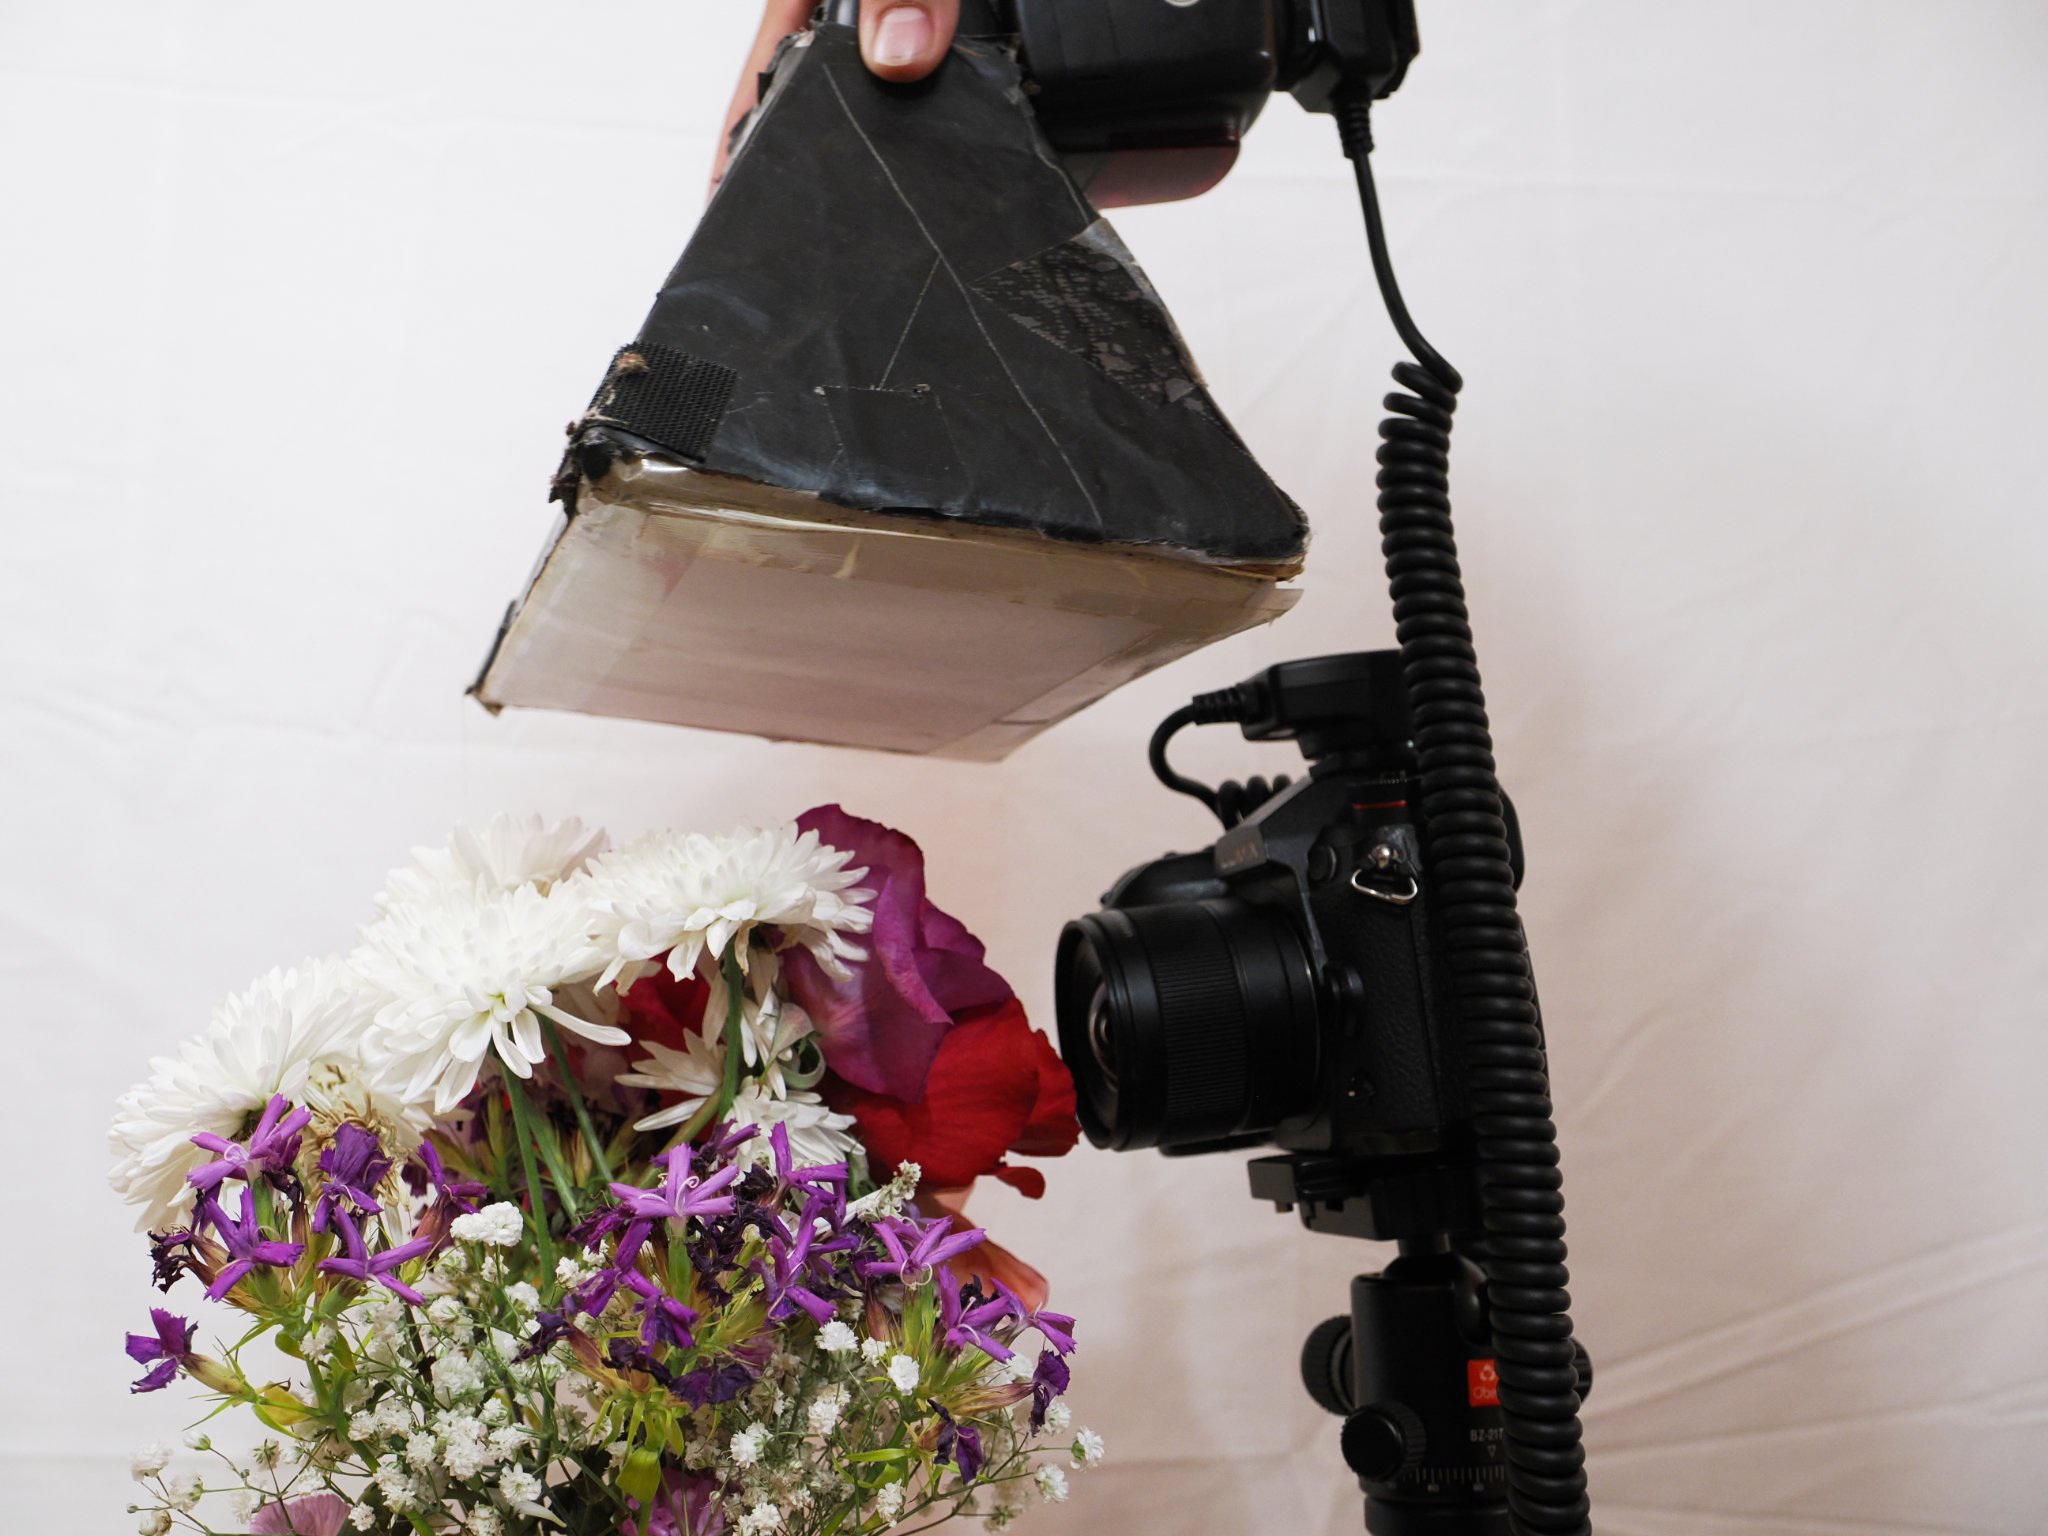 An easy mistake is to place the diffuser directly above…
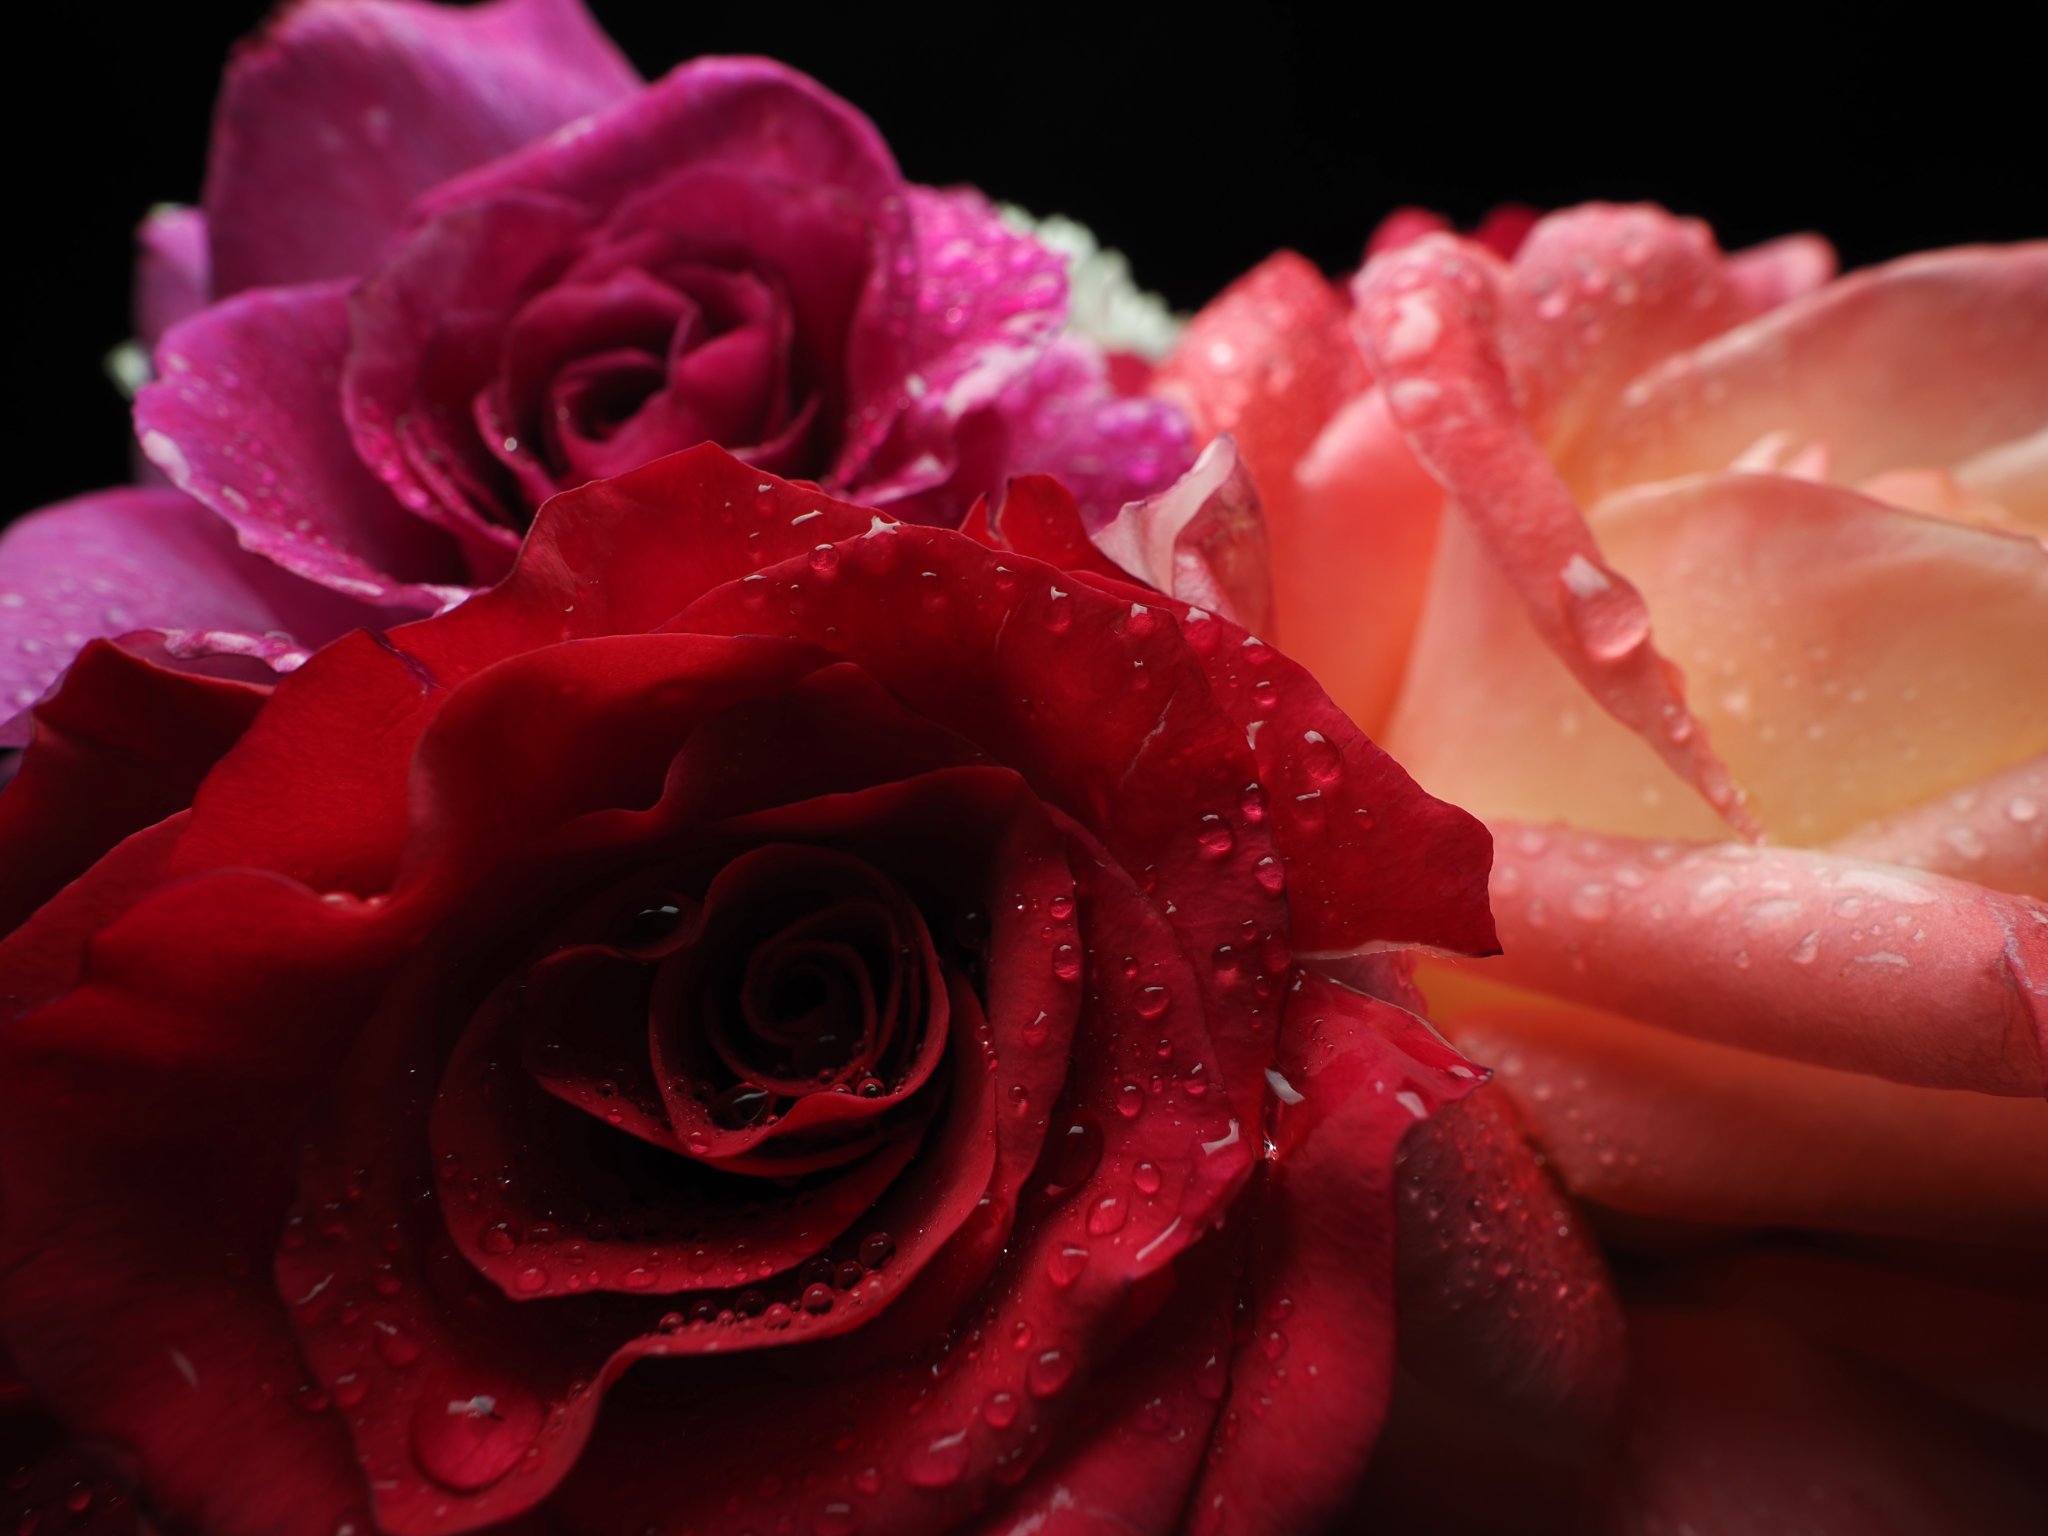 But this can cause backlighting
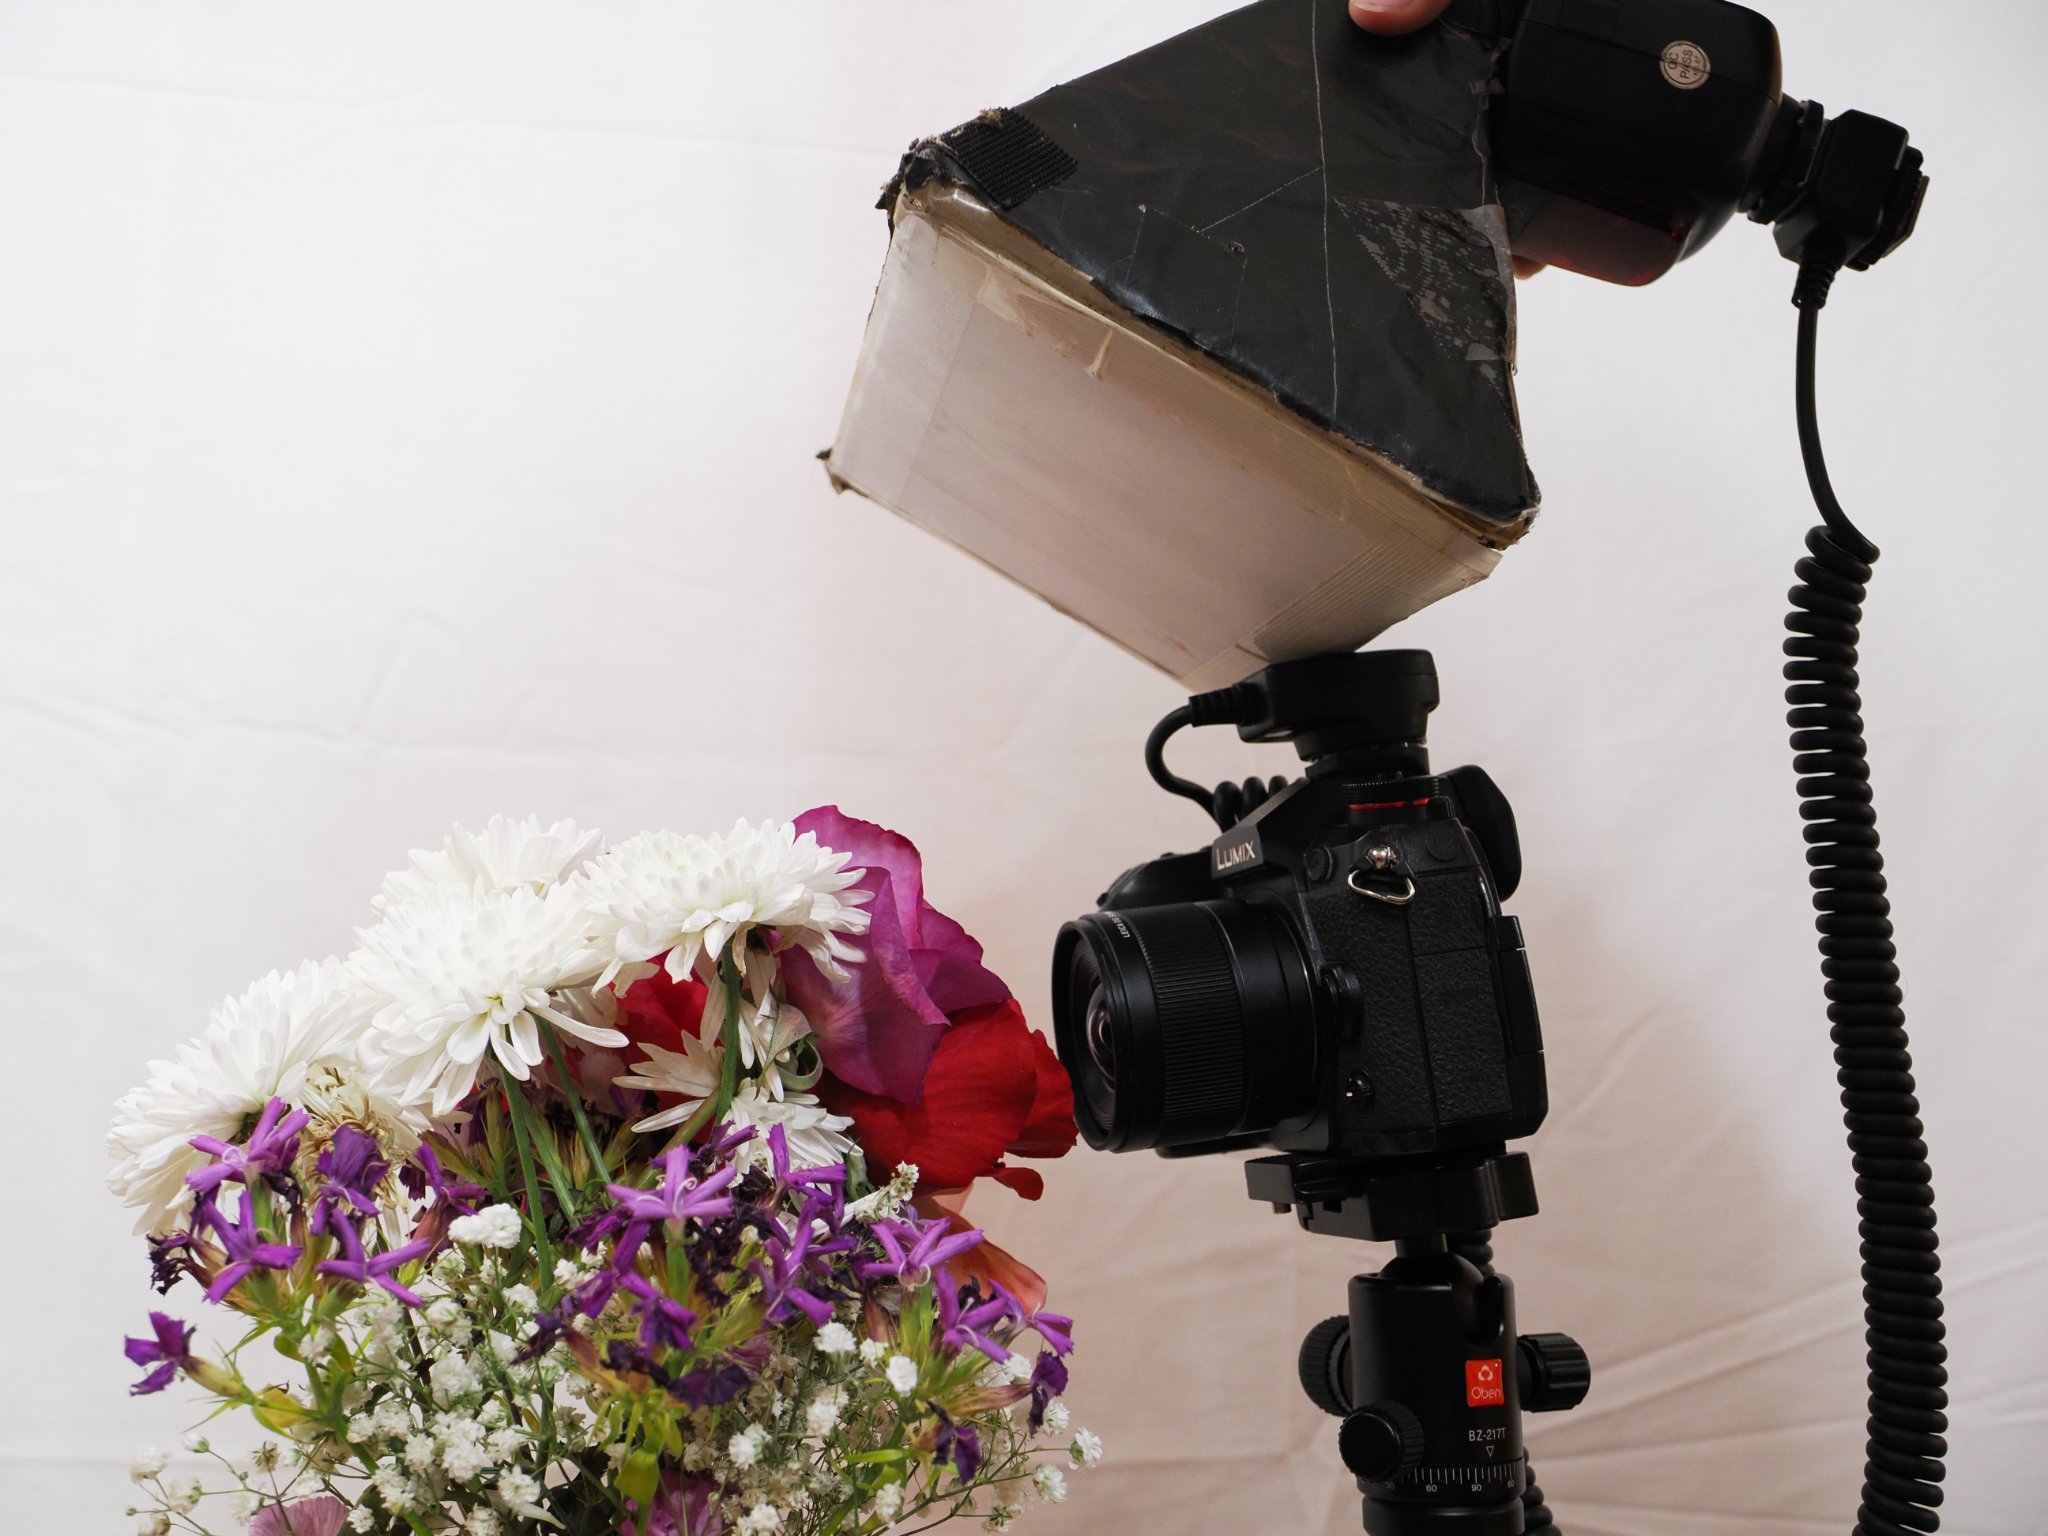 sloppy or lazy positioning of the diffuser like here when it’s set too far back…
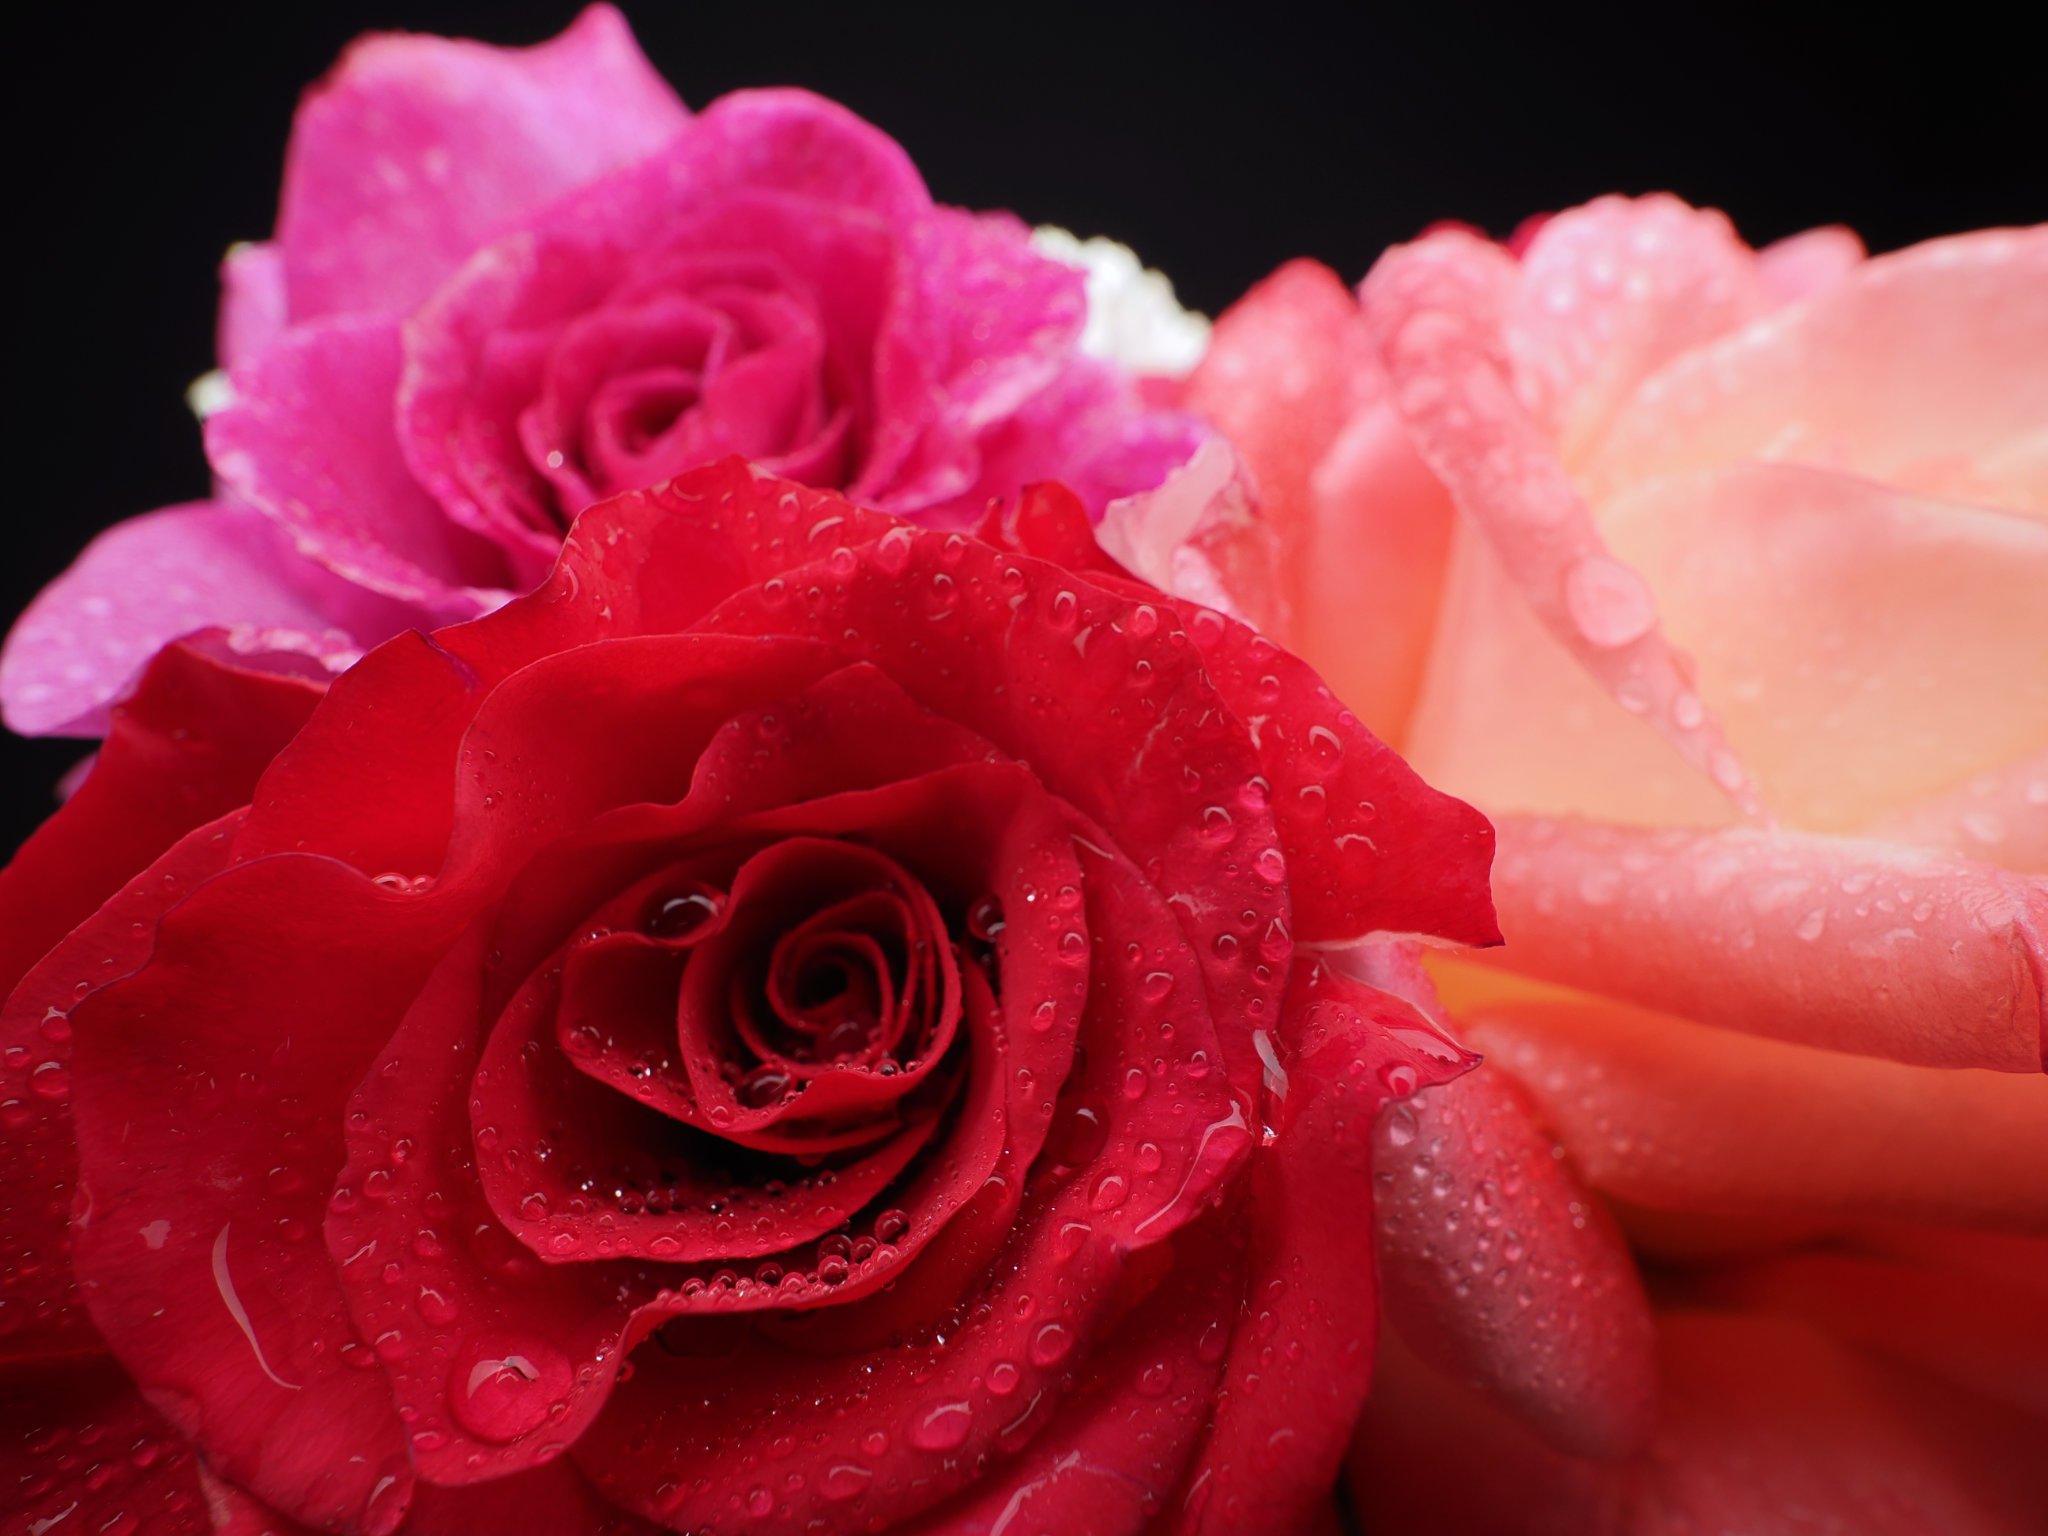 The larger diffuser performs well, though it’s bulkiness makes it more challenging to use
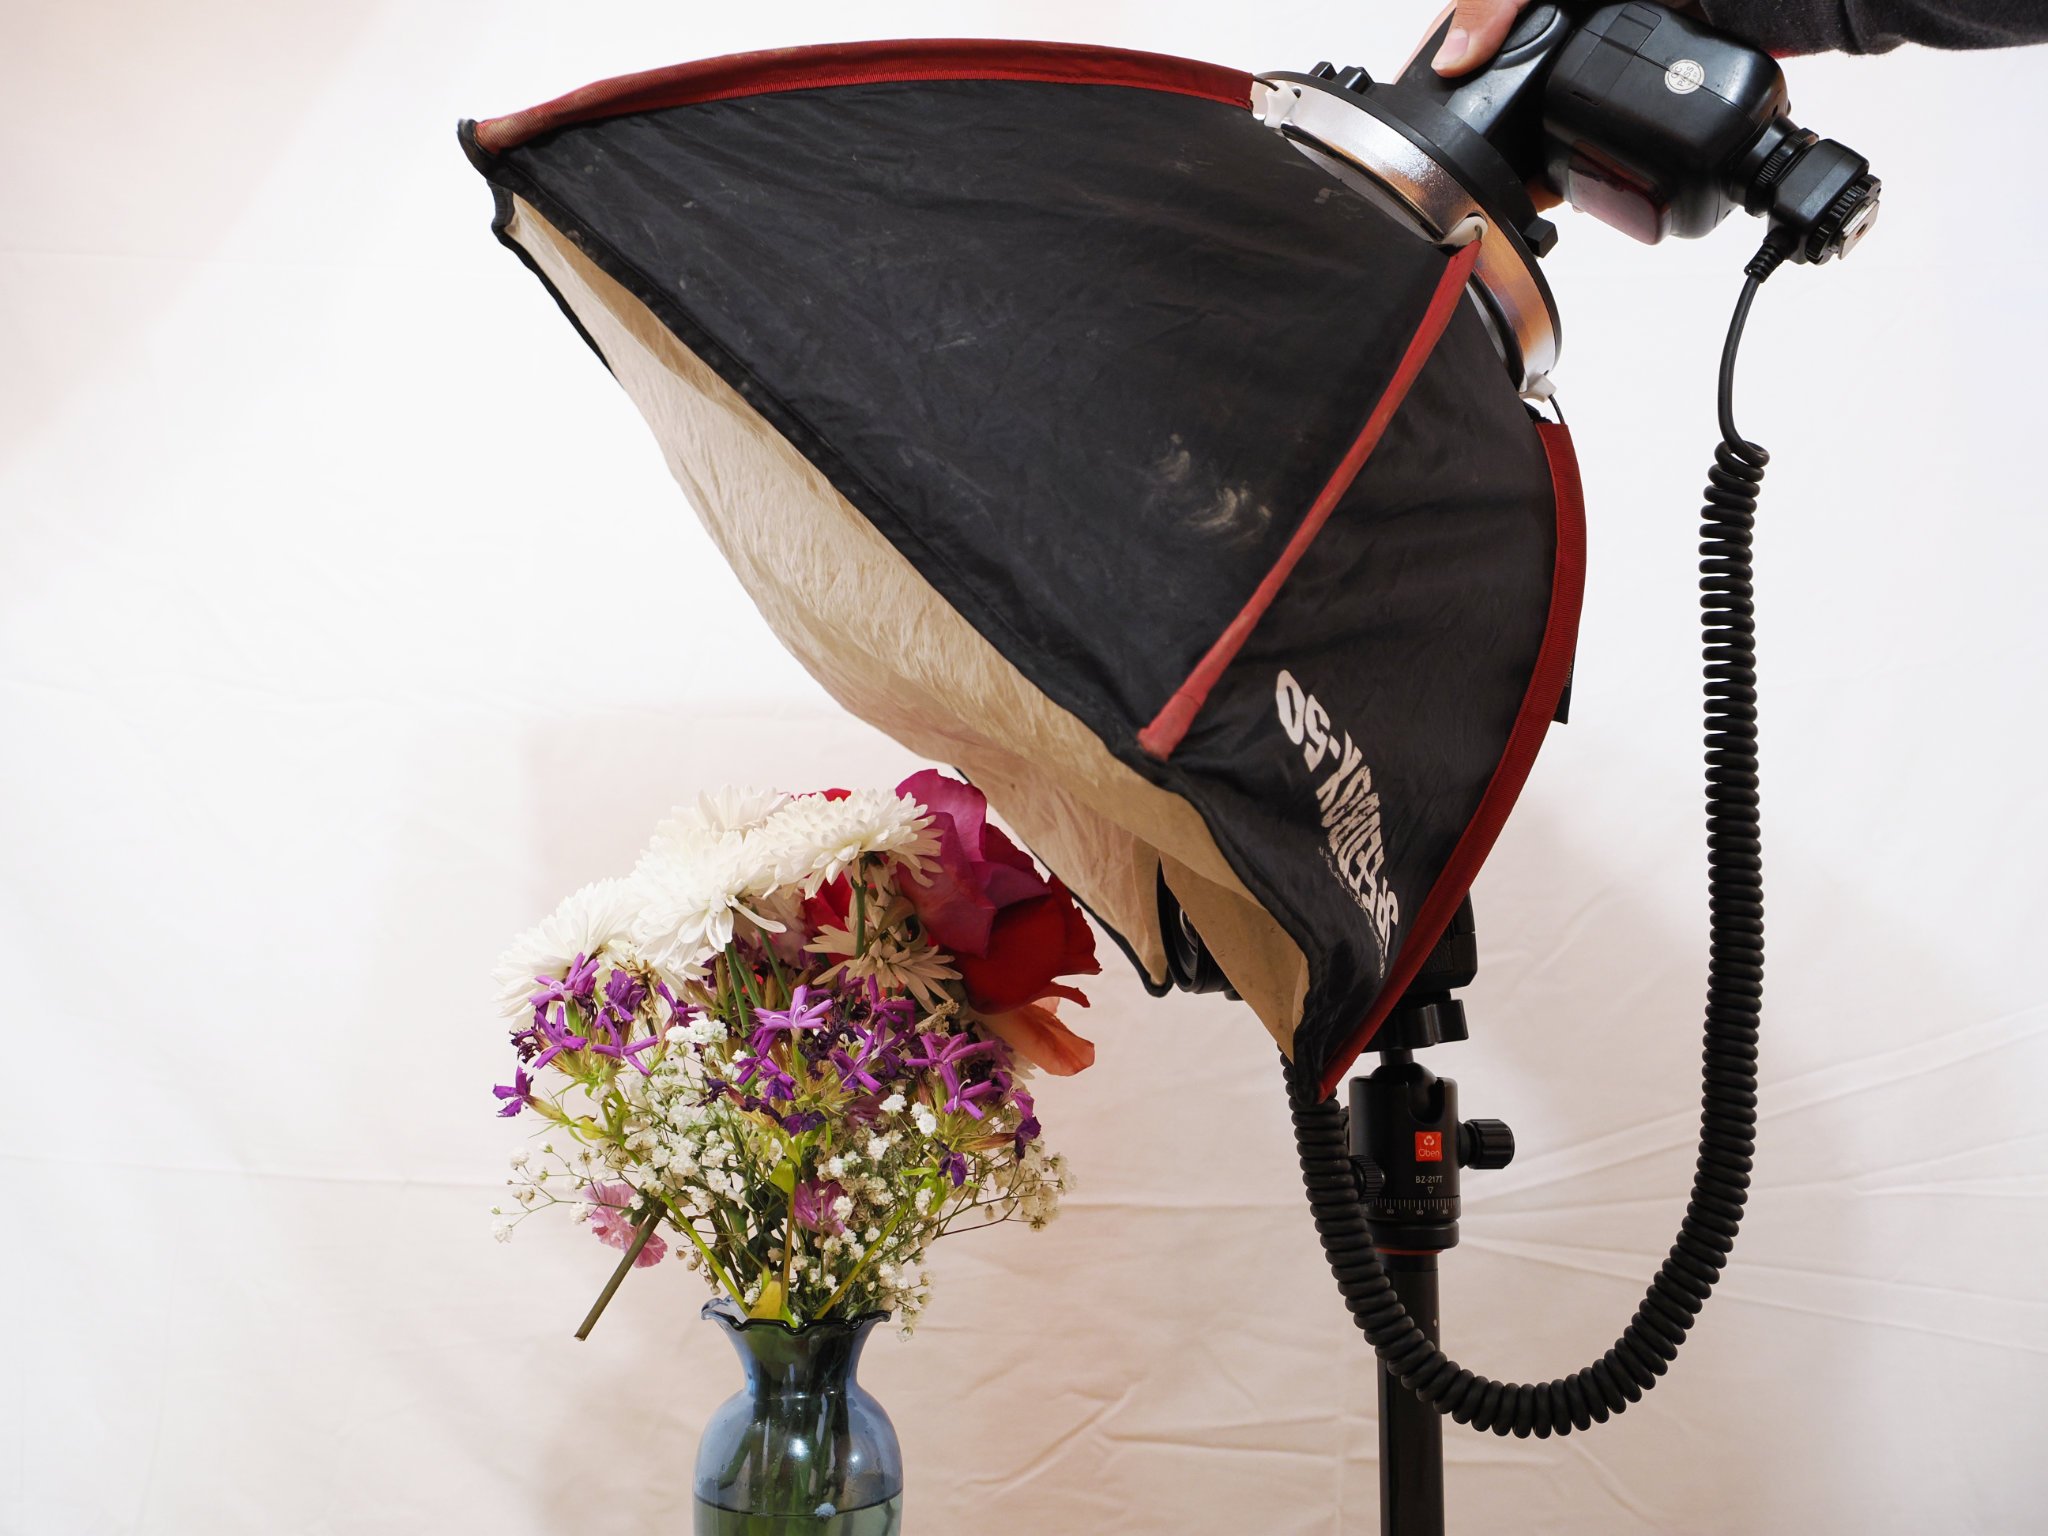 Here I used a much larger diffuser than the above example. Notice how I push it down onto the lens so that some light comes from down low.
 oh yeahhh
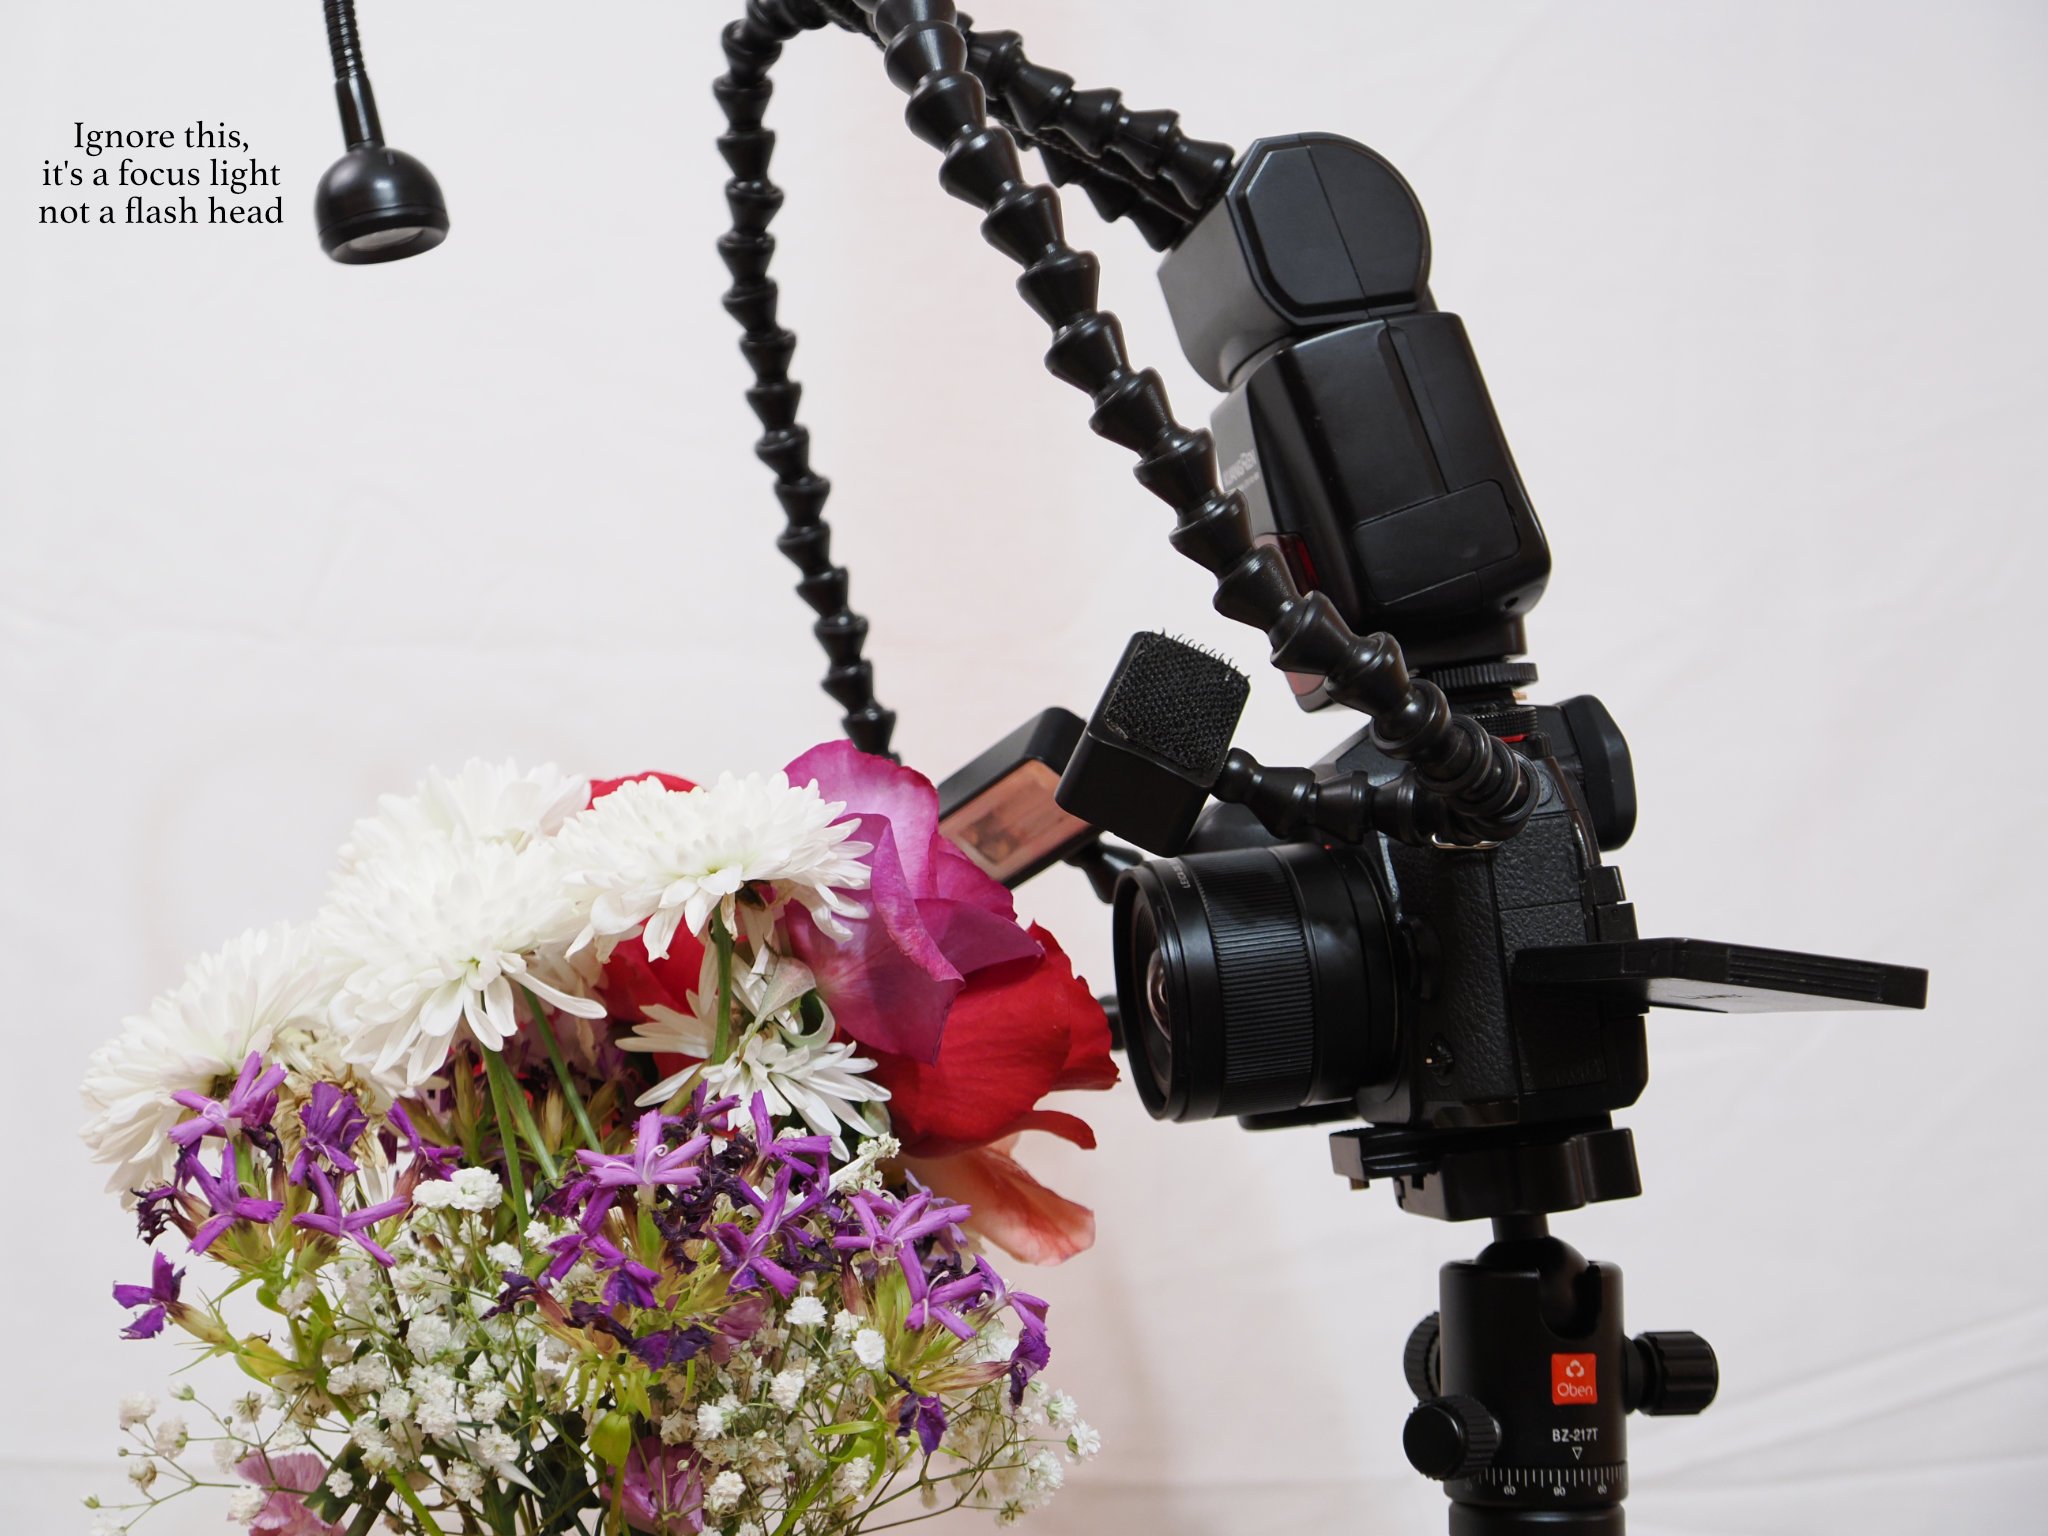 A twin flash can sneak light onto subjects at close range…
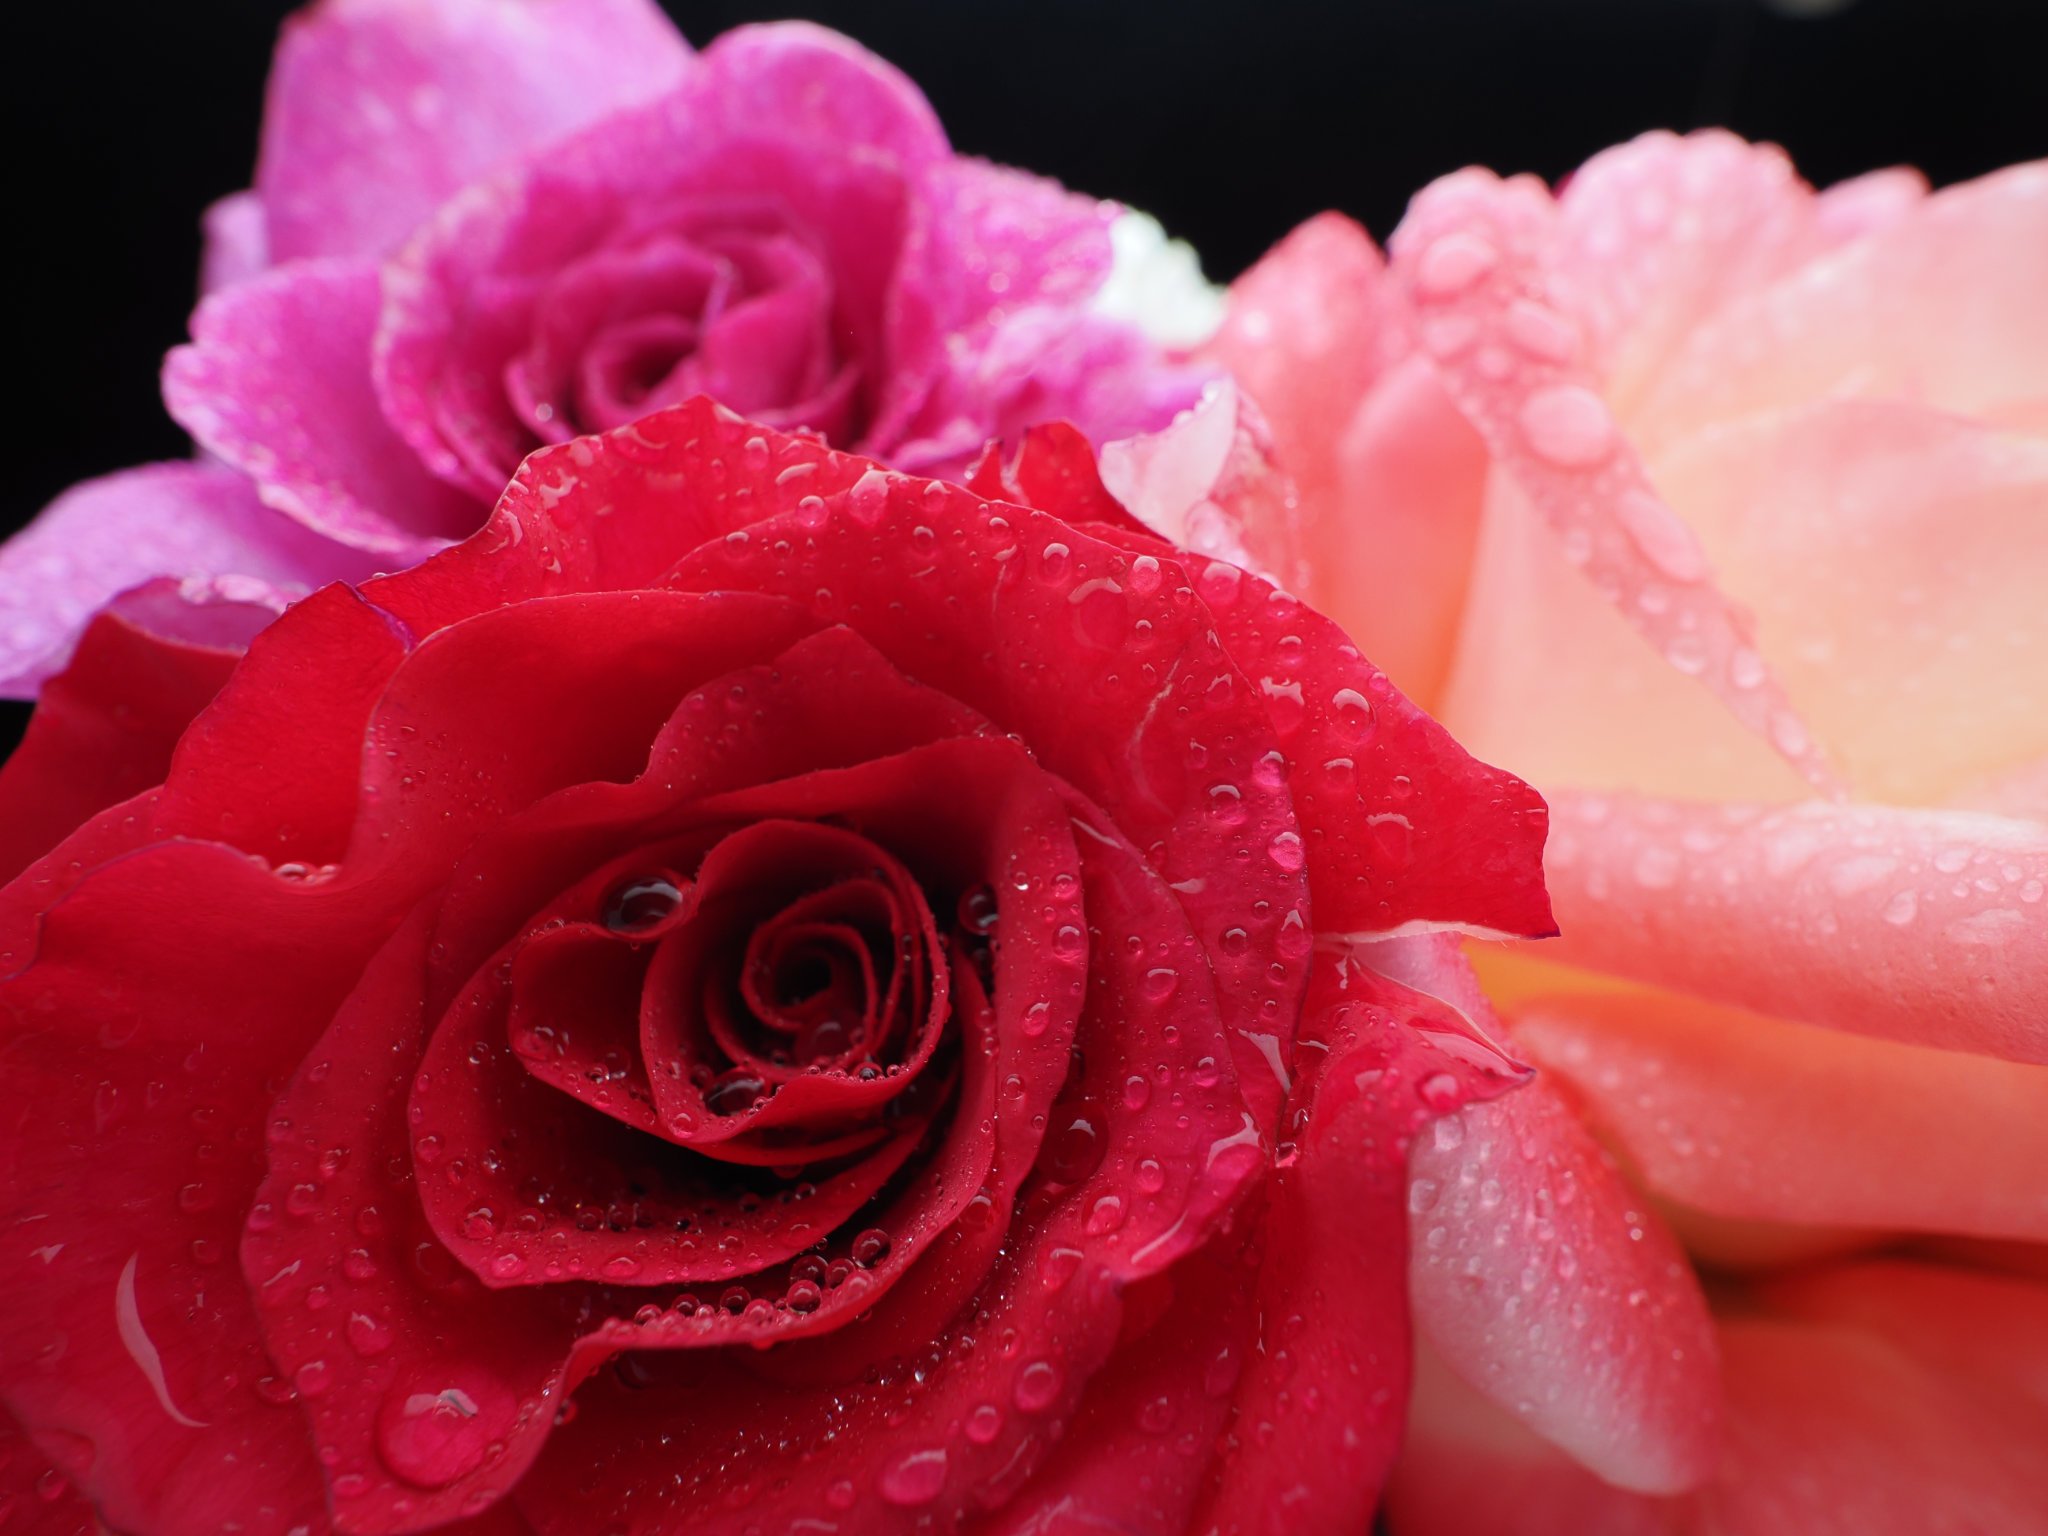
 but the light is very harsh, the reflections are very distracting, and the nearest flower is brighter than the ones in the back. This is not very even lighting. My fix–>
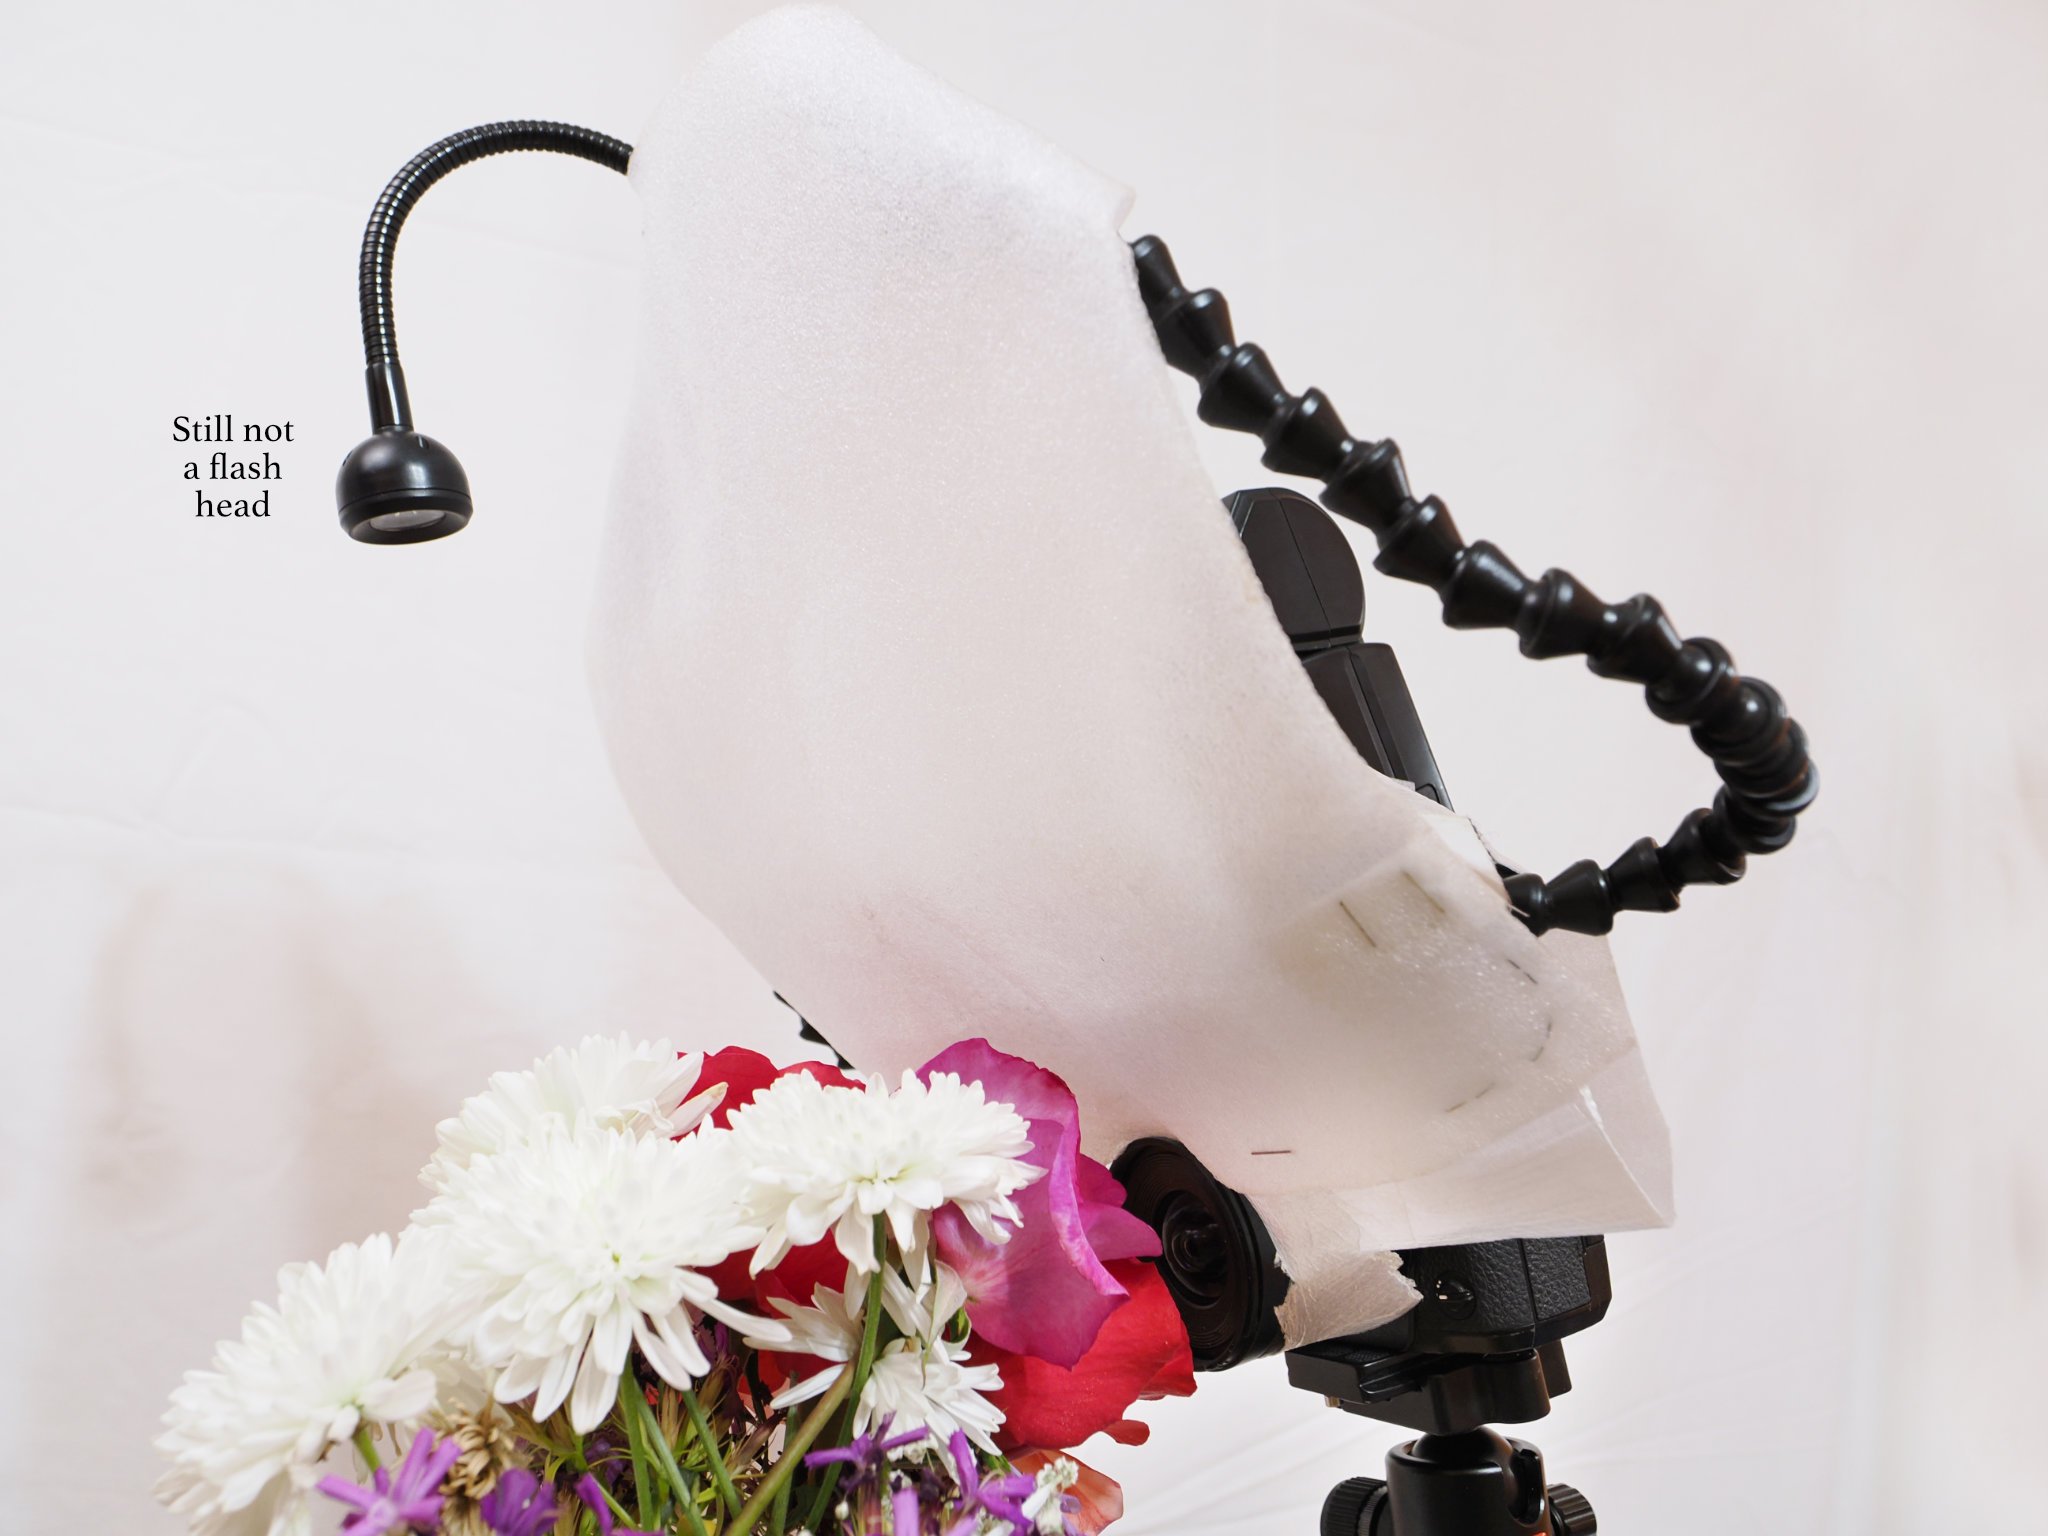 Shooting through some diffusing material can do wonders…
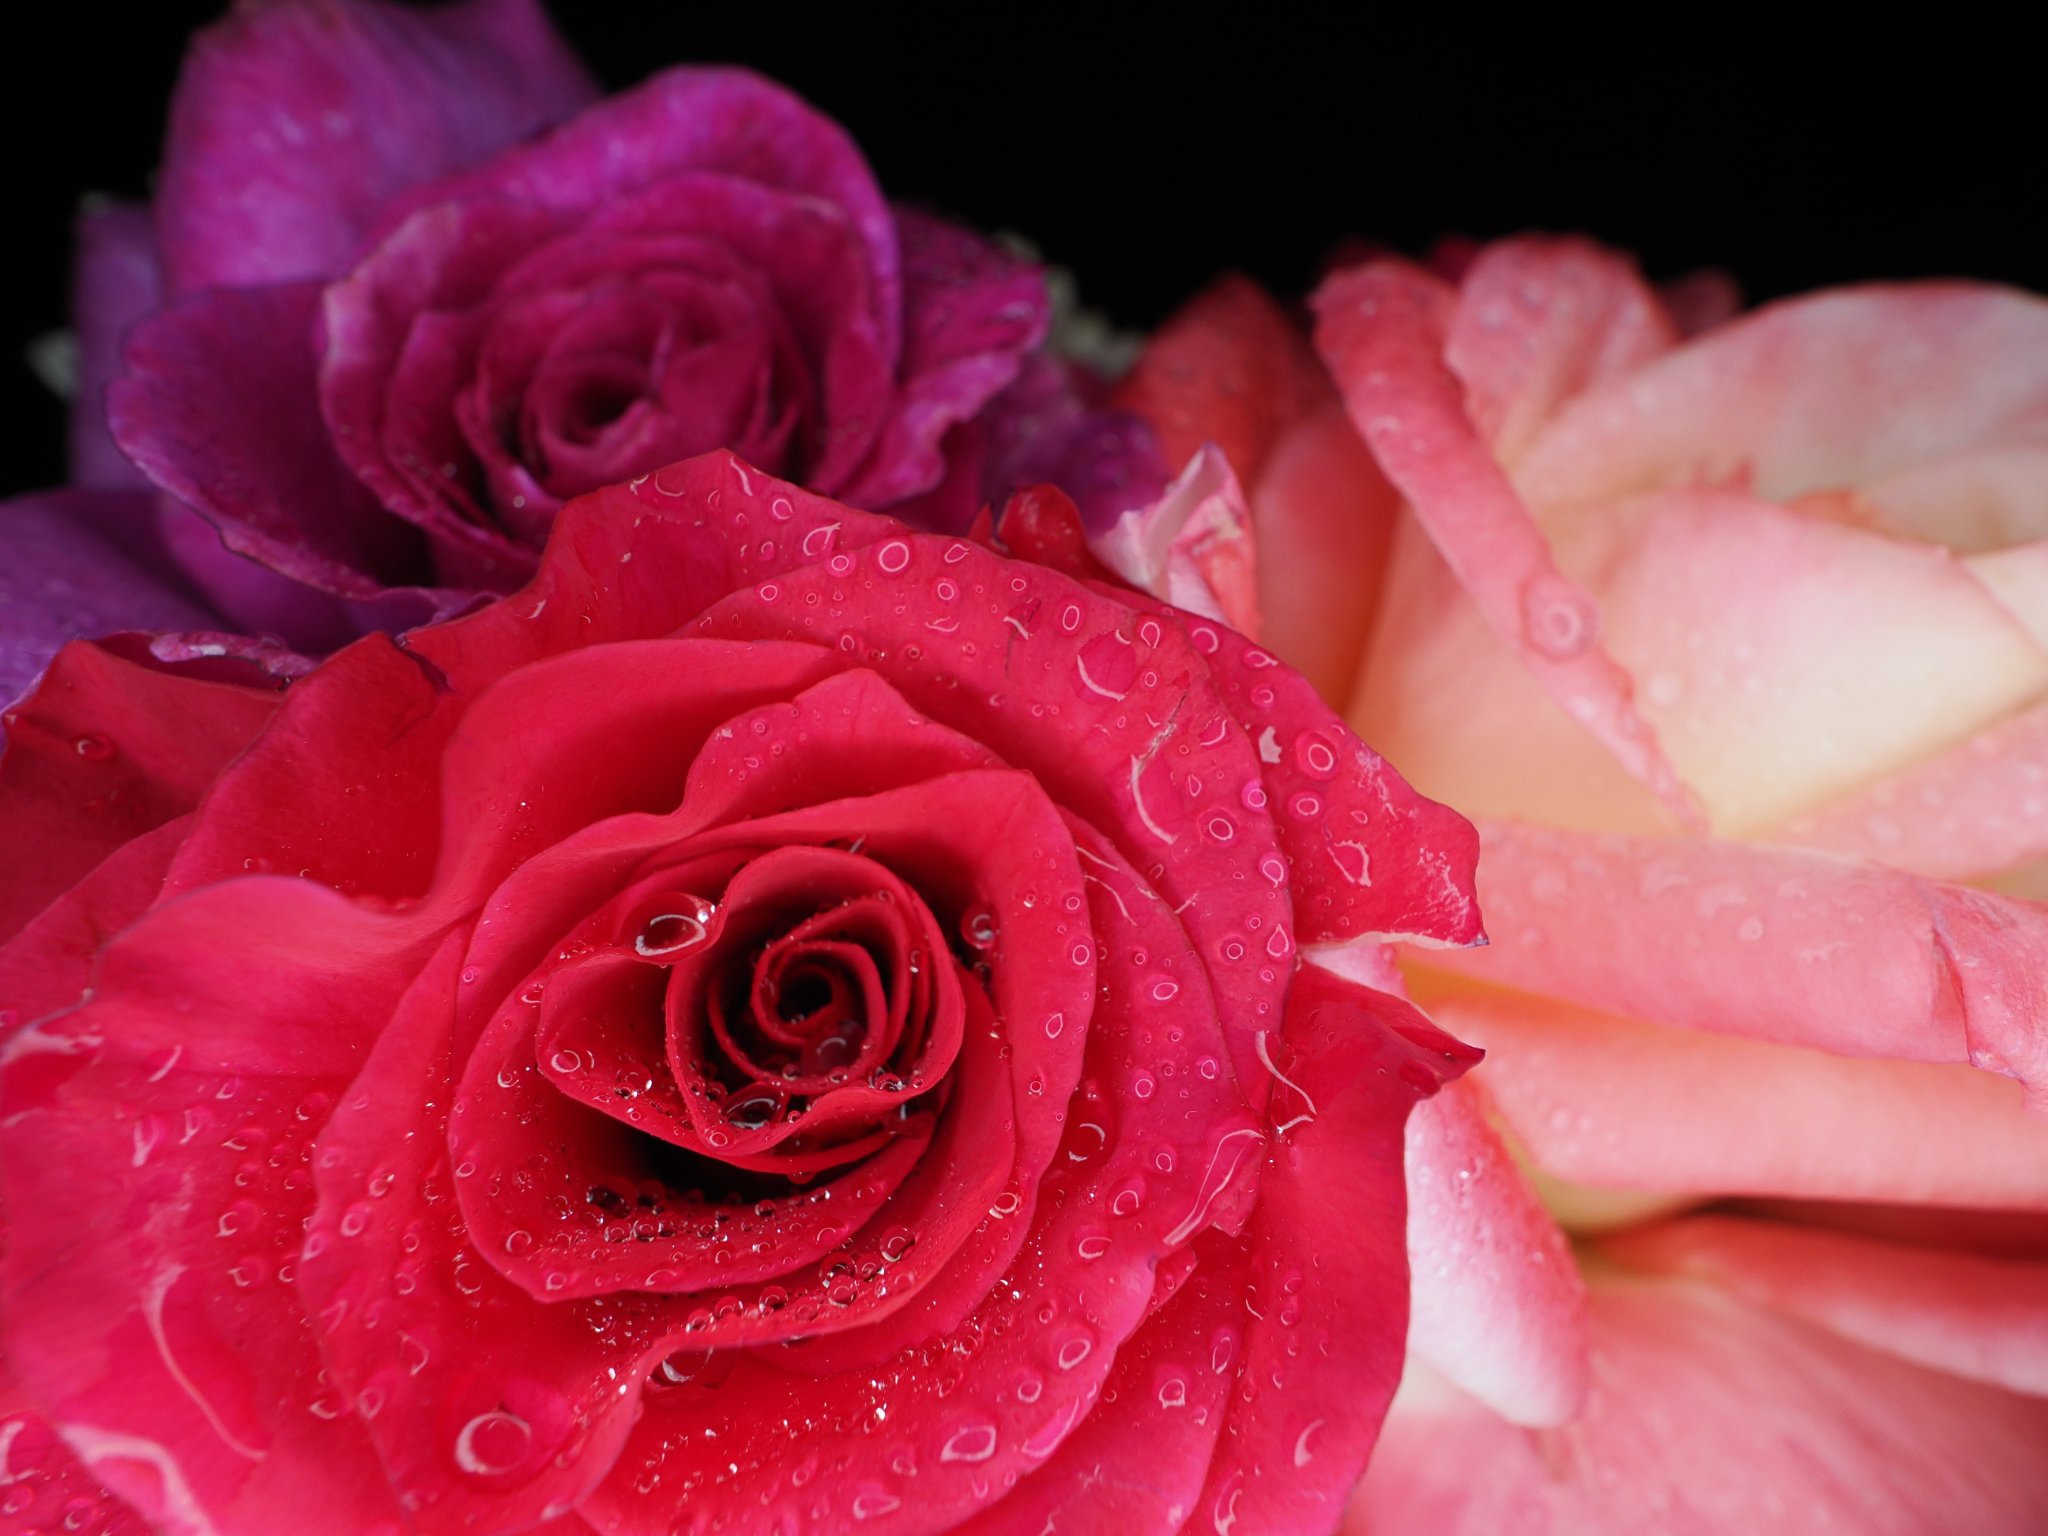 … not really, the reflections are always tacky, and the nearest flower is clearly brighter than the further ones. This is not even light.
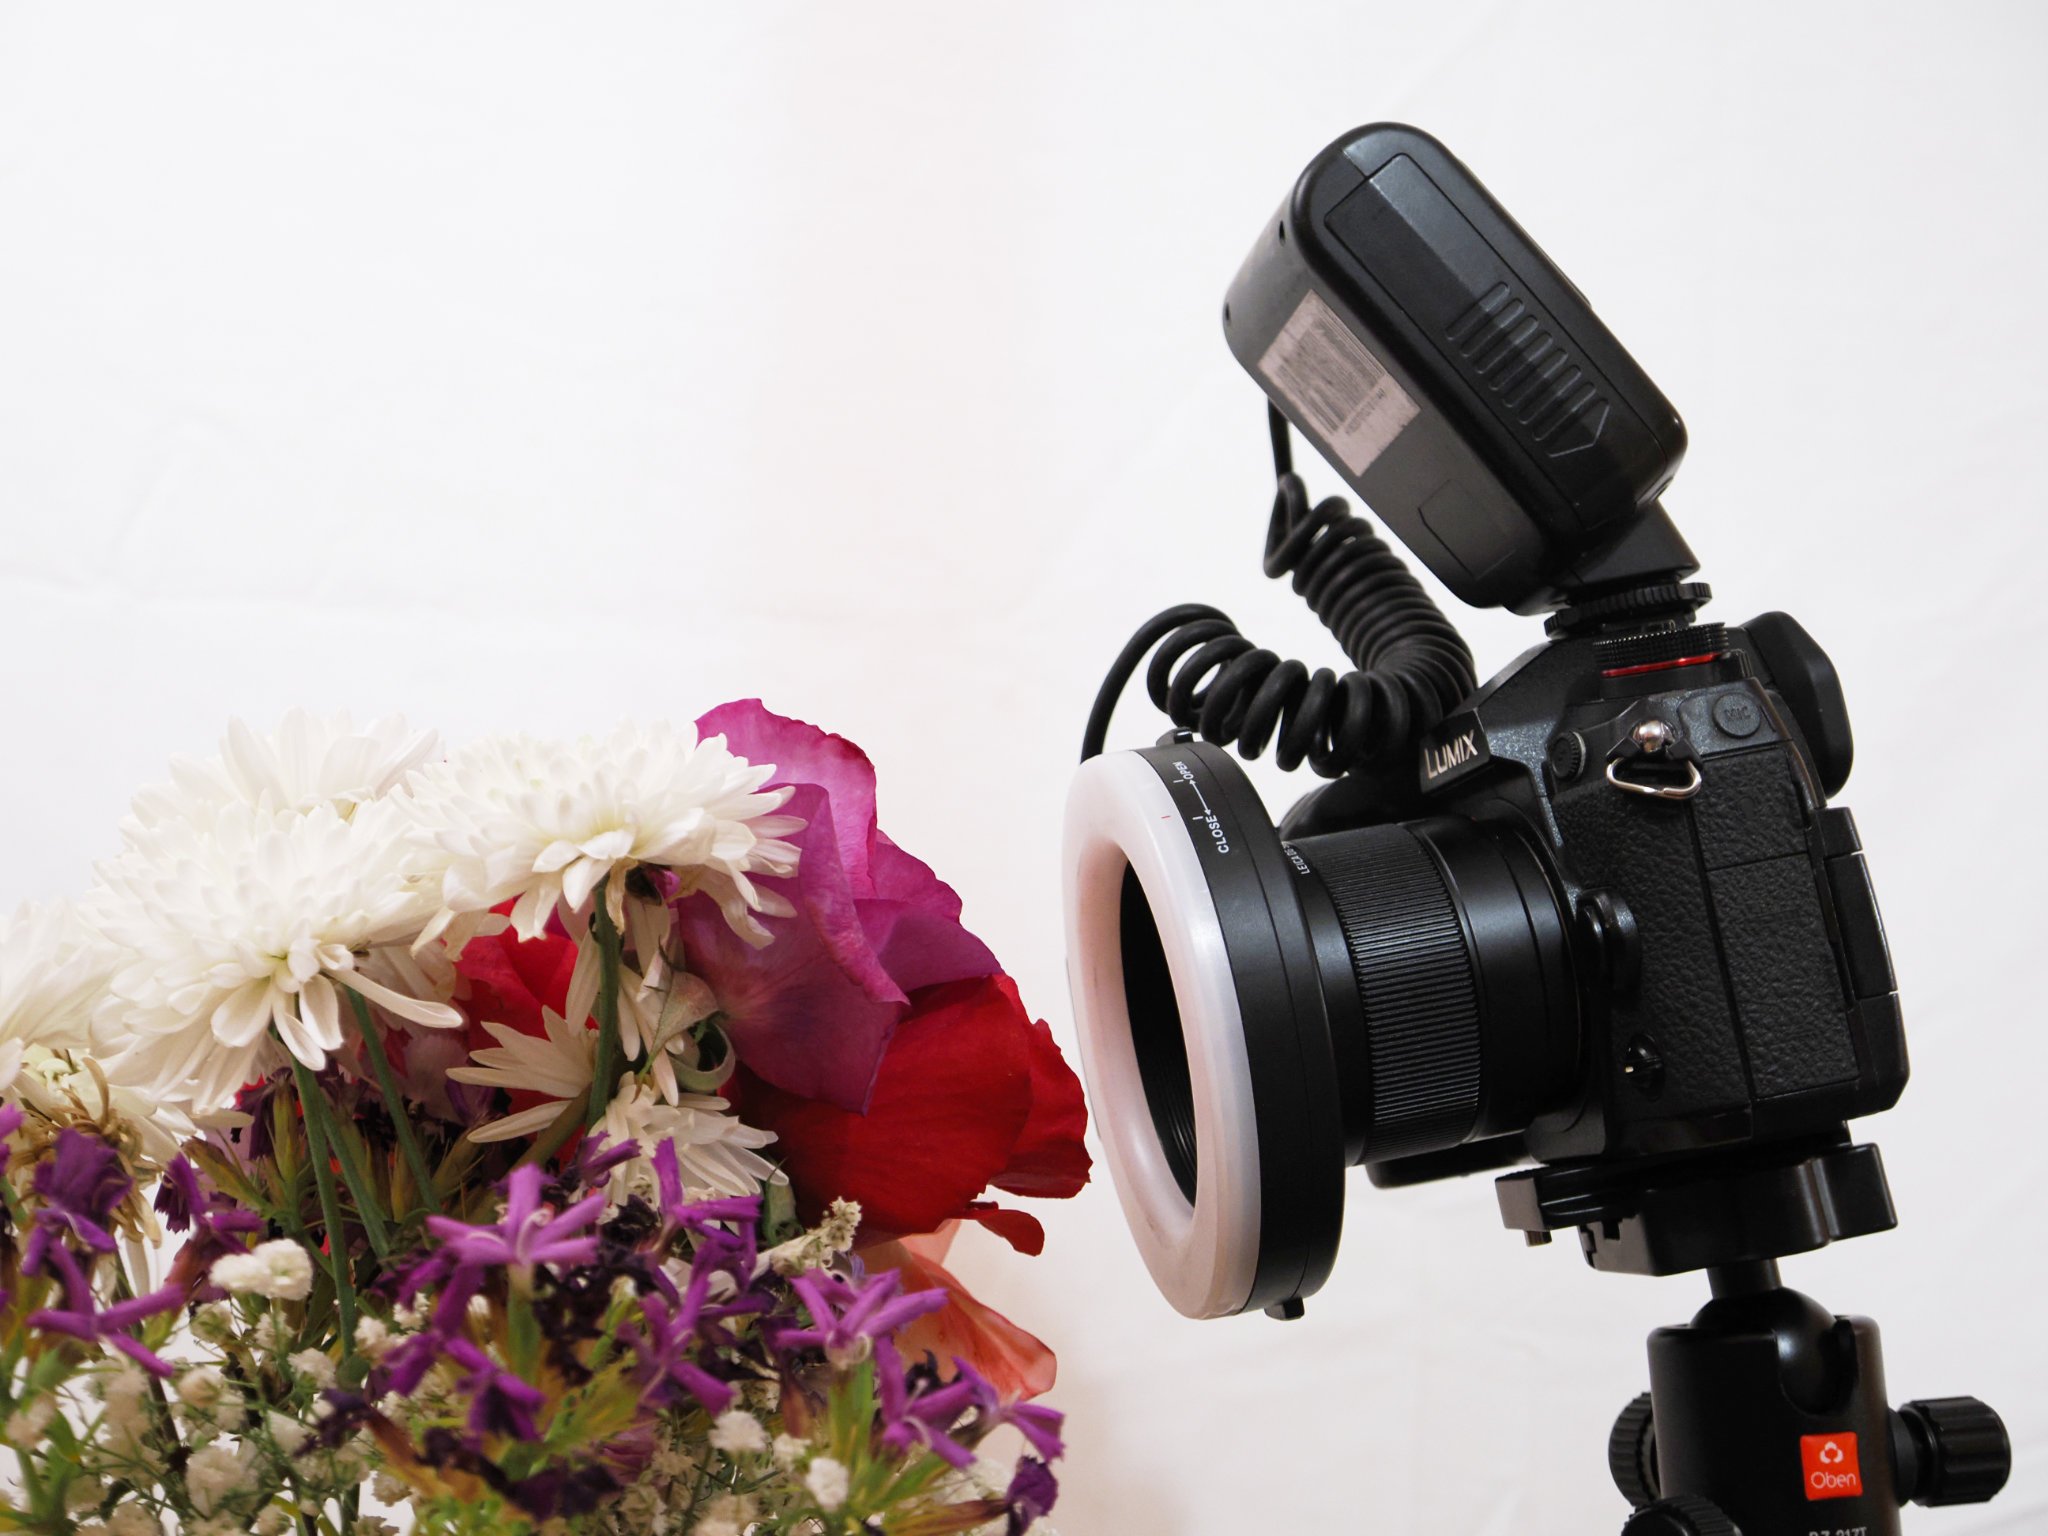 A ring flash is the perfect solution! right…?
 … not really, the reflections are always tacky, and the nearest flower is clearly brighter than the further ones. This is not even light.
تعليق