
 تويت
تويت
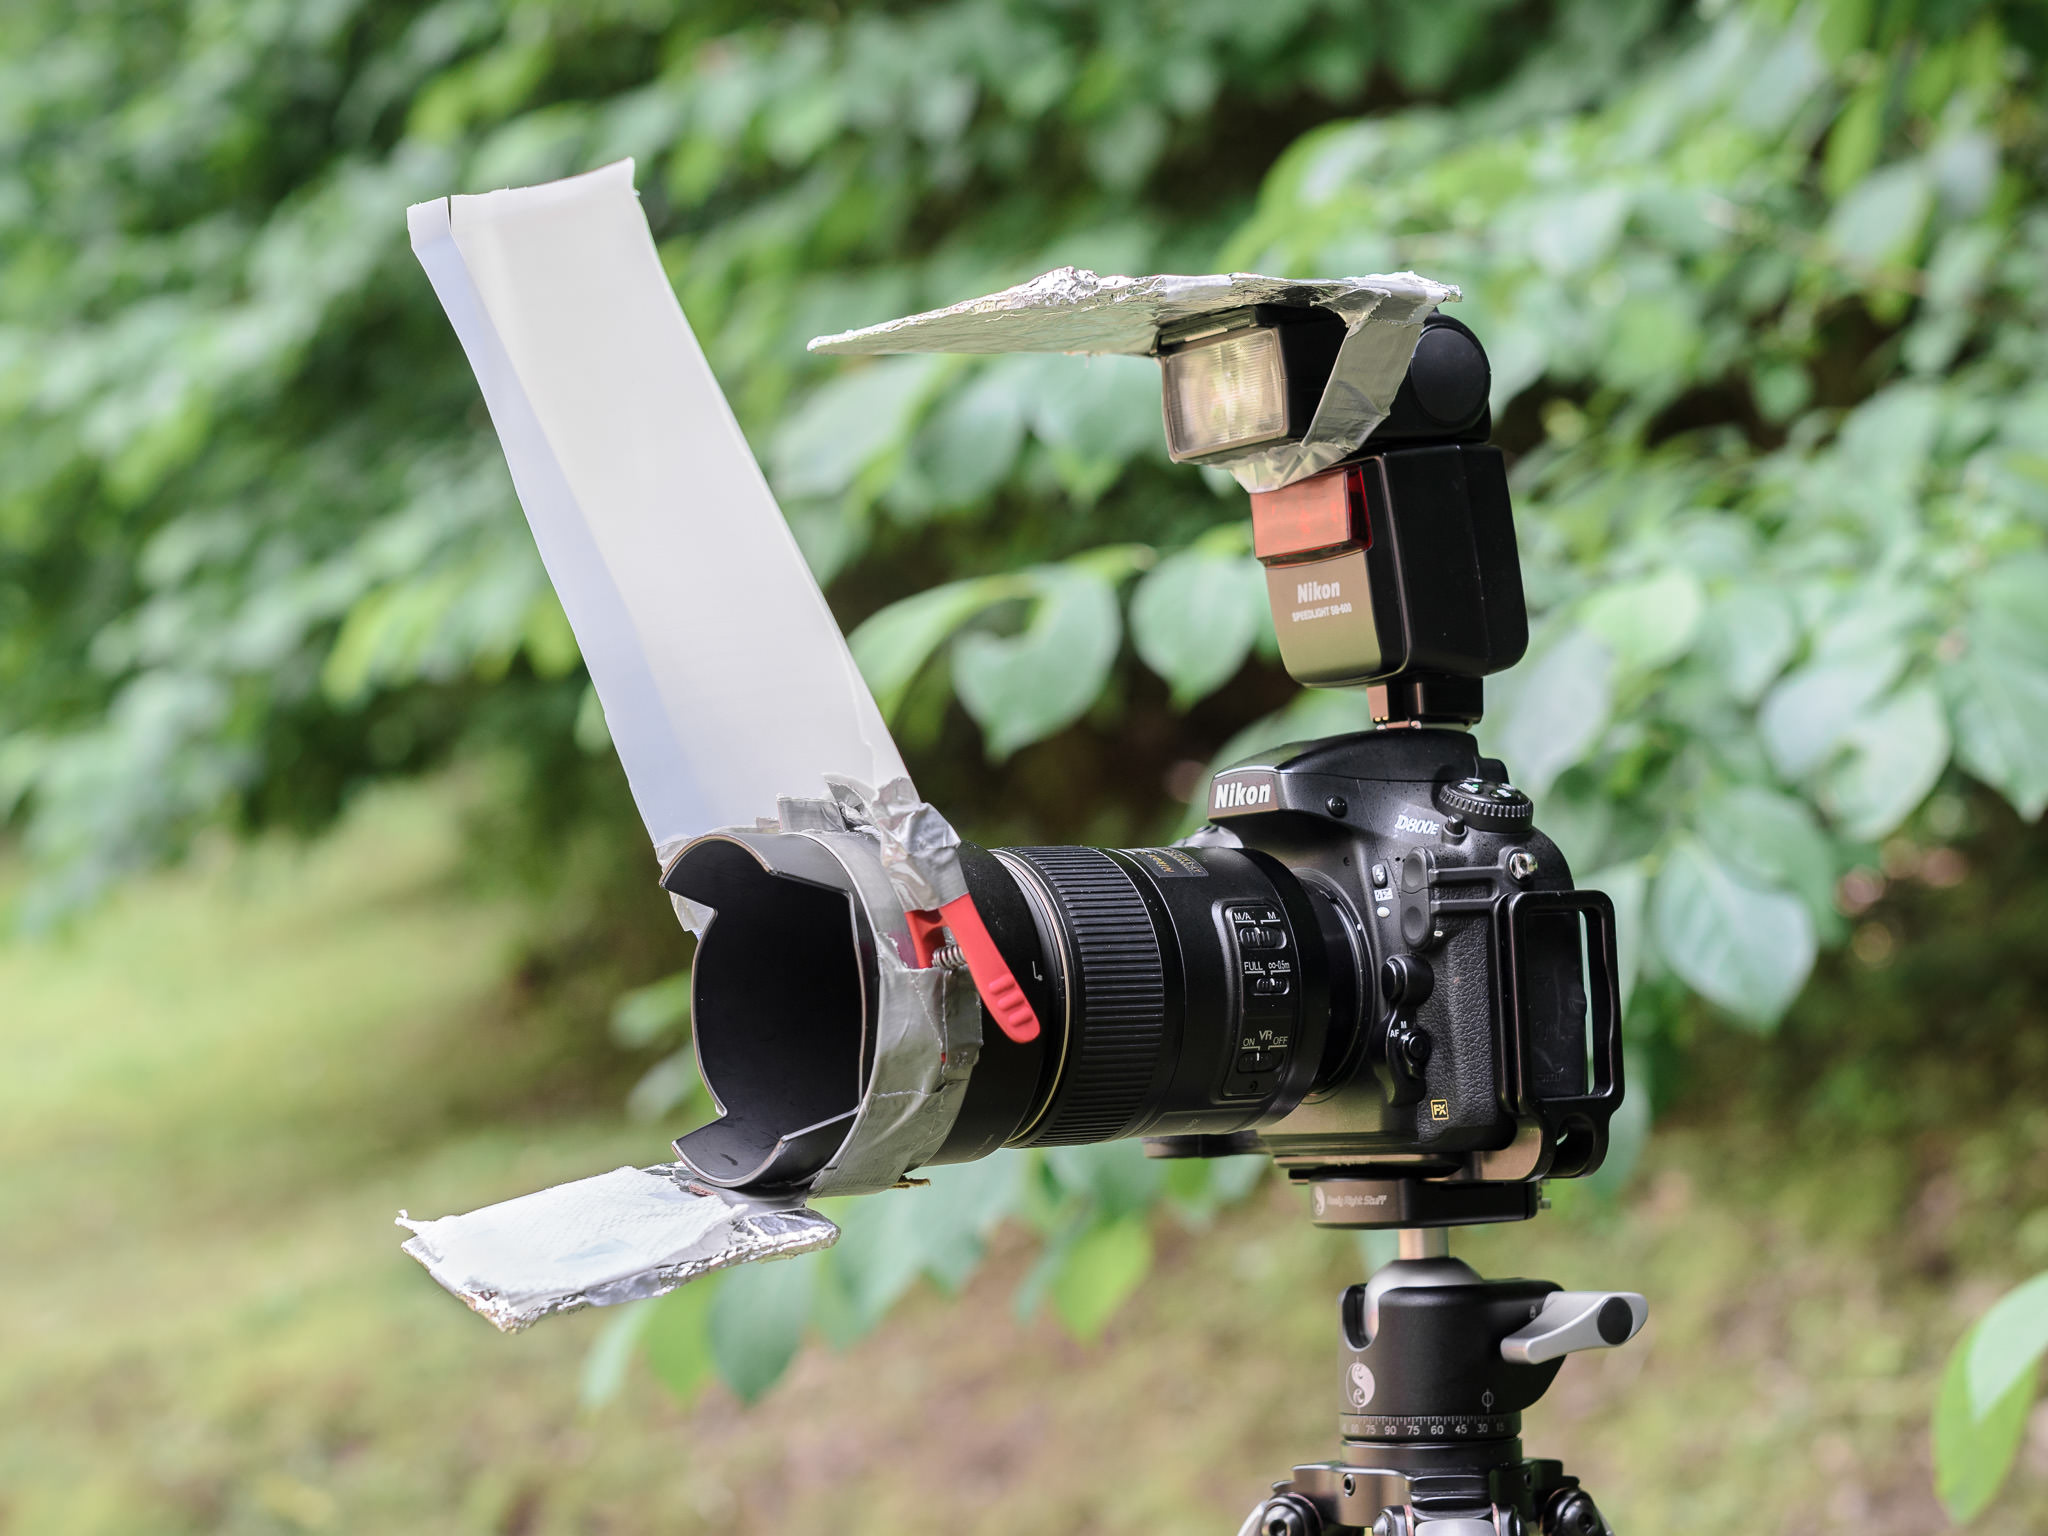
Macro Photography Lighting Tutorial
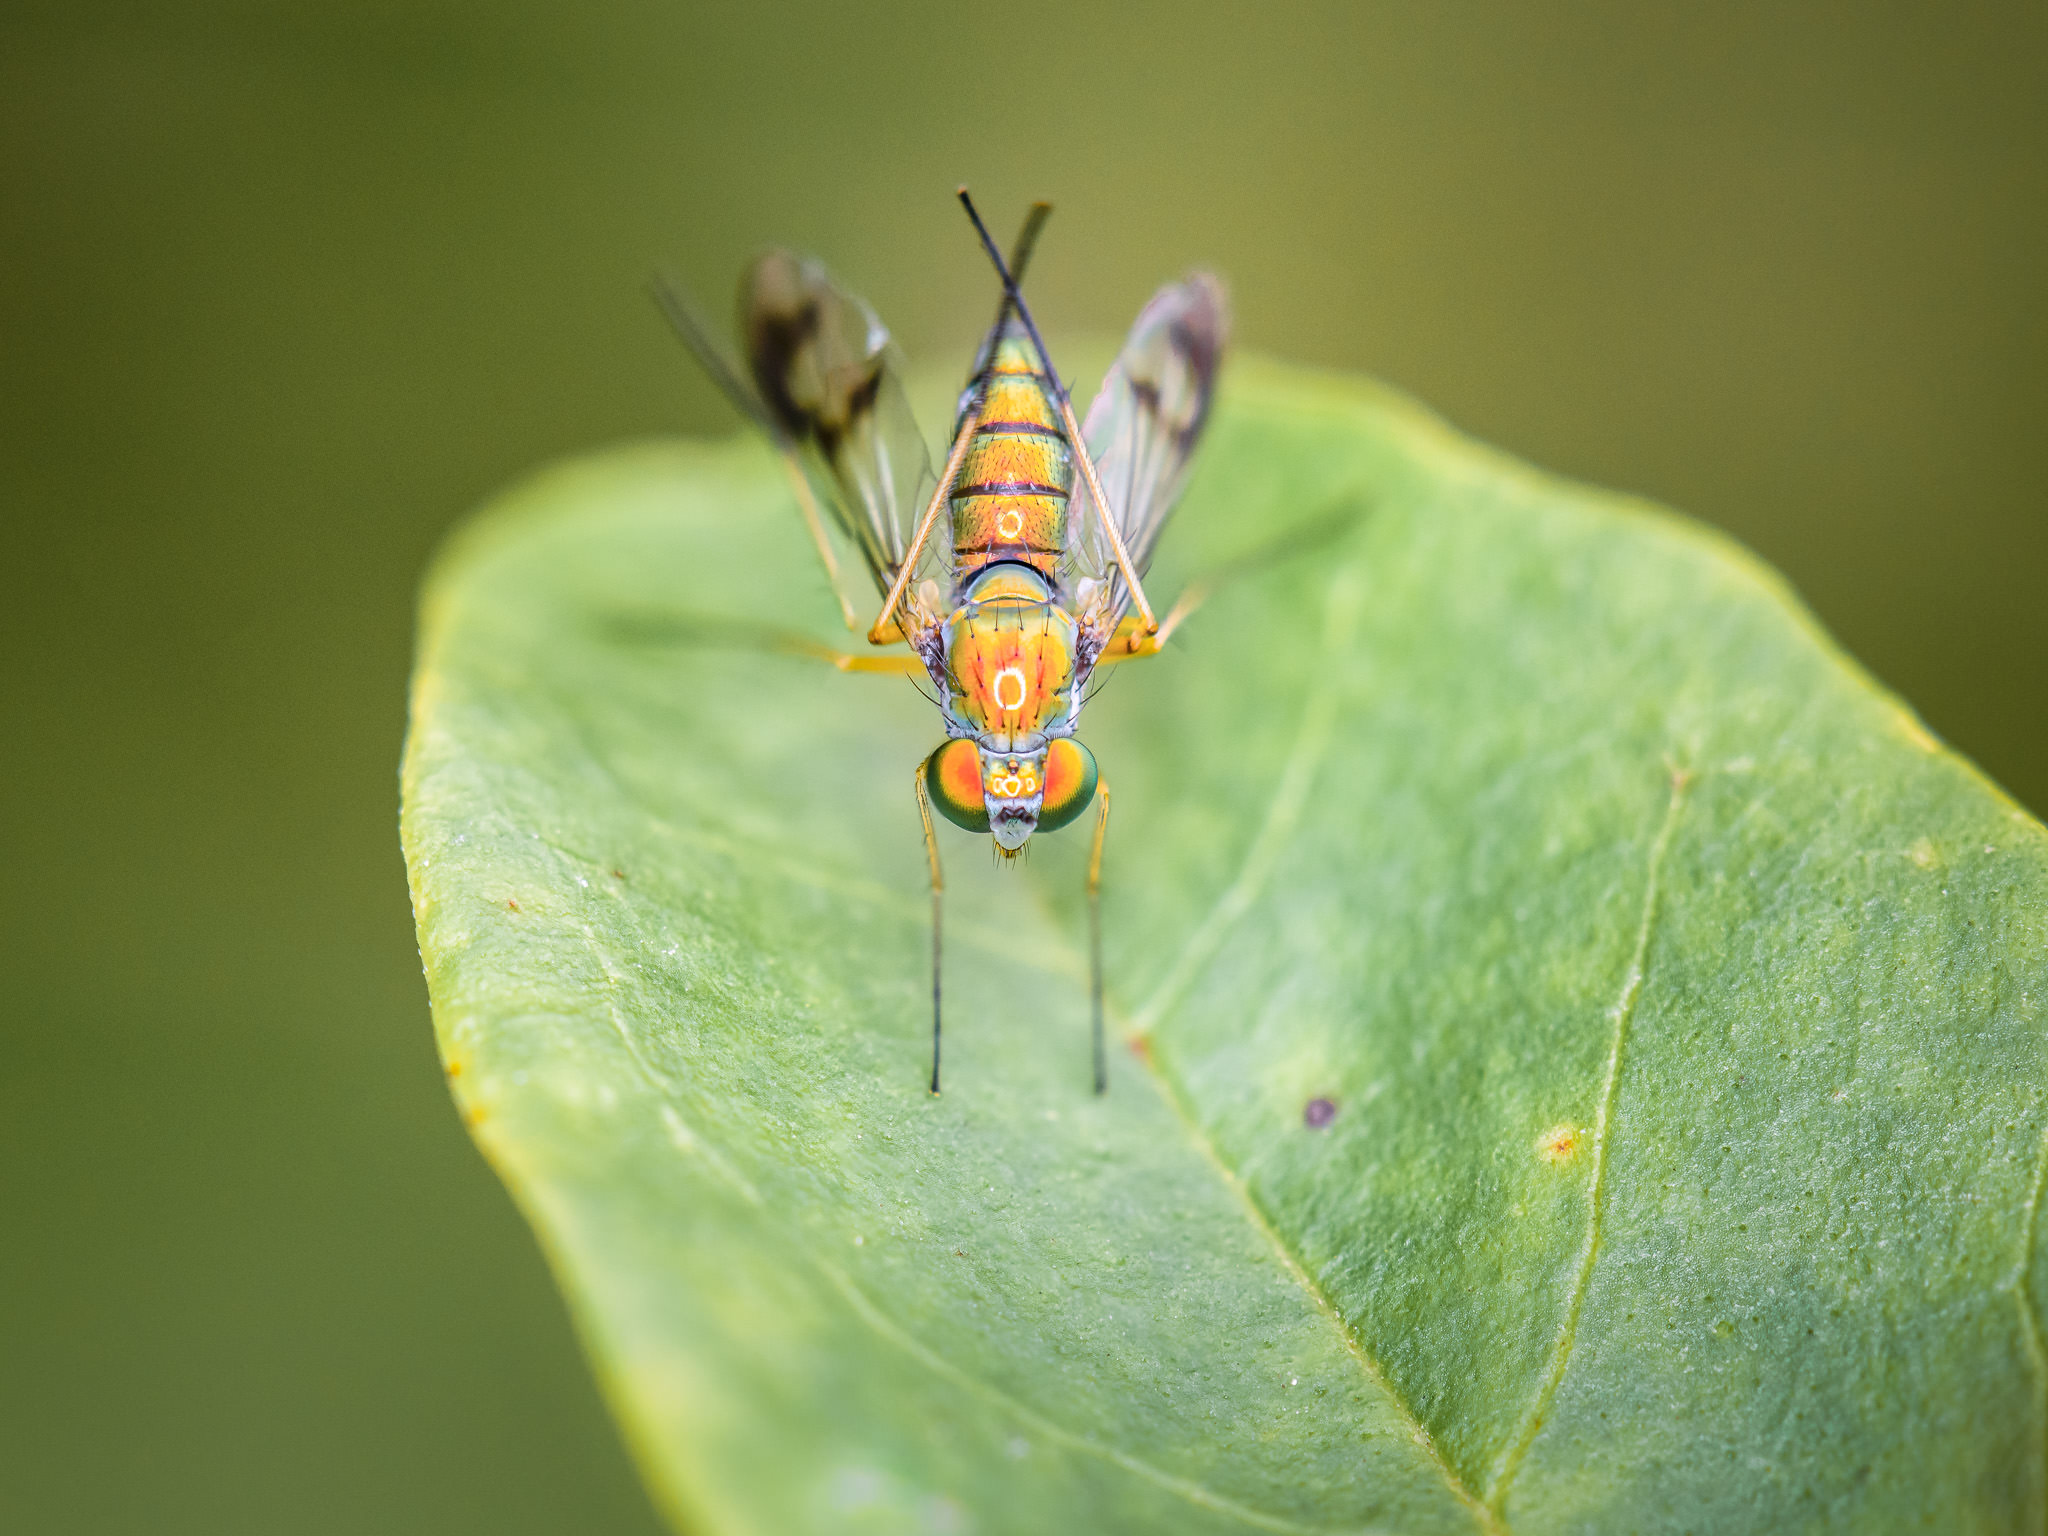
For our readers in the Northern Hemisphere, it’s that time of year again — days are hotter, nights are shorter, and the air is stuffier. With the changes in weather, two different creatures are beginning to emerge from their deep winter slumbers: the insect and the macro photographer. As macro photography grows more popular, a key question arises: what is the best way to light a bug’s picture?
This article goes into a lot of detail, and I’ve also made a complete video tutorial on macro photography lighting if you prefer:
https://www.youtube.com/watch?v=hRkaFPuGGpE


تعليق