
 تويت
تويت
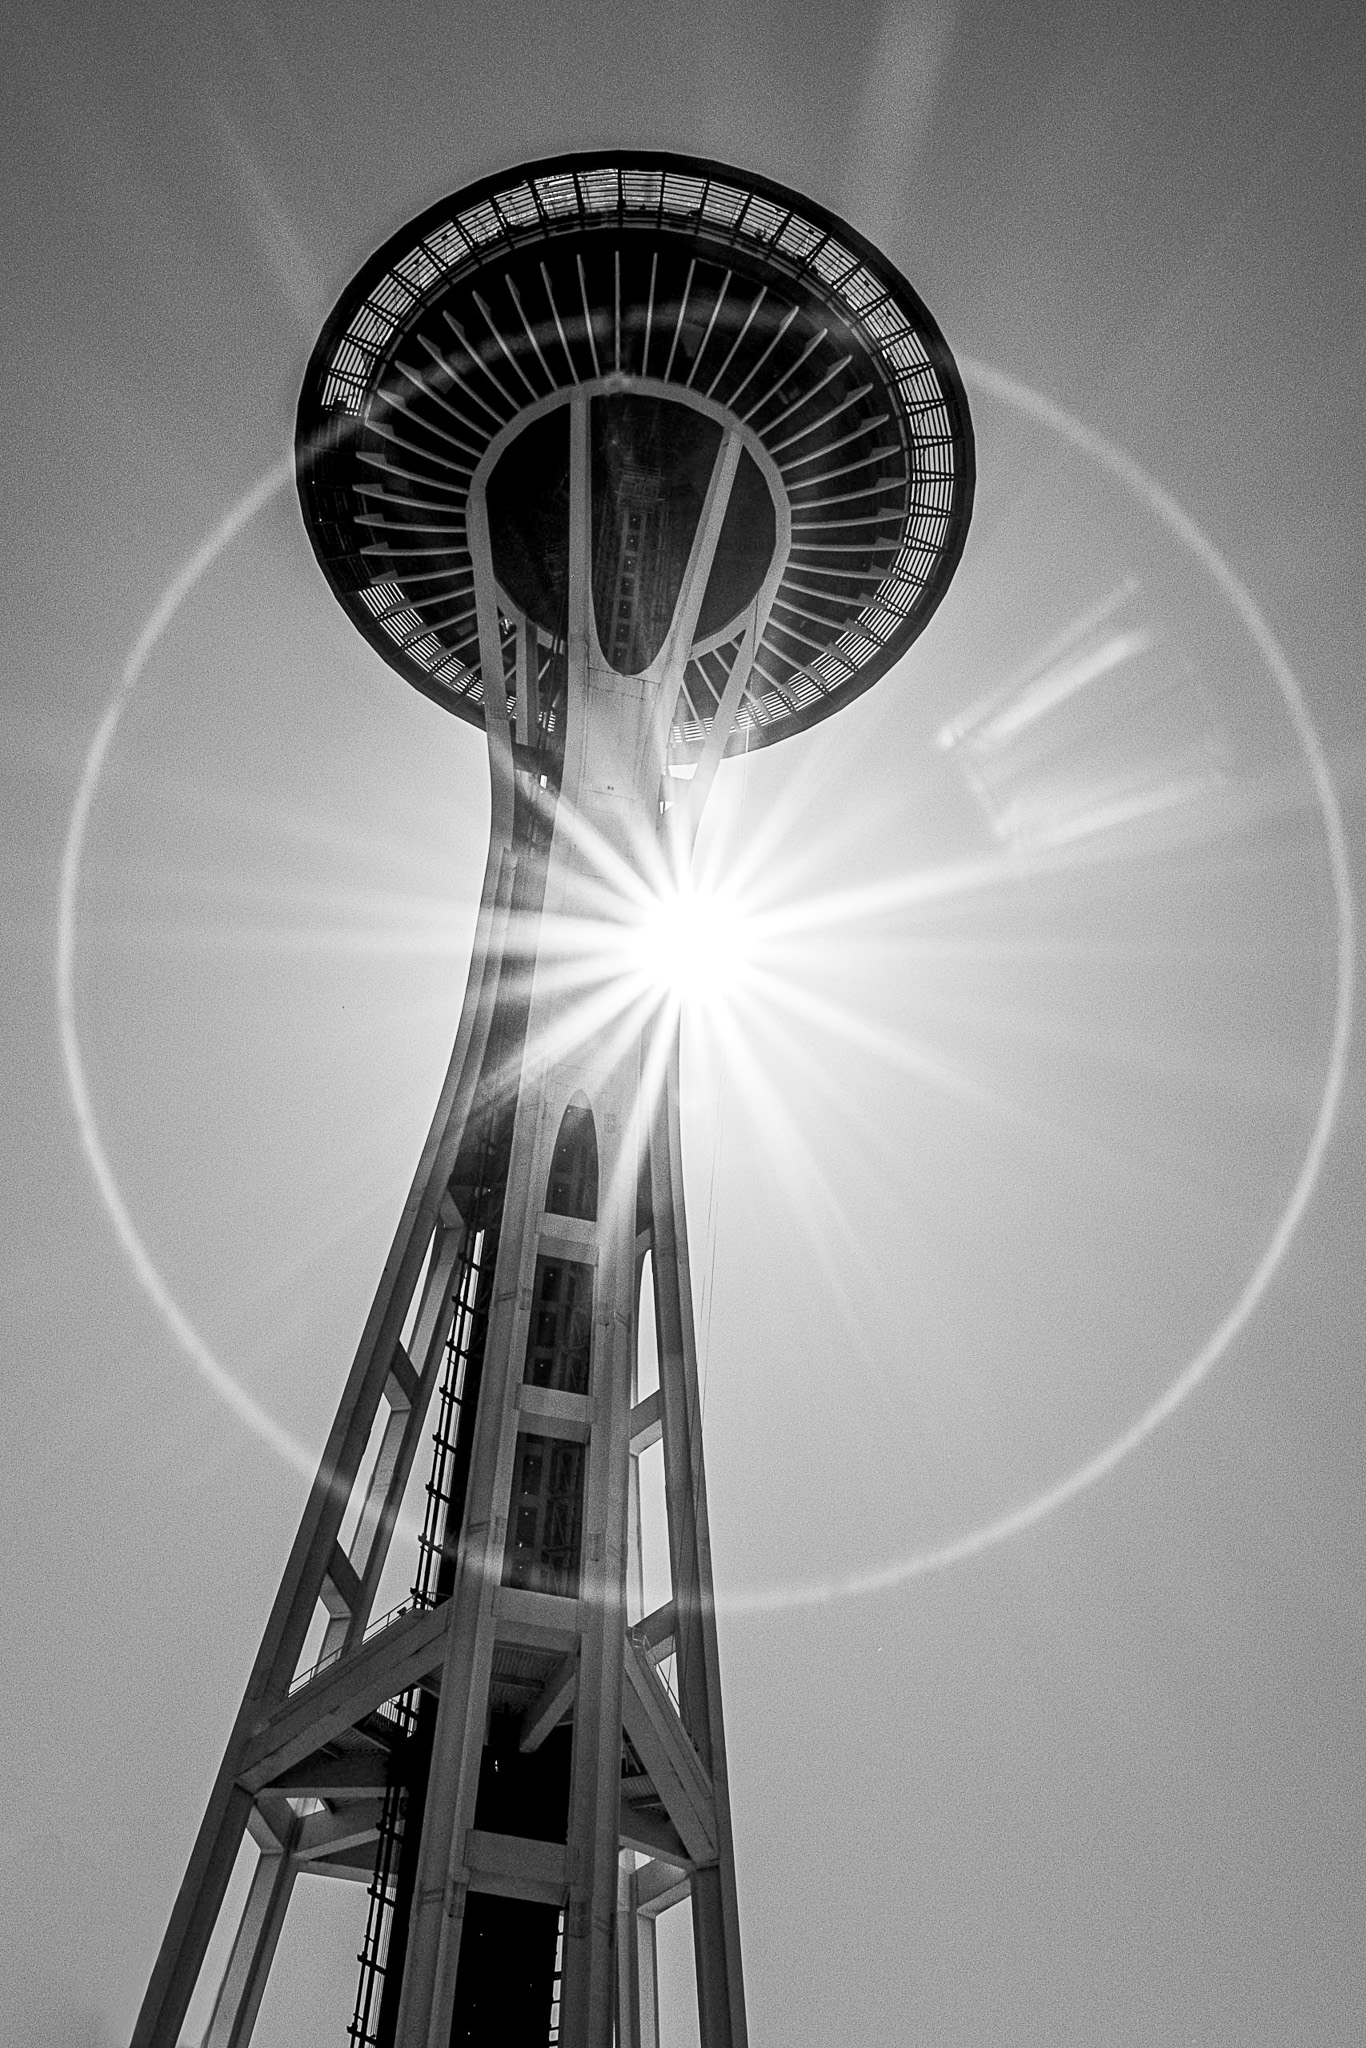
How to Take Better Photographs Outdoors
Before we begin, if you aren’t comfortable with the relationship between aperture, shutter speed, and ISO, you will want to read through Elizabeth’s article on the exposure triangle before we get started.

Before we begin, if you aren’t comfortable with the relationship between aperture, shutter speed, and ISO, you will want to read through Elizabeth’s article on the exposure triangle before we get started.


تعليق