
 تويت
تويت
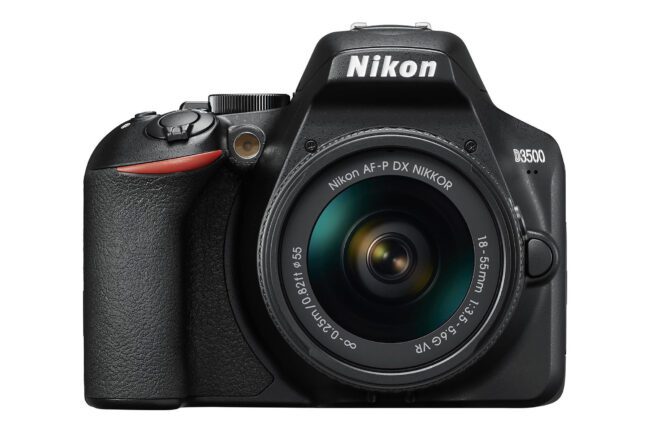
إعدادات كاميرة نيكون D3500 الموصى بها
Recommended Nikon D3500 Settings
For many photographers, especially first-time DSLR users, the menu settings on the Nikon D3500 can be confusing and overwhelming. Even though the Nikon D3500 is easier to understand than some other advanced cameras, it still has dozens of menu options to work through. How do you even begin to set everything correctly?
Hopefully, this article will give you a good place to start. Below, I’ve explained every single important camera setting on the Nikon D3500, including my recommendations as to how to set this camera. Keep in mind that there is more than one good way to set the Nikon D3500. These are simply the settings that have worked great for me. Hopefully, you find them useful in clearing up any confusion you may have.

بالنسبة للعديد من المصورين، وخاصة مستخدمي كاميرا DSLR لأول مرة، يمكن أن تكون إعدادات القائمة في كاميرا Nikon D3500 مربكة ومربكة. على الرغم من أن كاميرا Nikon D3500 أسهل في الفهم من بعض الكاميرات المتقدمة الأخرى، إلا أنها لا تزال تحتوي على العشرات من خيارات القائمة للعمل من خلالها. كيف يمكنك حتى البدء في ضبط كل شيء بشكل صحيح؟
نأمل أن تمنحك هذه المقالة مكانًا جيدًا للبدء. أدناه، قمت بشرح كل إعدادات الكاميرا المهمة في كاميرا Nikon D3500، بما في ذلك توصياتي بشأن كيفية ضبط هذه الكاميرا. ضع في اعتبارك أن هناك أكثر من طريقة جيدة لضبط كاميرا Nikon D3500. هذه هي ببساطة الإعدادات التي عملت بشكل رائع بالنسبة لي. نأمل أن تجدها مفيدة في إزالة أي ارتباك قد يكون لديك.
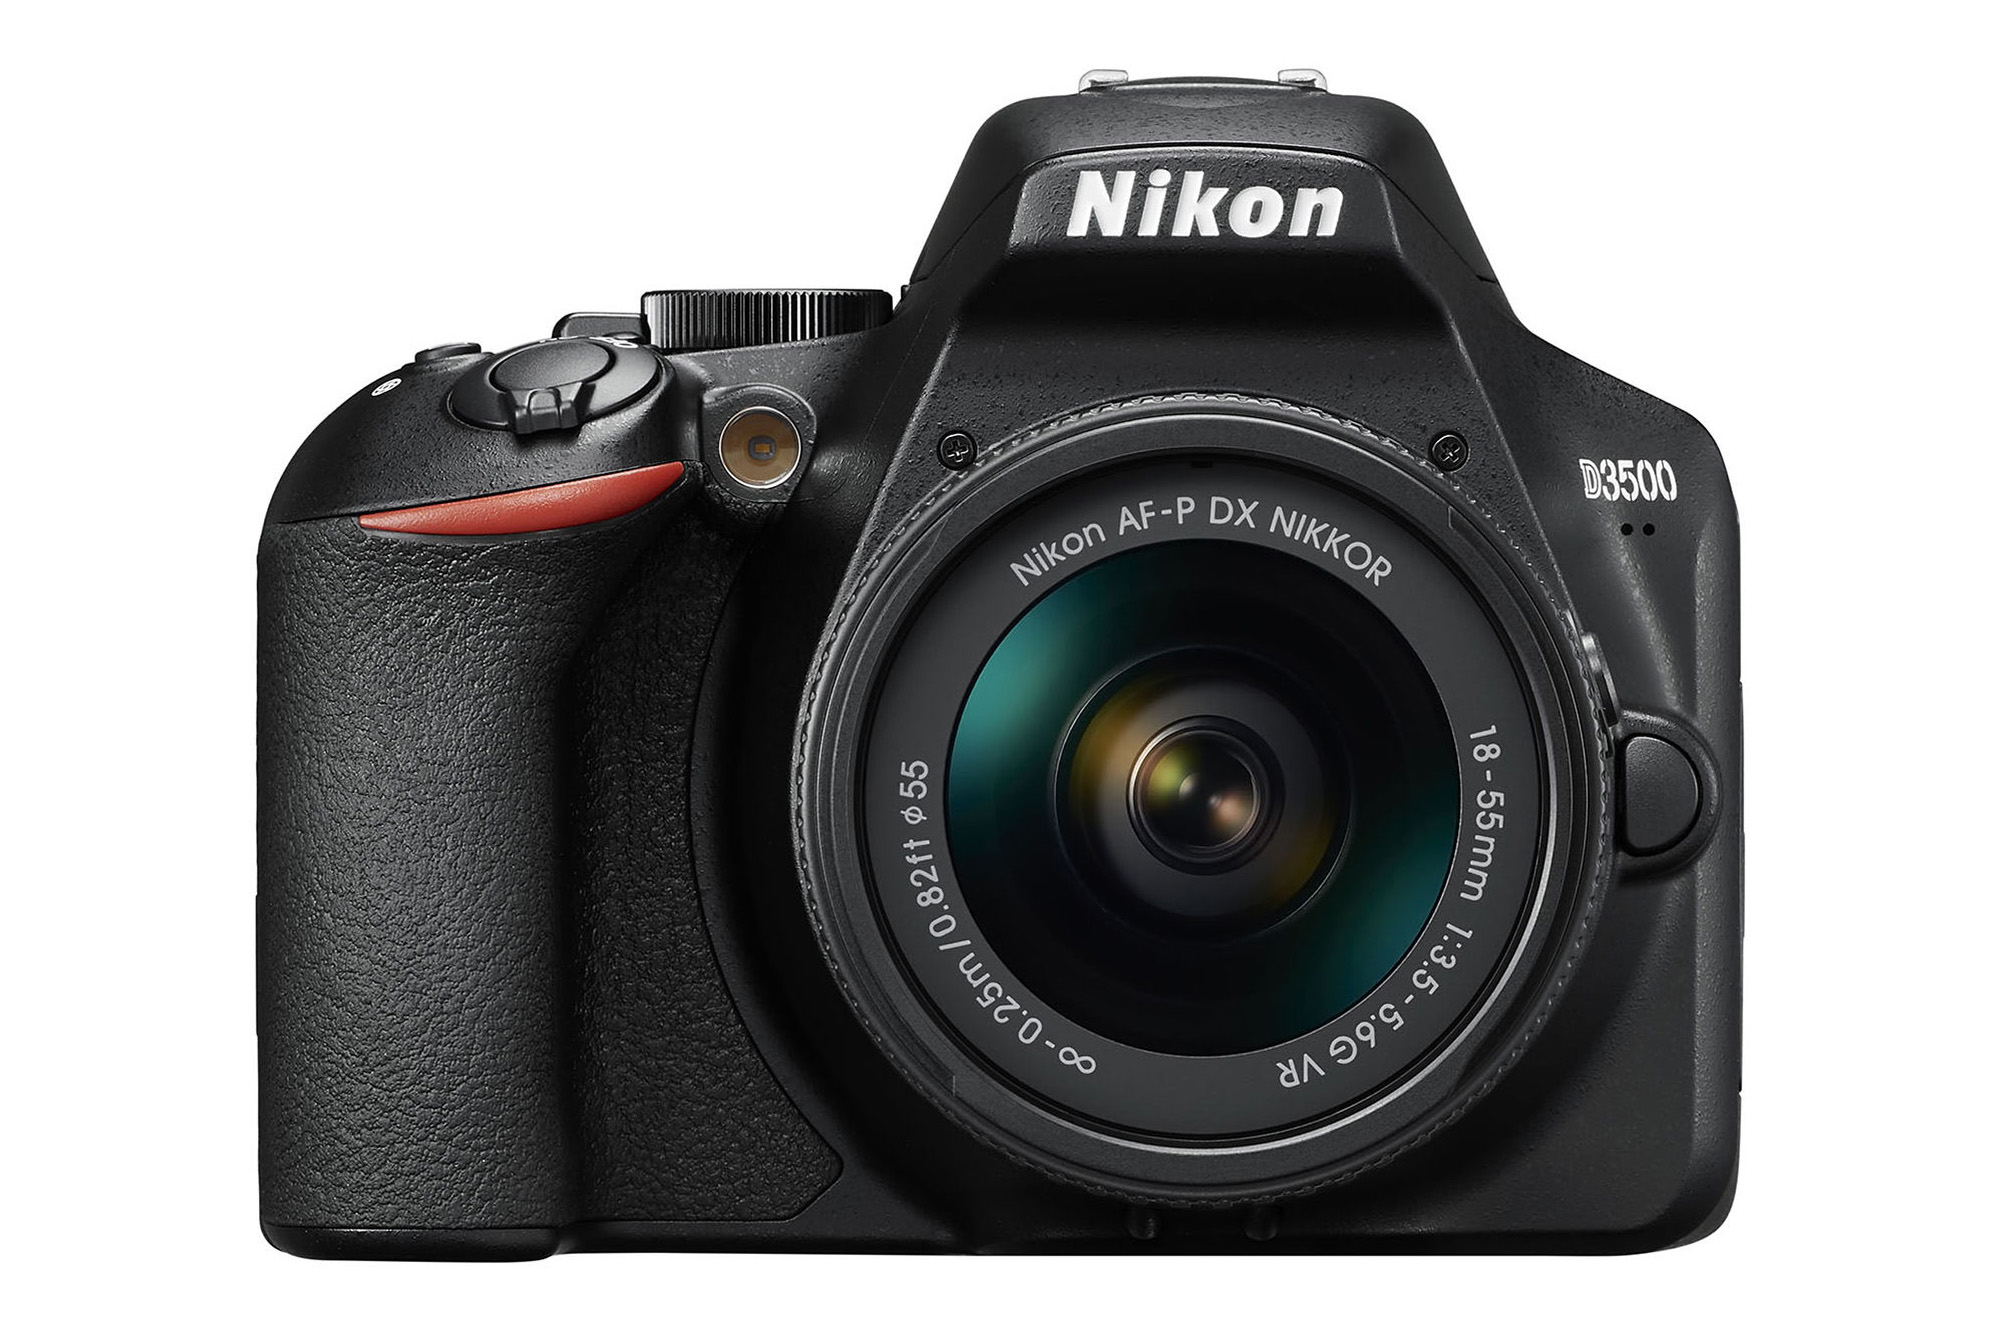
تعليق