كيف تم تصوير هذه الصورة ٧ How Was This Picture Made #07?

تقليص
X
 
  • تصفية - فلترة
  • الوقت
  • عرض
إلغاء تحديد الكل
مشاركات جديدة

  • كيف تم تصوير هذه الصورة ٧ How Was This Picture Made #07?

    كيف تم تصوير هذه الصورة ٧
    How Was This Picture Made #07?

    For Part 7 of our How Was This Picture Taken series, I have another portrait for you. Our last related article was a complete spoof and a joke (for those who did not get that it was an April Fool’s joke, including our “sell-out” to Canon!), so this time we will get back to our more serious regular scheduled programming. Compared to the last one, hopefully you can learn something from this one
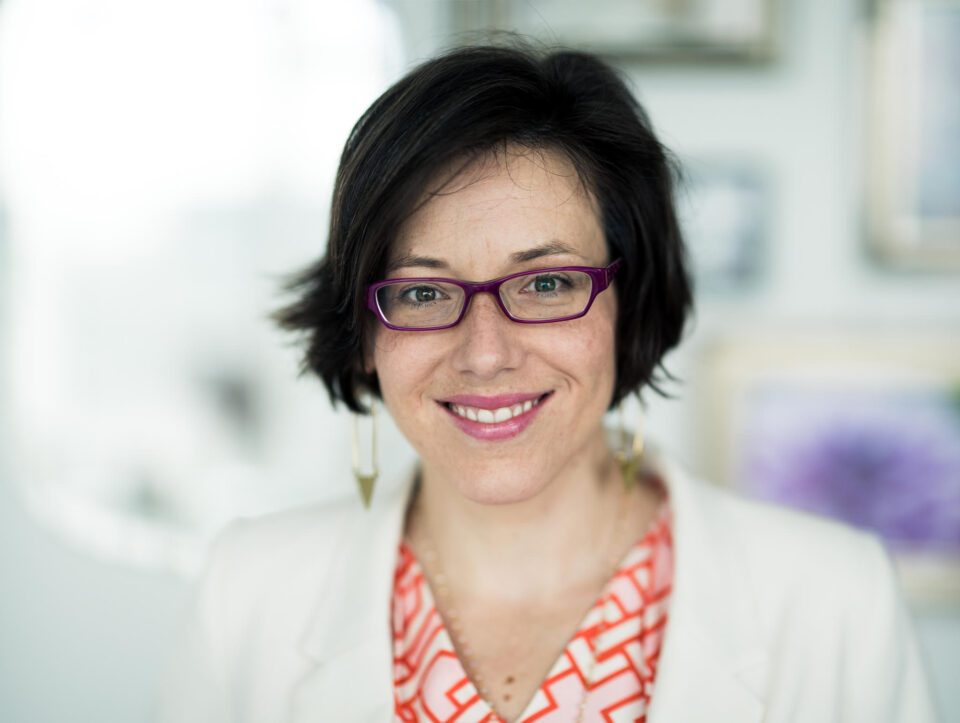
    How Was This Image Created?
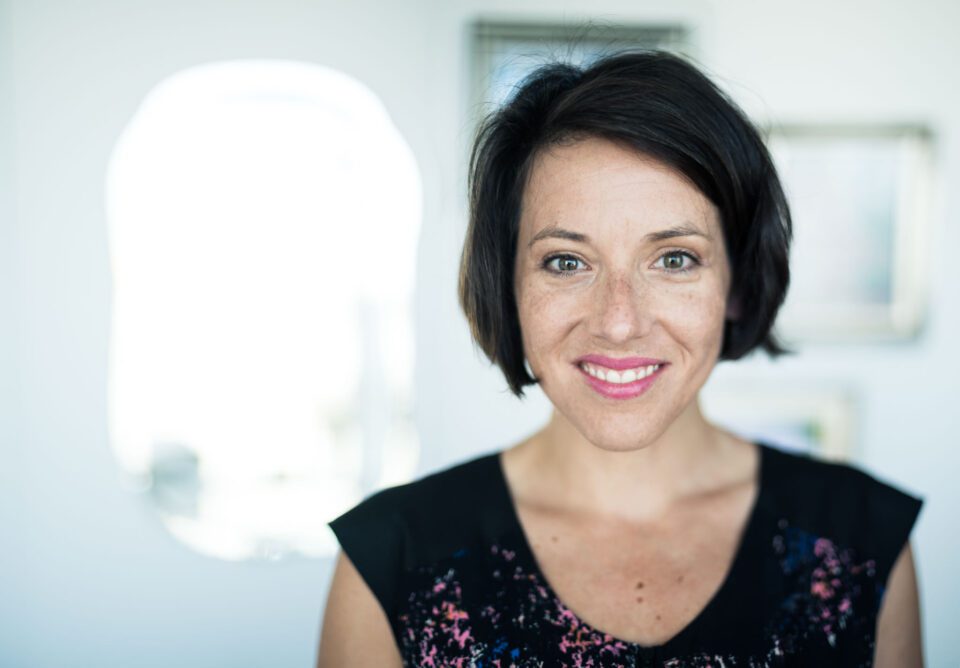
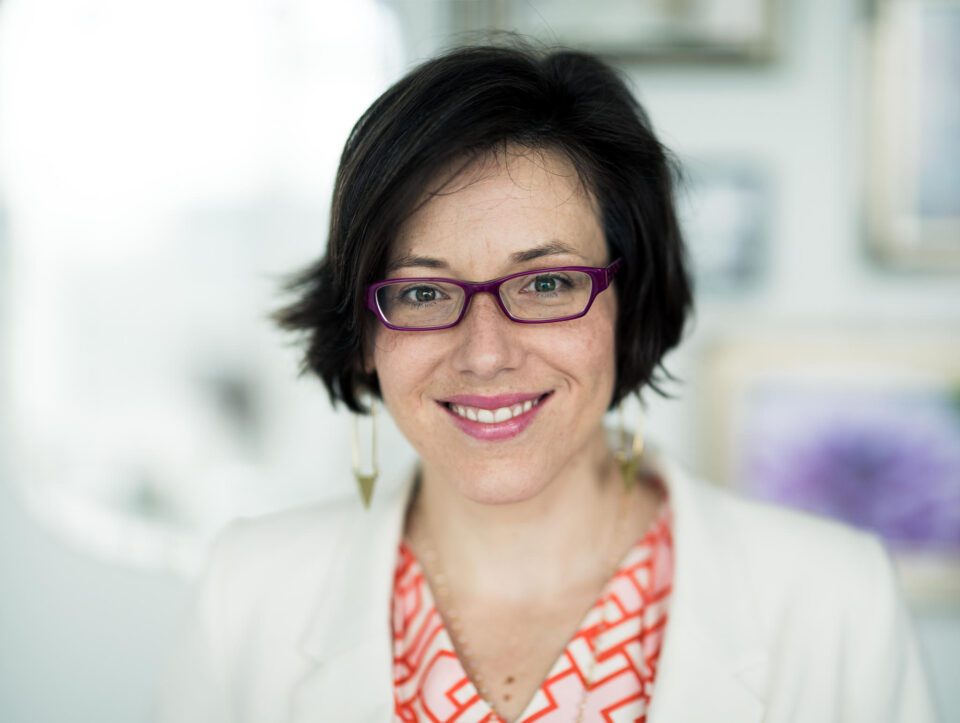
    This is Belinda, my wife. One morning when she was heading out to work, I thought she looked quite nice and asked if I could take a quick photo of her. I also had something I had been wanting to try out, so this was the perfect opportunity.

    There are a few things I’d like you to consider about this image:
    • What type of camera and lens were used?
    • What camera settings were used?
    • What was done in post production?
    • Is there anything unusual about how this
    بالنسبة للجزء السابع من سلسلة كيف تم التقاط هذه الصورة، لدي صورة أخرى لك. كانت مقالتنا الأخيرة ذات الصلة عبارة عن محاكاة ساخرة ومزاح كامل (لأولئك الذين لم يفهموا أنها كانت نكتة كذبة أبريل، بما في ذلك "بيعنا بالكامل" لشركة Canon!)، لذلك سنعود هذه المرة إلى مقالتنا العادية الأكثر جدية البرمجة المجدولة. مقارنة بالآخر، نأمل أن تتمكن من تعلم شيء من هذا

    ​كيف تم إنشاء هذه الصورة؟
    هذه بليندا، زوجتي. في صباح أحد الأيام عندما كانت متوجهة إلى العمل، اعتقدت أنها تبدو جميلة جدًا وسألت إذا كان بإمكاني التقاط صورة سريعة لها. كان لدي أيضًا شيء كنت أرغب في تجربته، لذا كانت هذه الفرصة المثالية.

    هناك بعض الأشياء التي أود منك أخذها في الاعتبار بشأن هذه الصورة: ما نوع الكاميرا والعدسة المستخدمة؟ ما هي إعدادات الكاميرا المستخدمة؟ ما الذي تم فعله في مرحلة ما بعد الإنتاج؟ هل هناك أي شيء غير عادي حول كيفية ذلك

  • #2
    Last week I posted a portrait as the next installment to our How Was This Picture Taken series. There were a lot of great guesses and a few people even guessed the exact technique that I used to create the image!


    If you need a refresher, here is the original post and the photo of Belinda (this time with metadata). I highly suggest you click on the image and view it that way versus embedded in the post. The image quality is better and it’s easy to compare to the next image:
    NIKON D810 + 85mm f/1.4 @ 85mm, ISO 400, 1/320, f/1.4

    لقد نشرت الأسبوع الماضي صورة شخصية باعتبارها الجزء التالي من سلسلة How Was This Picture Taken. كان هناك الكثير من التخمينات الرائعة، بل إن بعض الأشخاص خمنوا التقنية الدقيقة التي استخدمتها لإنشاء الصورة!

    إذا كنت بحاجة إلى تجديد معلوماتك، فإليك المنشور الأصلي وصورة Belinda (مع البيانات الوصفية هذه المرة). أقترح عليك بشدة النقر على الصورة ومشاهدتها بهذه الطريقة بدلاً من تضمينها في المنشور. جودة الصورة أفضل ومن السهل مقارنتها بالصورة التالية:

    كاميرا نيكون D810 + 85 مم f/1.4 @ 85 مم، ISO 400، 1/320، f/1.4

    تعليق


    • #3
      As you can see from the caption with the metadata information, I used a full frame camera with an 85mm lens at an aperture of f/1.4. This is a combination that I love when shooting portraits. With a full frame camera, 85mm lens and an aperture of f/1.4, it’s not very difficult to get the background nice and blurry. The image was made with only ambient light, which was provided by large windows that were behind me. But, this image has a trick up its sleeve that makes the depth of field even more shallow than is possible using the camera and settings you see here.

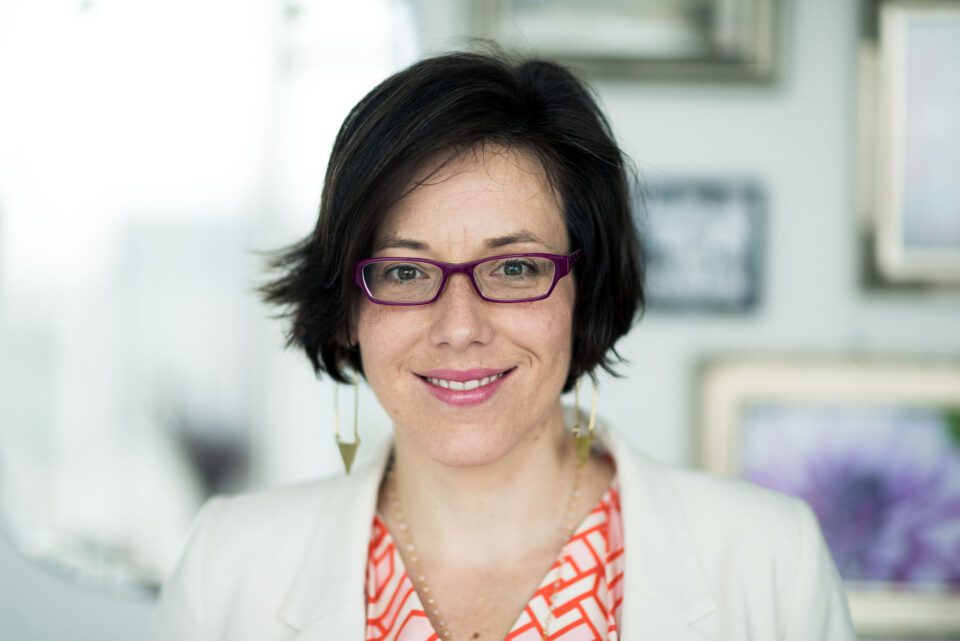
      Here is an image with similar framing and exactly the same camera settings. Can you see a difference between the two images? (click on the image and toggle back and forth between this image and the previous image):
      NIKON D810 + 85mm f/1.4 @ 85mm, ISO 400, 1/320, f/1.4

      كما ترون من التعليق الذي يحتوي على معلومات البيانات الوصفية، استخدمت كاميرا كاملة الإطار مع عدسة مقاس 85 مم بفتحة f/1.4. هذا هو المزيج الذي أحبه عند التقاط الصور الشخصية. مع كاميرا كاملة الإطار وعدسة مقاس 85 مم وفتحة f/1.4، ليس من الصعب جدًا الحصول على خلفية جميلة وضبابية. تم التقاط الصورة بالإضاءة المحيطة فقط، والتي توفرها النوافذ الكبيرة التي كانت خلفي. ولكن، تحتوي هذه الصورة على خدعة تجعل عمق المجال أكثر ضحالة مما هو ممكن باستخدام الكاميرا والإعدادات التي تراها هنا.

      إليك صورة ذات إطار مشابه ونفس إعدادات الكاميرا تمامًا. هل تستطيع أن ترى الفرق بين الصورتين؟ (انقر على الصورة وقم بالتبديل بين هذه الصورة والصورة السابقة):

      كاميرا نيكون D810 + 85 مم f/1.4 @ 85 مم، ISO 400، 1/320، f/1.4

      تعليق


      • #4
        Hopefully you noticed that the second image has a bit more depth of field (DOF). Belinda’s necklace and the frames on the wall behind her are more defined. You might have also noticed that the aspect ratio is different between the two images. Why would that be?

        The second image is about as close as I would like to get while shooting a horizontal portrait. If I move any closer, I’m going to start losing important parts of the image (like the top of her head) or getting strange crops (across her neck). If I did move closer I’d get a shallower depth of field, but the sacrifices I would be making to the image aren’t worth it.

        The way that I got a more shallow DOF without sacrificing important parts of the image is by using a simple version of the Brenizer Method. Essentially, multiple images are stitched together creating a “portrait panorama”.

        I first saw this technique used by Sam Hurd. He calls them “epic portraits” and, as far as I know, is the pioneer of this particular method. Instead of taking a huge number of images like you would with a traditional Brenizer Method image (usually between 20-50) that include the environment as well as your subject, you move as close to your subject as your lens will focus and take a series of 3-5 images, which are then stitched together to create a single image.

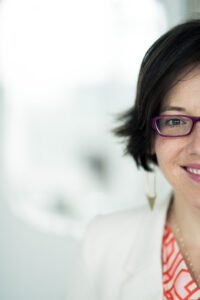
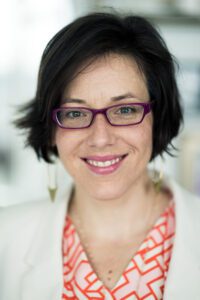
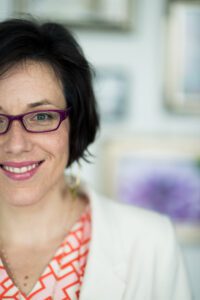
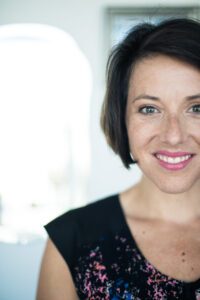
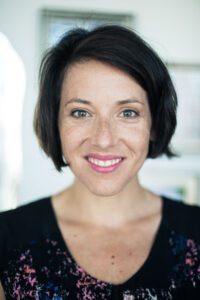
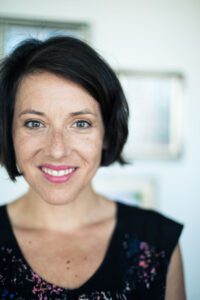
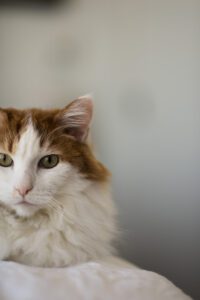
        Here are the three images that I used to create the initial image:


        نأمل أن تكون قد لاحظت أن الصورة الثانية تحتوي على عمق مجال أكبر قليلاً (DOF). أصبحت قلادة بليندا والإطارات الموجودة على الحائط خلفها أكثر تحديدًا. ربما لاحظت أيضًا أن نسبة العرض إلى الارتفاع مختلفة بين الصورتين. لماذا يكون ذلك؟

        الصورة الثانية هي أقرب ما أرغب في التقاطه أثناء التقاط صورة أفقية. إذا اقتربت أكثر، سأبدأ في فقدان أجزاء مهمة من الصورة (مثل الجزء العلوي من رأسها) أو الحصول على محاصيل غريبة (عبر رقبتها). إذا اقتربت أكثر، فسوف أحصل على عمق مجال أقل عمقًا، لكن التضحيات التي سأقدمها من أجل الصورة لا تستحق العناء.

        الطريقة التي حصلت بها على DOF أكثر سطحية دون التضحية بأجزاء مهمة من الصورة هي استخدام إصدار بسيط من طريقة Brenizer. بشكل أساسي، يتم تجميع صور متعددة معًا لإنشاء "صورة بانورامية".

        رأيت لأول مرة هذه التقنية التي يستخدمها سام هيرد. يسميها "صور ملحمية"، وبقدر ما أعرف، هو رائد هذا الأسلوب بالذات. بدلاً من التقاط عدد كبير من الصور كما تفعل مع صورة طريقة برينيزر التقليدية (عادةً ما بين 20-50) والتي تشمل البيئة بالإضافة إلى موضوعك، فإنك تقترب من موضوعك بقدر ما ستركز عدستك وتلتقط سلسلة من 3 إلى 5 صور، ثم يتم تجميعها معًا لإنشاء صورة واحدة.

        فيما يلي الصور الثلاث التي استخدمتها لإنشاء الصورة الأولية:


        تعليق


        • #5
          I was initially skeptical that this would work very well with people. Not only are you merging very shallow DOF images of a person’s face, but people also have a hard time standing still! Even if you take a quick series of three images, people have a hard time holding a pose, even if it is only for 3 seconds. Not only that, but holding a pose and smile for that long can drain the expression from your subject, leading to a plastic, fake smile.

          To my surprise, I didn’t have any problems creating these images. With a little practice, I was able to quickly take 3 images, which means Belinda’s face didn’t lose all of its character. While merging the images in Lightroom, I found that the alignment doesn’t have to be perfect. As long as there is some overlap, it does a great job! Another great benefit to merging the images in Lightroom is that you can still edit the final merged image instead of needing to edit each image individually before merging.
          كنت متشككًا في البداية في أن هذا سيعمل بشكل جيد مع الناس. لا يقتصر الأمر على دمج صور DOF الضحلة جدًا لوجه الشخص فحسب، بل يواجه الأشخاص أيضًا صعوبة في الوقوف بلا حراك! حتى لو قمت بالتقاط سلسلة سريعة من ثلاث صور، سيواجه الأشخاص صعوبة في الحفاظ على وضعية ما، حتى لو كانت لمدة 3 ثوانٍ فقط. ليس هذا فحسب، بل إن الحفاظ على الوضعية والابتسامة لفترة طويلة يمكن أن يستنزف التعبير من موضوعك، مما يؤدي إلى ابتسامة بلاستيكية زائفة.

          لدهشتي، لم أواجه أي مشاكل في إنشاء هذه الصور. مع القليل من التدريب، تمكنت من التقاط 3 صور بسرعة، مما يعني أن وجه بليندا لم يفقد شخصيته بالكامل. أثناء دمج الصور في Lightroom، وجدت أن المحاذاة لا يجب أن تكون مثالية. طالما أن هناك بعض التداخل، فهو يقوم بعمل رائع! هناك فائدة أخرى رائعة لدمج الصور في Lightroom وهي أنه لا يزال بإمكانك تحرير الصورة المدمجة النهائية بدلاً من الحاجة إلى تحرير كل صورة على حدة قبل الدمج.

          تعليق


          • #6
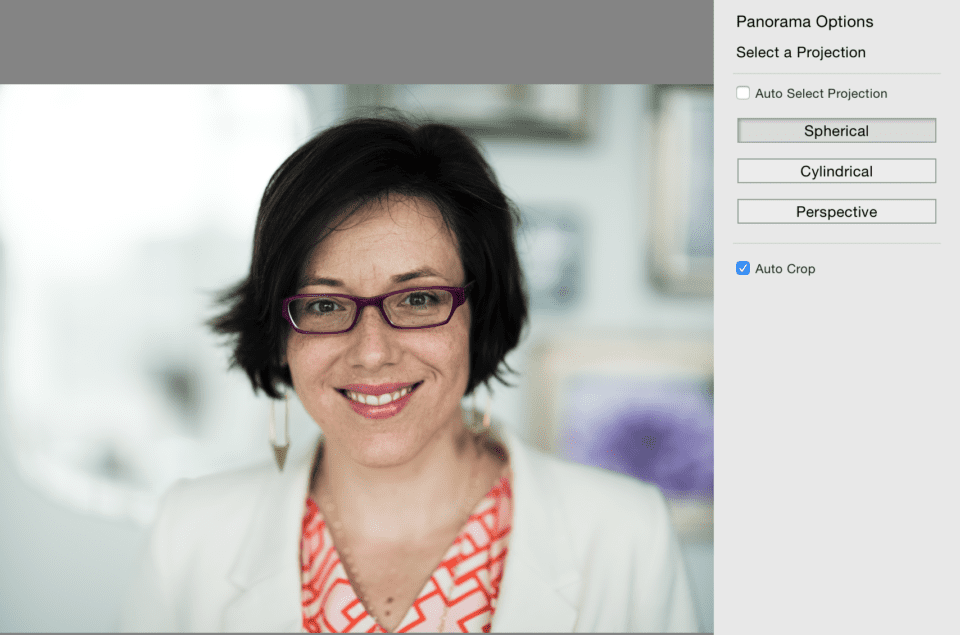
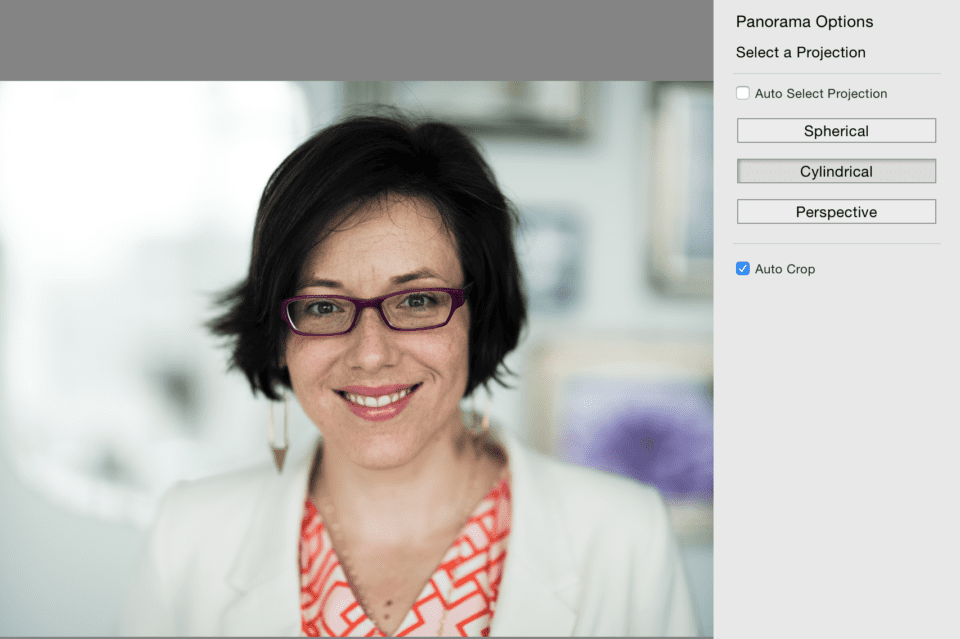
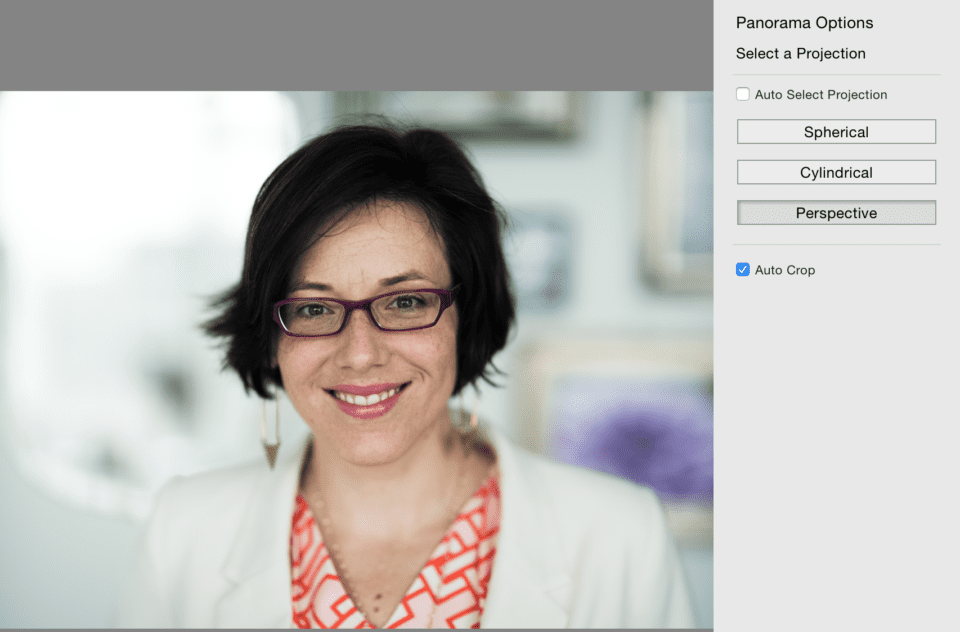
            While merging the images, you’ll need to select the type of projection the software should use. It will be up to you to choose which one you think looks the best. Here you can see the different projection options I had in Lightroom and how the final image would look for each one:
            How Was This Image Created – Spherical Photo MergeHow Was This Image Created – Cylindrical Photo MergeHow Was This Image Created – Perspective Photo Merge
            Speaking of post processing, other than merging the images together, there was minimal editing work done to this image. I slightly tweaked the highlights and shadows, applied a bit of pop with the tone curve, cleaned up a stray hair or two and used the brush tool to very slightly soften her skin and enhance the sparkle in her eyes.

            أثناء دمج الصور، ستحتاج إلى تحديد نوع العرض الذي يجب أن يستخدمه البرنامج. سيكون الأمر متروكًا لك لاختيار أي منها تعتقد أنه الأفضل. هنا يمكنك رؤية خيارات العرض المختلفة المتوفرة لدي في Lightroom وكيف ستبدو الصورة النهائية لكل منها:

            كيف تم إنشاء هذه الصورة - دمج الصور الكرويةكيف تم إنشاء هذه الصورة - دمج الصور الأسطوانيةكيف تم إنشاء هذه الصورة - دمج الصور المنظورية

            عند الحديث عن المعالجة اللاحقة، بخلاف دمج الصور معًا، لم يكن هناك سوى الحد الأدنى من أعمال التحرير التي تم إجراؤها على هذه الصورة. لقد قمت بتعديل الإبرازات والظلال قليلاً، وقمت بتطبيق القليل من البوب ​​​​مع منحنى النغمة، ونظفت شعرًا طائشًا أو اثنين واستخدمت أداة الفرشاة لتنعيم بشرتها قليلاً وتعزيز التألق في عينيها.

            تعليق


            • #7
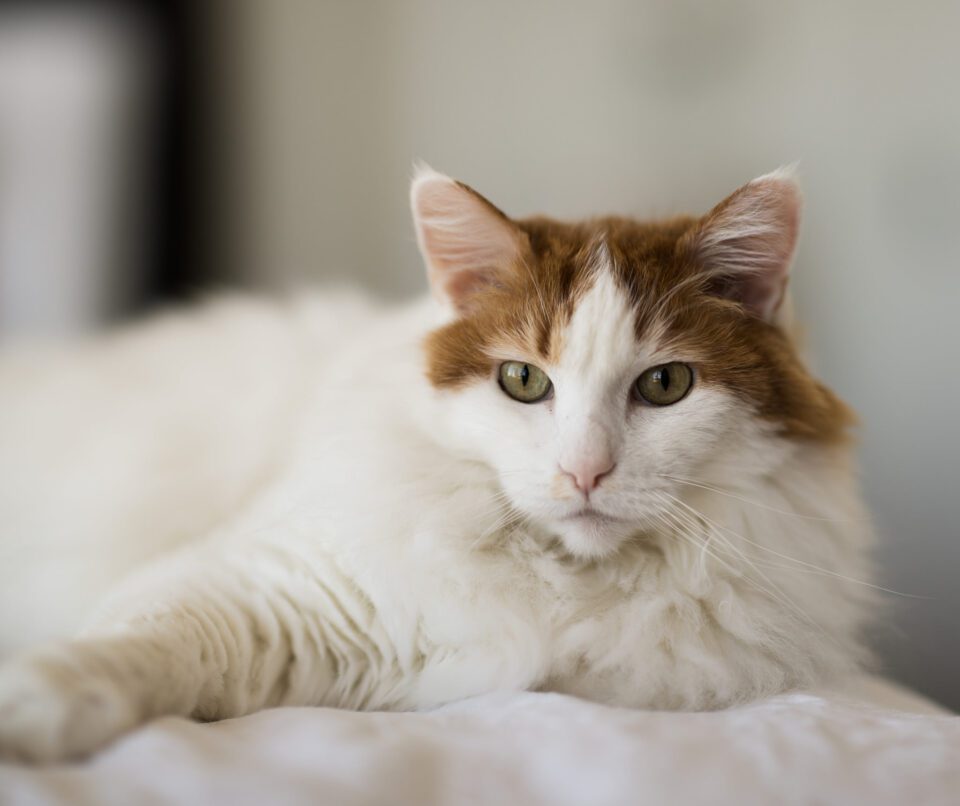
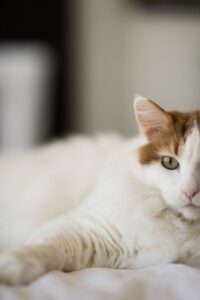
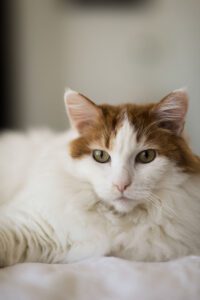
              Here are a few more portraits I tried on different occasions. The first is a 4-image portrait of Belinda and the second is one of my cat, Sweet Pea.
              NIKON D810 + 50mm f/1.4 @ 50mm, ISO 100, 1/250, f/1.4

              NIKON D810 + 85mm f/1.4 @ 85mm, ISO 200, 1/640, f/1.4

              إليكم بعض الصور الأخرى التي جربتها في مناسبات مختلفة. الأولى عبارة عن صورة من 4 صور لبيليندا والثانية لقطتي Sweet Pea.

              كاميرا نيكون D810 + 50 مم f/1.4 @ 50 مم، ISO 100، 1/250، f/1.4


              كاميرا نيكون D810 + 85 مم f/1.4 @ 85 مم، ISO 200، 1/640، f/1.4


              تعليق


              • #8
                As a side note, it wasn’t until I started writing this article that I realized how similar it is to one of John Sherman’s articles in this same series. There is a difference between the two methods, though (or at least the reason behind them). John was stitching multiple images together to get a very high resolution image that could be used to create an enormous print. I was trying to get a very shallow depth of field while still creating a nice looking portrait. Of course, this image ends up having a much higher resolution than if it was only composed of a single image: 9573×7345 pixels vs 7360×4912 pixels.

                Hopefully you realized (like I did) that stitched panoramic images don’t only have to be landscapes. It’s a great technique to try out on people or even animals, and it can make your portraits stand out. It was great reading all of your responses. Thank you to everyone to posted a comment with their guess as to how this image was created.
                كملاحظة جانبية، لم أدرك مدى تشابهها مع إحدى مقالات جون شيرمان في هذه السلسلة إلا بعد أن بدأت كتابة هذه المقالة. هناك فرق بين الطريقتين (أو على الأقل السبب الكامن وراءهما). كان جون يجمع صورًا متعددة معًا للحصول على صورة عالية الدقة يمكن استخدامها لإنشاء طباعة هائلة. كنت أحاول الحصول على عمق مجال ضحل للغاية مع الاستمرار في إنشاء صورة جميلة المظهر. بالطبع، تنتهي هذه الصورة بدقة أعلى بكثير مما لو كانت مكونة من صورة واحدة فقط: 9573 × 7345 بكسل مقابل 7360 × 4912 بكسل.

                نأمل أن تكون قد أدركت (كما فعلت أنا) أن الصور البانورامية المخيطة لا يجب أن تكون مجرد مناظر طبيعية. إنها تقنية رائعة يمكنك تجربتها على الأشخاص أو حتى الحيوانات، ويمكن أن تجعل صورك الشخصية مميزة. كان من الرائع قراءة جميع ردودك. شكرًا للجميع على نشر تعليق يتضمن تخمينهم حول كيفية إنشاء هذه الصورة.

                تعليق

                يعمل...
                X