
 تويت
تويت
٢١ نصيحة لتصوير الطيور
21 Tips for Bird Photography
In this article, 21 Tips for Bird Photography, I have penned down what matters most to me for photographing birds in the field. Nasim & Elizabeth already have great articles on the most common tips. So, the thoughts below are simply a way to gather the most useful tips I’ve found, as well as common mistakes a lot of bird photographers make at first.
Table of Contents
جدول المحتويات
افهم هدفك، لا تطلق النار على مرمى البصر، اهتم بإعدادات الكاميرا الخاصة بك، استخدم سرعة الغالق المناسبة، نادرًا ما تكون "اللقطات المسجلة" صورًا فوتوغرافية جيدة، لا تتجاهل الموضوعات الشائعة، اقترب من هدفك، اقترب من هدفك بصبر، واحصل على مستوى العين، لا تقص كثيرًا، انتظر الحدث، كسر الصور النمطية، إن المعدات مهمة، استخدم ISO تلقائي، استخدم جهاز تحكم عن بعد/WiFi أو مخبأ للطيور، استخدم كاميرات كاملة الإطار، مشاهد عالية التباين بمقياس البقع، كن شمبانزيًا بسيطًا يدفع الأجر، لكن لا تكثر من الشمبانزي، احصل على مساحة سلبية كافية، استمتع بالتصوير الفوتوغرافي وكن أخلاقيًا
21 Tips for Bird Photography
In this article, 21 Tips for Bird Photography, I have penned down what matters most to me for photographing birds in the field. Nasim & Elizabeth already have great articles on the most common tips. So, the thoughts below are simply a way to gather the most useful tips I’ve found, as well as common mistakes a lot of bird photographers make at first.
Table of Contents
- Understand Your Subject
- Don’t Fire on Sight
- Mind Your Camera Settings
- Use the Right Shutter Speed
- “Record Shots” Are Seldom Good Photographs
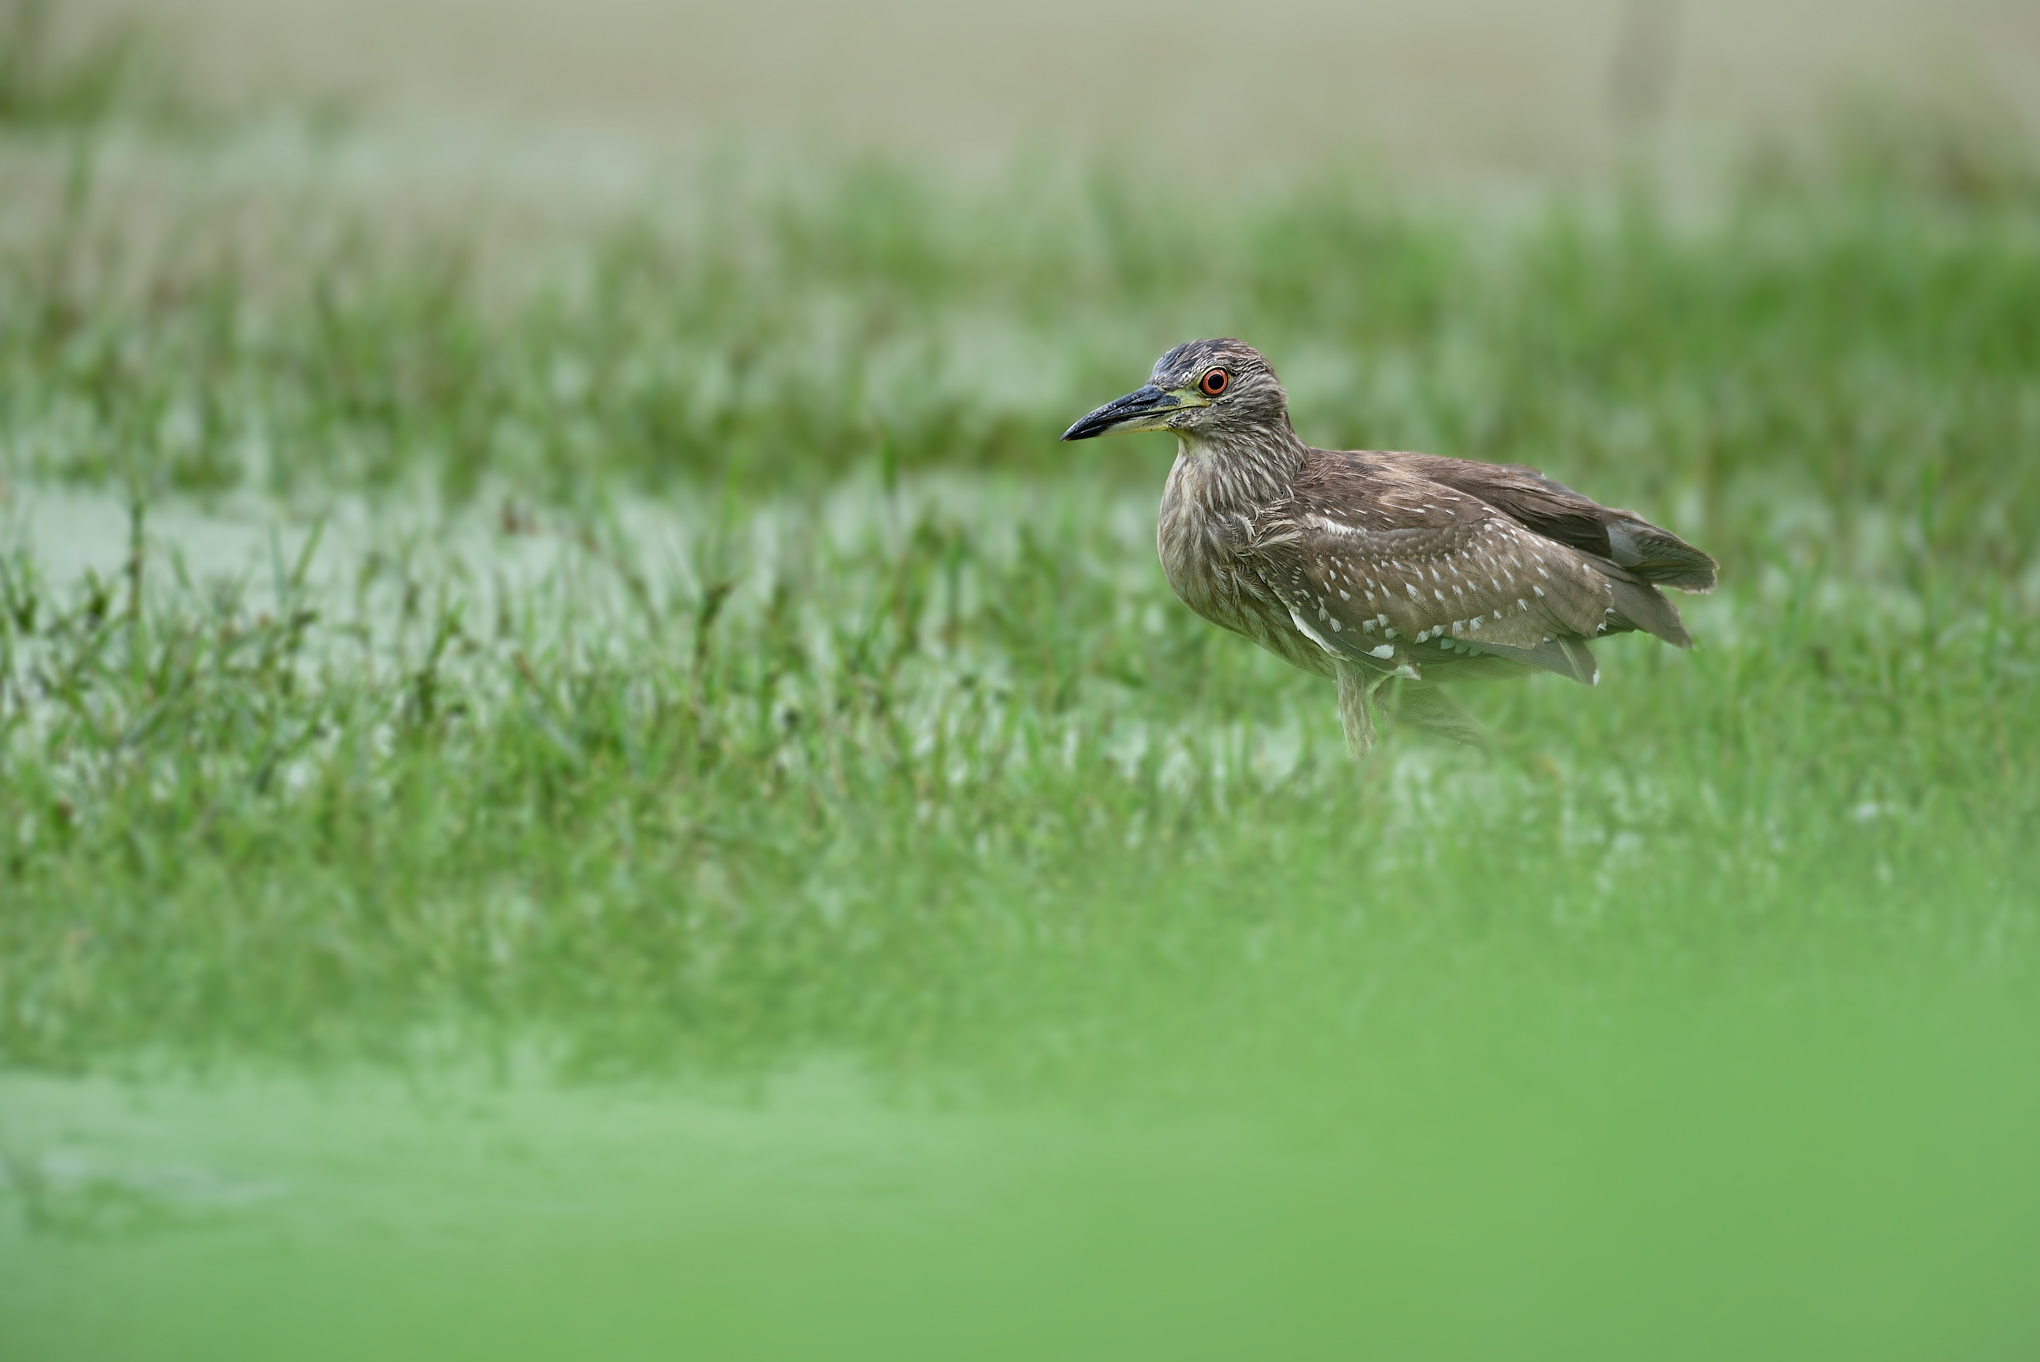
- Don’t Ignore Common Subjects
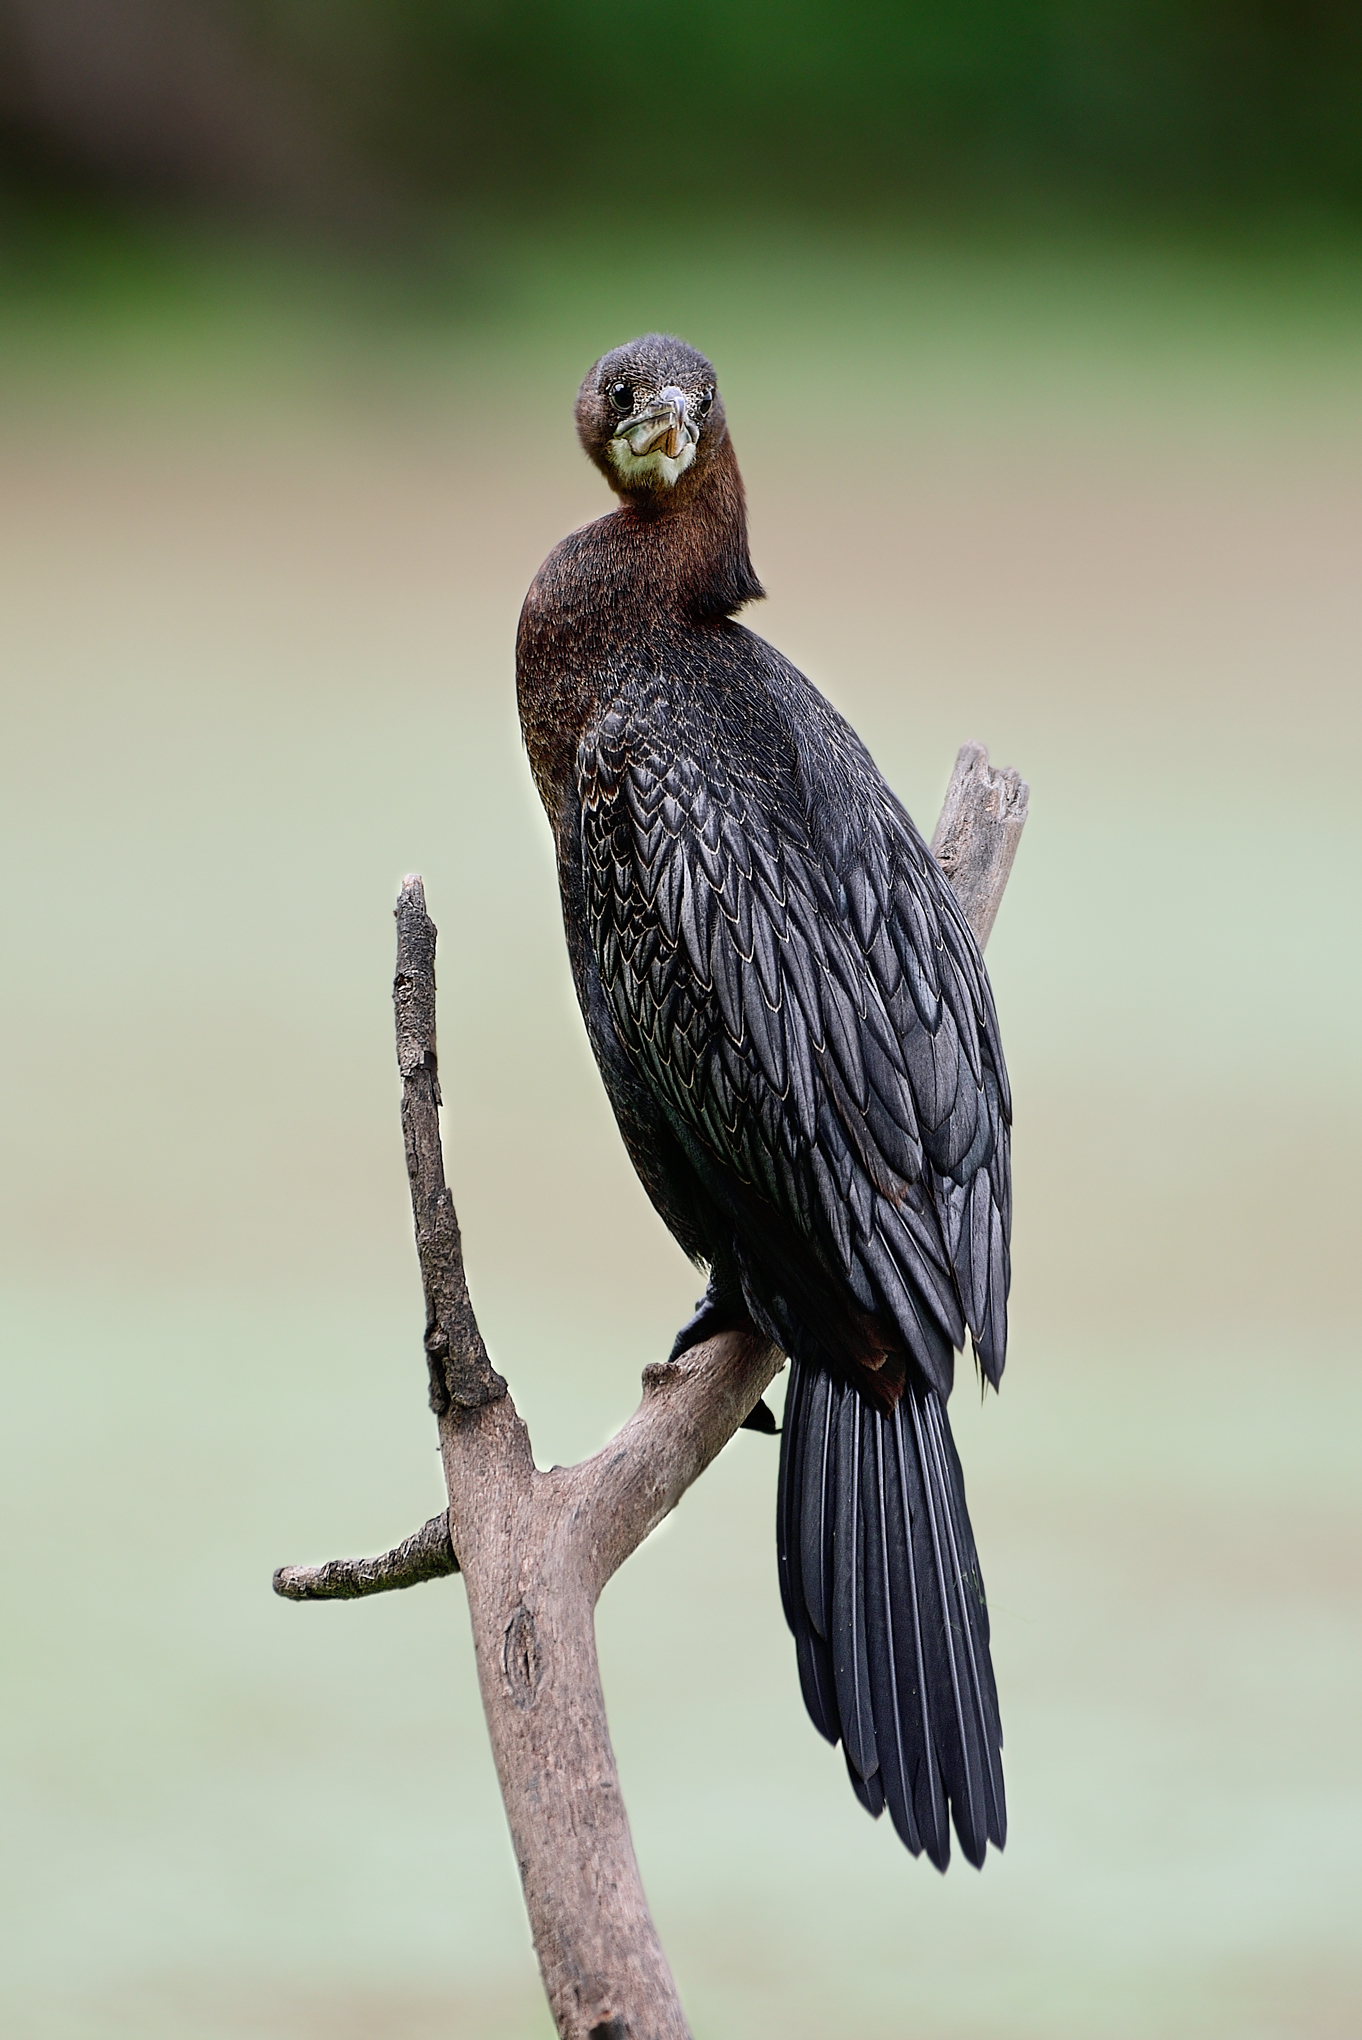
- Get Close to Your Subject
- Approach Your Subject with Patience
- Get to Eye Level
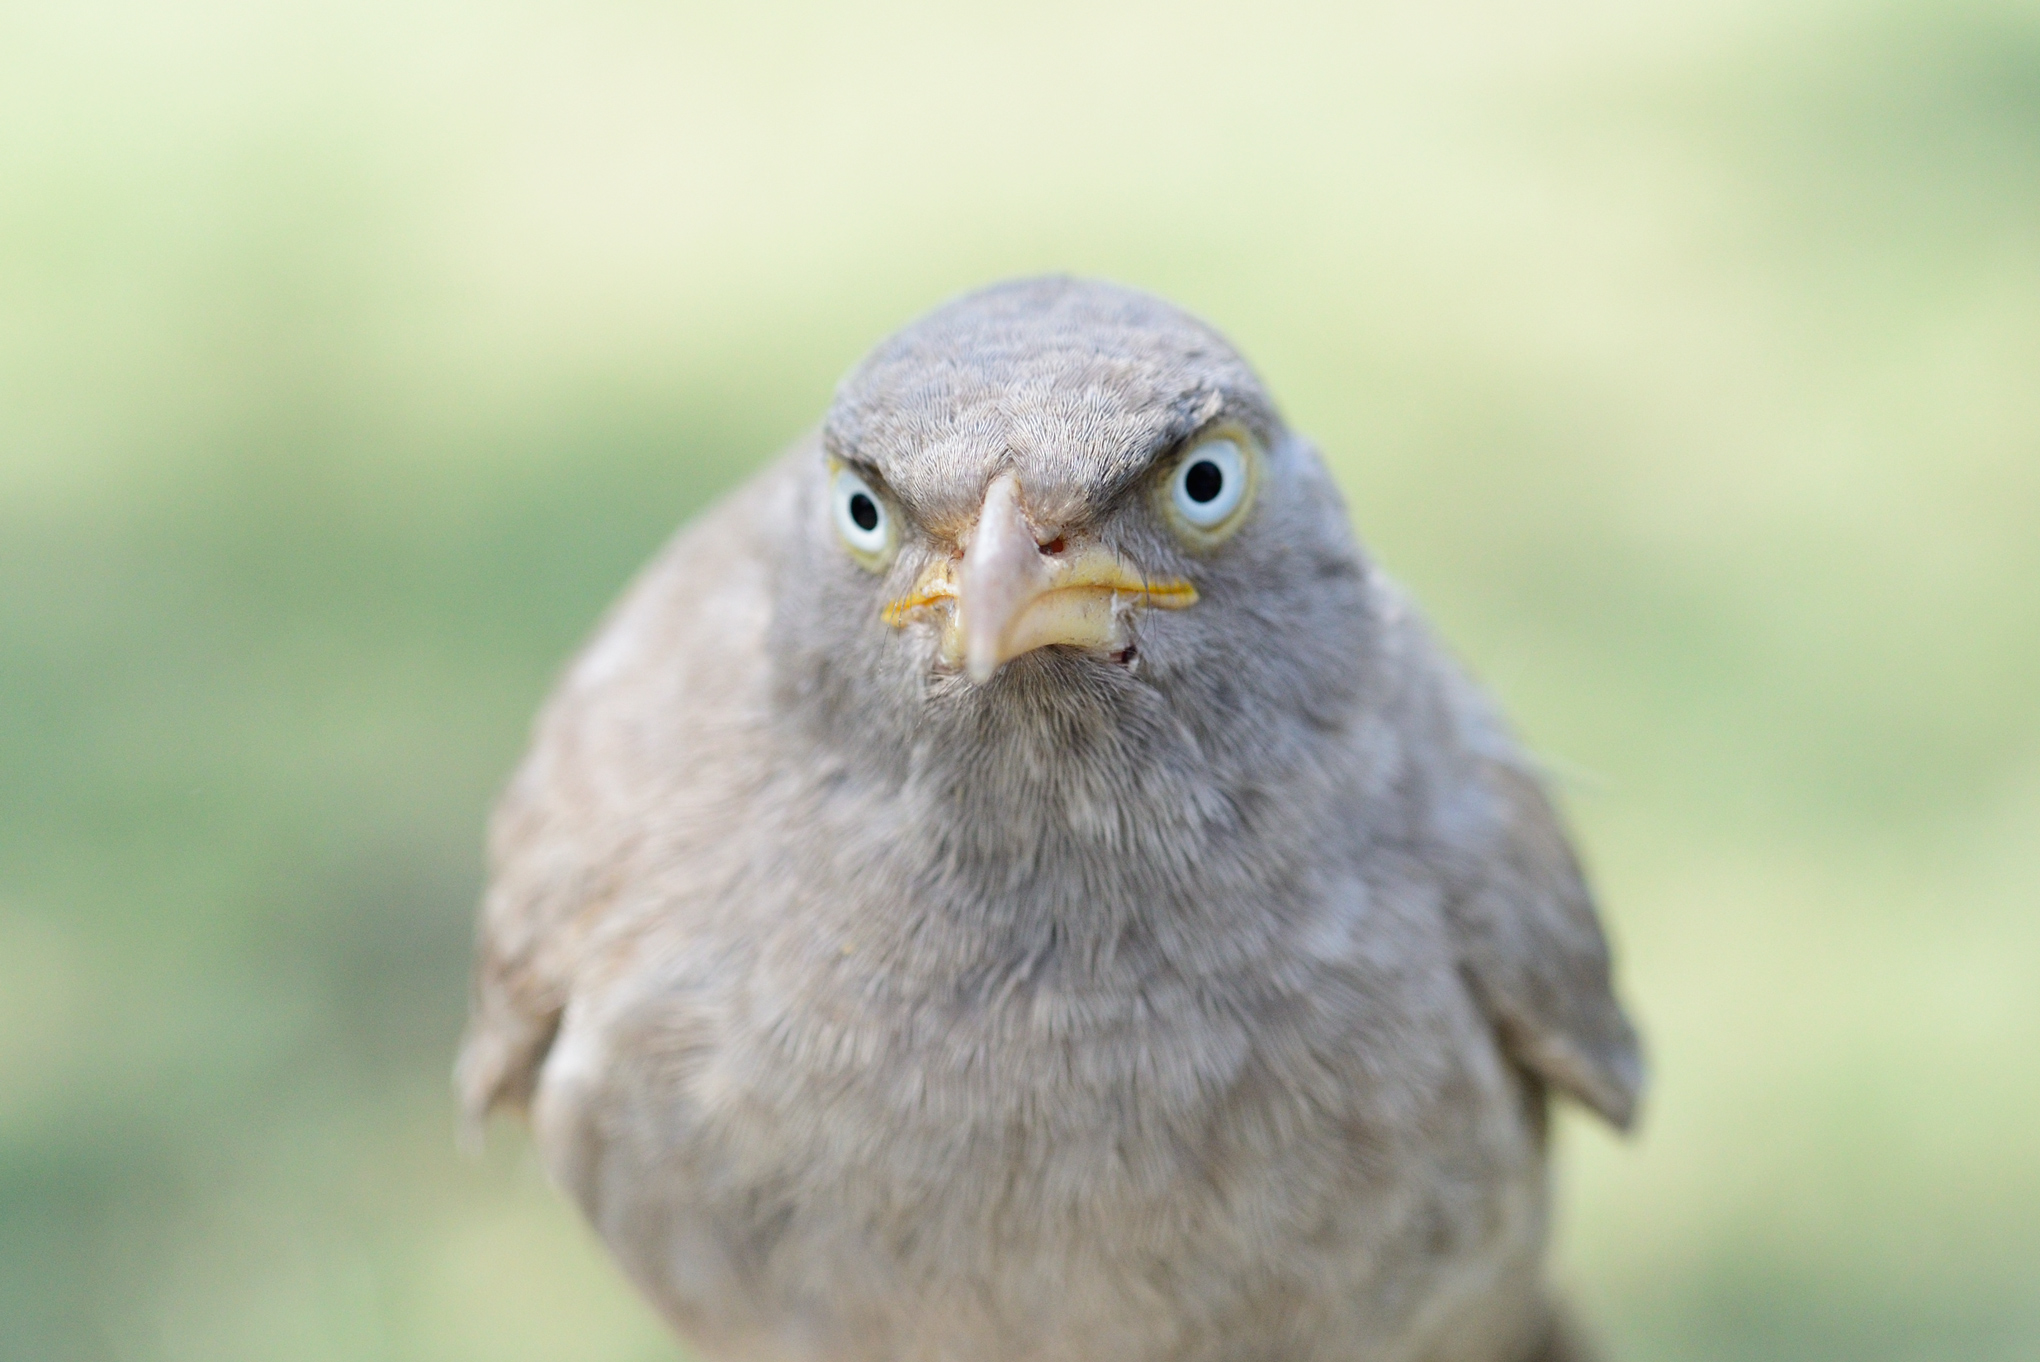
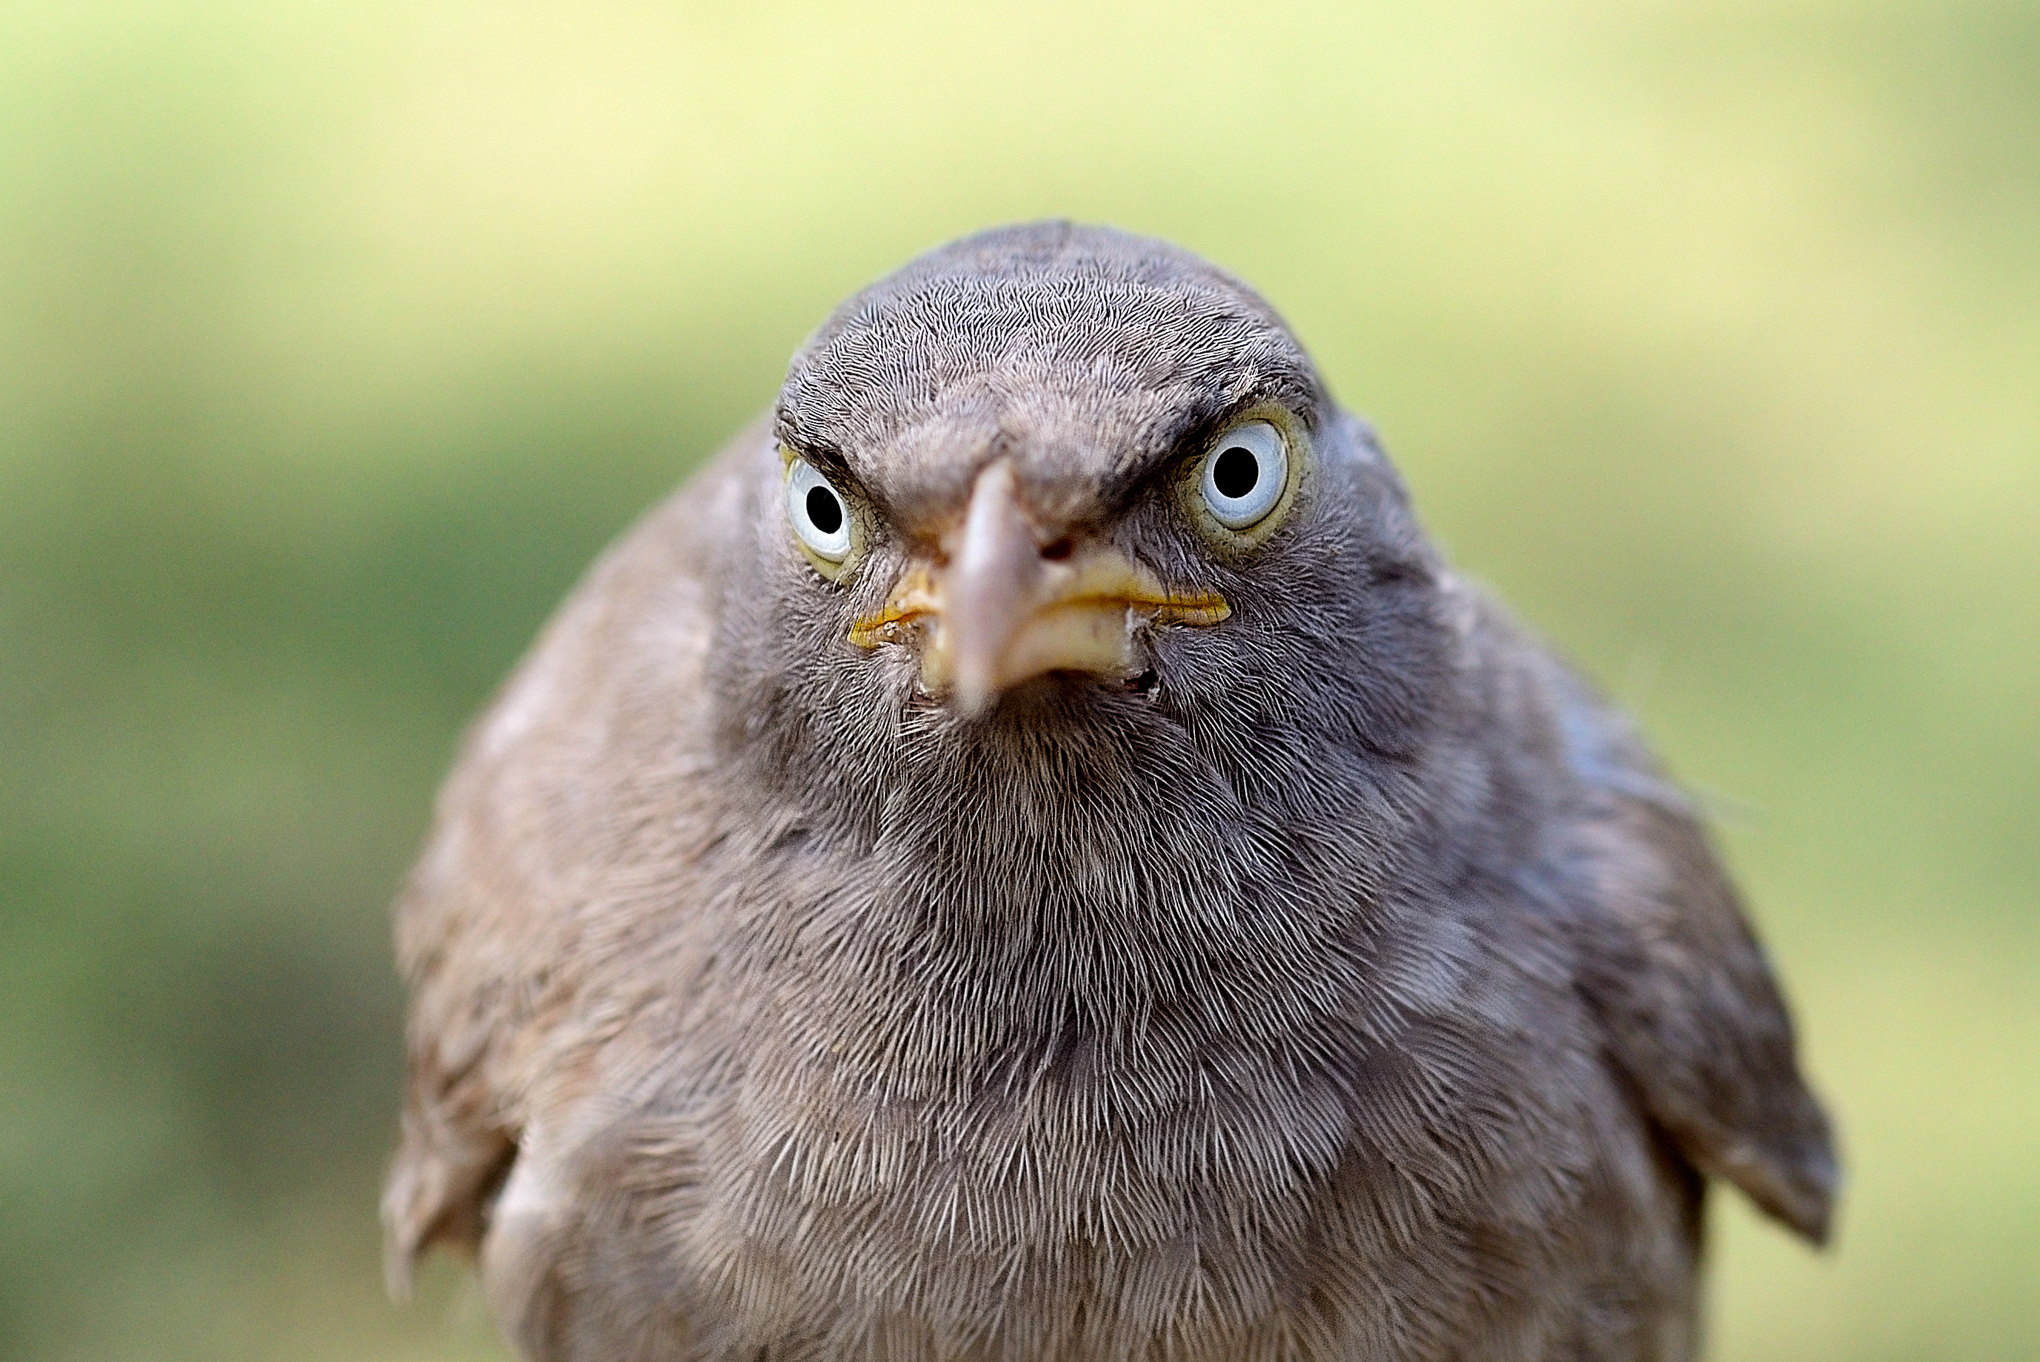
- Don’t Crop Too Much
- Wait for the Action
- Break Stereotypes
- Gear Does Matter
- Use Auto ISO
- Use a Remote/WiFi or a Bird Hide
- Use Full-Frame Cameras
- Spot Meter High-Contrast Scenes
- Being a Minimalist Pays
- Chimp, But Don’t Chimp Too Much
- Have Enough Negative Space
- Enjoy Photography and Be Ethical
جدول المحتويات
افهم هدفك، لا تطلق النار على مرمى البصر، اهتم بإعدادات الكاميرا الخاصة بك، استخدم سرعة الغالق المناسبة، نادرًا ما تكون "اللقطات المسجلة" صورًا فوتوغرافية جيدة، لا تتجاهل الموضوعات الشائعة، اقترب من هدفك، اقترب من هدفك بصبر، واحصل على مستوى العين، لا تقص كثيرًا، انتظر الحدث، كسر الصور النمطية، إن المعدات مهمة، استخدم ISO تلقائي، استخدم جهاز تحكم عن بعد/WiFi أو مخبأ للطيور، استخدم كاميرات كاملة الإطار، مشاهد عالية التباين بمقياس البقع، كن شمبانزيًا بسيطًا يدفع الأجر، لكن لا تكثر من الشمبانزي، احصل على مساحة سلبية كافية، استمتع بالتصوير الفوتوغرافي وكن أخلاقيًا


تعليق