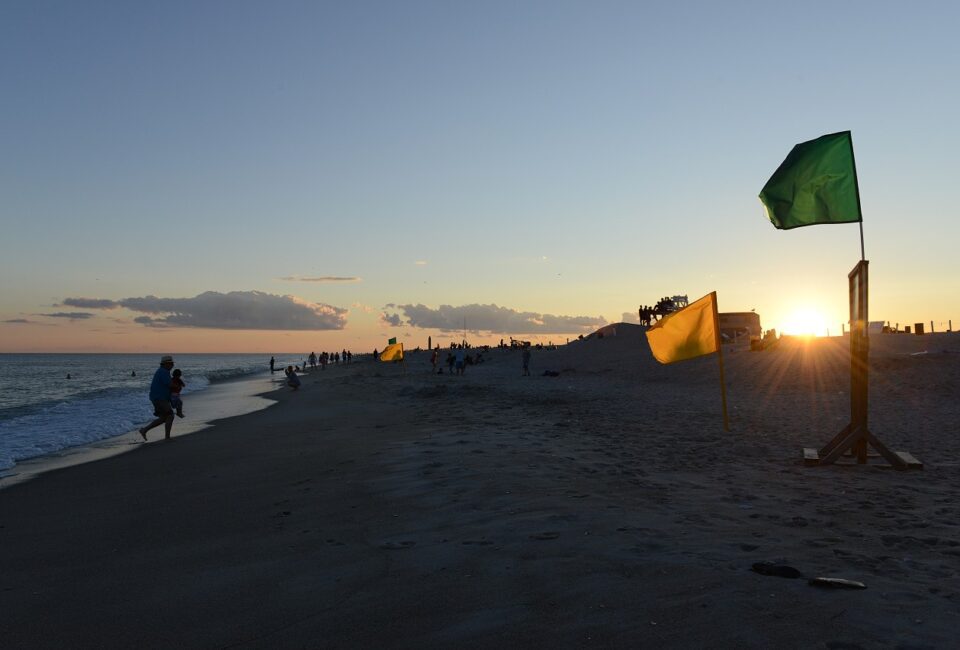
Beach Photography Using Manual Mode تصوير الشاطئ باستخدام الوضع اليدوي

تقليص
X
 
  • تصفية - فلترة
  • الوقت
  • عرض
إلغاء تحديد الكل
مشاركات جديدة

  • Beach Photography Using Manual Mode تصوير الشاطئ باستخدام الوضع اليدوي

    Beach Photography Using Manual Mode
    تصوير الشاطئ باستخدام الوضع اليدوي


    This is a short essay for photographers who are new to manual mode. Beaches present some unique challenges for getting good quality photos, but they are also very rewarding subjects. Here’s what you should know if you’re excited to photograph the beach and want to use the proper manual settings.

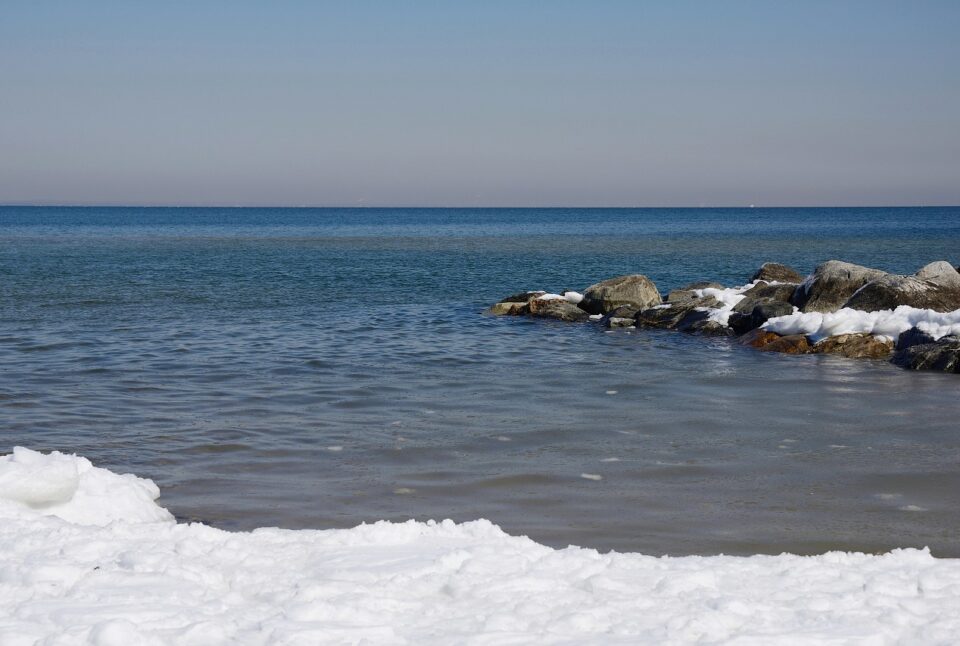
    The two main challenges to beach photography are that beaches are often drenched with light, and that horizons must be straight. The first one makes exposure quite a challenge. Light reflects off of the water and sand, and if not handled correctly, it can give you overly contrasty photos. Meanwhile, tilted horizons can make your photo look very bad and amateurish.
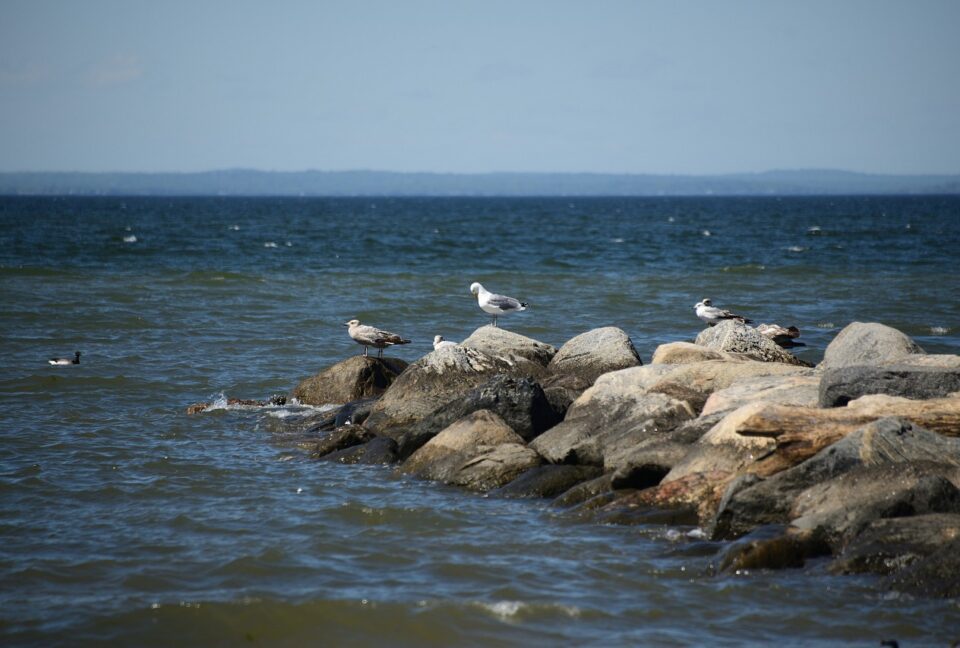
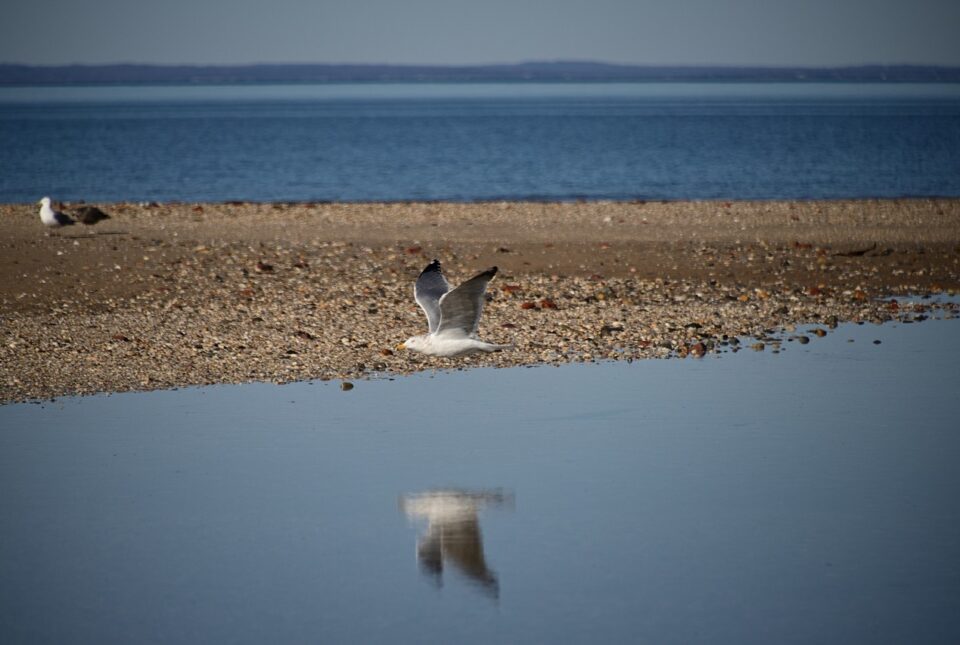
    NIKON D850 @ 300mm, ISO 100, 1/800, f/6.3NIKON D850 @ 300mm, ISO 800, 1/800, f/11.0
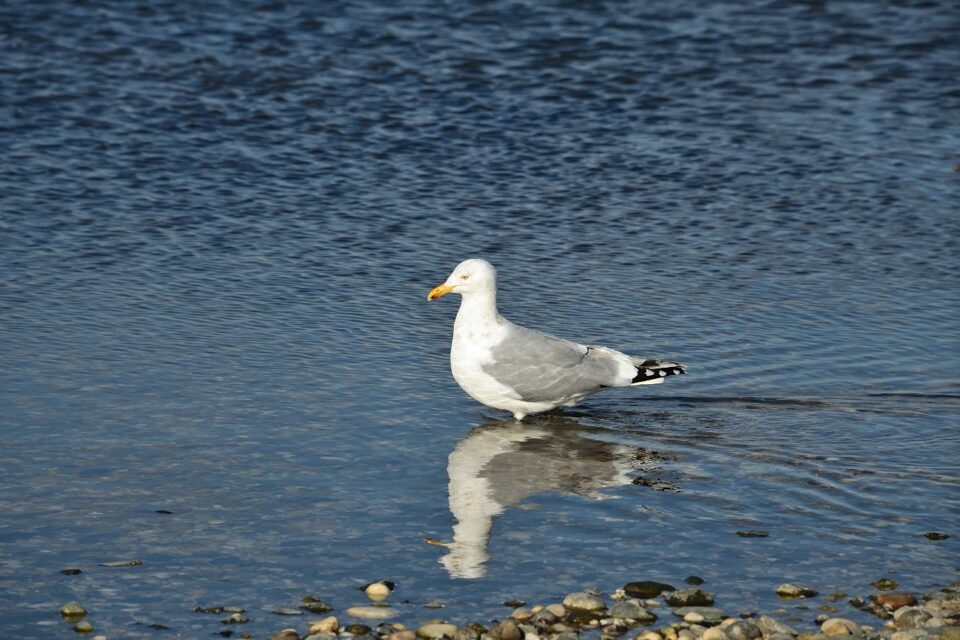


    هذه مقالة قصيرة للمصورين الجدد في الوضع اليدوي. تمثل الشواطئ بعض التحديات الفريدة للحصول على صور عالية الجودة، ولكنها أيضًا موضوعات مجزية للغاية. إليك ما يجب أن تعرفه إذا كنت متحمسًا لتصوير الشاطئ وترغب في استخدام الإعدادات اليدوية المناسبة.

    التحديان الرئيسيان أمام التصوير الفوتوغرافي على الشاطئ هما أن الشواطئ غالبًا ما تكون مغمورة بالضوء، وأن الآفاق يجب أن تكون مستقيمة. الأول يجعل التعرض تحديًا كبيرًا. ينعكس الضوء من الماء والرمال، وإذا لم يتم التعامل معه بشكل صحيح، فقد يعطيك صورًا شديدة التباين. وفي الوقت نفسه، يمكن للآفاق المائلة أن تجعل صورتك تبدو سيئة للغاية وغير احترافية.
    ​نيكون D850 عند 300 ملم، ISO 100، 1/800، f/6.3​نيكون D850 عند 300 ملم، ISO 800، 1/800، f/11.0

  • #2
    The horizon issue is the easy one. Just turn on the grid in your camera menu and then line up the water horizon with the grid lines. If you don’t have a grid in your menu, then try to line up your horizon with anything inside your viewfinder that can indicate a straight line. You then should check your horizon in post-processing software and straighten it when necessary (some straightening is almost always necessary).

    You must also look at your horizon line for the barrel/pincushion effect that comes from lens distortion. This is when your picture seems to bulge or get concave at the horizon line. Most photo software has tools to correct distortion and eliminate this problem. I recommend correcting distortion first, then straightening the horizon second in post-processing.
    NIKON D850 @ 62mm, ISO 100, 1/500, f/11.0NIKON D810 @ 48mm, ISO 100, 1/1600, f/5.6

    تعليق


    • #3
      قضية الأفق هي القضية السهلة. ما عليك سوى تشغيل الشبكة في قائمة الكاميرا ثم محاذاة الأفق المائي مع خطوط الشبكة. إذا لم يكن لديك شبكة في قائمتك، فحاول محاذاة أفقك مع أي شيء داخل عدسة الكاميرا يمكن أن يشير إلى خط مستقيم. يجب عليك بعد ذلك التحقق من أفقك في برنامج ما بعد المعالجة وتسويته عند الضرورة (بعض التسوية ضرورية دائمًا تقريبًا).

      يجب عليك أيضًا النظر إلى خط الأفق بحثًا عن التأثير البرميلي/الوسادة المدببة الذي يأتي من تشويه العدسة. يحدث هذا عندما تبدو صورتك منتفخة أو مقعرة عند خط الأفق. تحتوي معظم برامج الصور على أدوات لتصحيح التشويه والقضاء على هذه المشكلة. أوصي بتصحيح التشويه أولاً، ثم تسوية الأفق ثانياً في مرحلة ما بعد المعالجة.

      نيكون D850 عند 62 ملم، ISO 100، 1/500، f/11.0 نيكون D810 عند 48 ملم، ISO 100، 1/1600، f/5.6

      تعليق


      • #4
        Exposure is a more complex problem. The two biggest challenges to exposure are excessive contrast, and over/under exposing your sky or water. Quite often, if you have a properly exposed sky, the rest of your photo could look really dark, nearly black in many cases. Whereas if you expose your subject properly, the sky could be overexposed. But there is a solution, and it involves setting your camera manually.
        NIKON D850 @ 300mm, ISO 100, 1/500, f/11.0NIKON D850 @ 85mm, ISO 100, 1/500, f/11.0
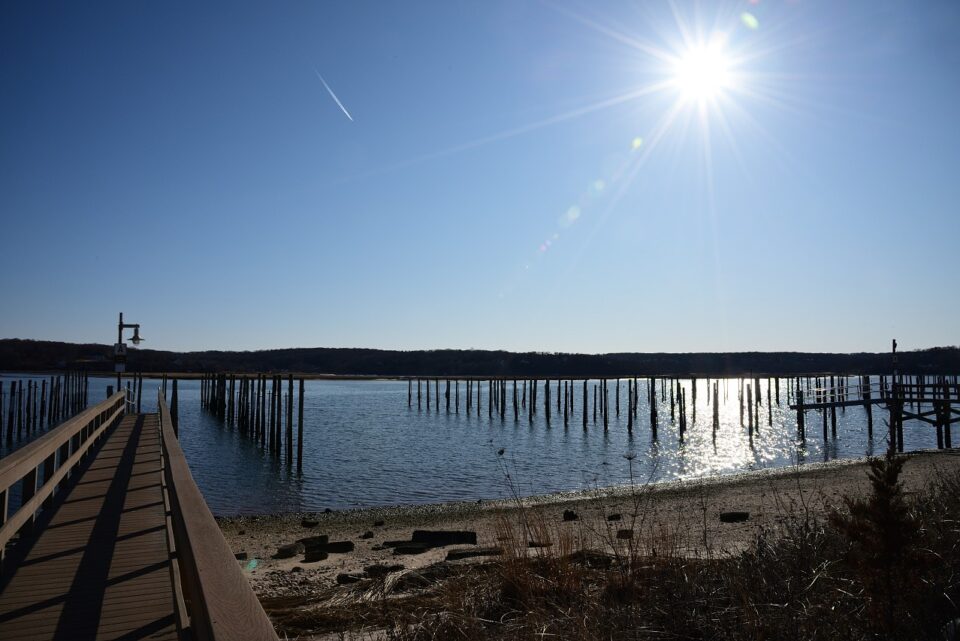
        Let’s look at aperture first. I find that the range from f/5.6 through f/16 all make good apertures for beach photography. If you want all aspects of your photo to be sharp, then you would choose f/8 or f/11. If you want sunstars in your photo, choose f/16. But beware. When you want a sunstar, you can end up with a pretty dark photo to accommodate that bright sun.

        Meanwhile, if you want to put some background blur in your photo or slightly blur the far horizon, then you would go to the wider end of your aperture range and choose f/5.6 through f/6.3. You may even choose very wide apertures like f/1.8 if you want the entire beach to be very out of focus, with just your subject being sharp

        تعليق


        • #5
          التعرض هو مشكلة أكثر تعقيدا. أكبر تحديين أمام التعريض الضوئي هما التباين المفرط، والتعريض الزائد/الناقص للسماء أو الماء. في كثير من الأحيان، إذا كانت لديك سماء مكشوفة بشكل صحيح، فقد تبدو بقية صورتك داكنة جدًا، أو سوداء تقريبًا في كثير من الحالات. بينما إذا قمت بتعريض موضوعك بشكل صحيح، فقد يتم تعريض السماء بشكل مفرط. ولكن هناك حل، وهو يتضمن ضبط الكاميرا يدويًا.

          نيكون D850 عند 300 ملم، ISO 100، 1/500، f/11.0 نيكون D850 عند 85 ملم، ISO 100، 1/500، f/11.0

          دعونا نلقي نظرة على فتحة العدسة أولاً. أجد أن النطاق من f/5.6 إلى f/16 جميعها توفر فتحات جيدة للتصوير الفوتوغرافي على الشاطئ. إذا كنت تريد أن تكون جميع جوانب صورتك واضحة، فاختر f/8 أو f/11. إذا كنت تريد ظهور نجوم الشمس في صورتك، فاختر f/16. ولكن حذار. عندما تريد نجمًا شمسيًا، يمكنك الحصول في النهاية على صورة داكنة جدًا لاستيعاب تلك الشمس الساطعة.

          وفي الوقت نفسه، إذا كنت تريد وضع بعض الضبابية في الخلفية في صورتك أو تعتيم الأفق البعيد قليلاً، فعليك الانتقال إلى الطرف الأوسع من نطاق الفتحة واختيار f/5.6 إلى f/6.3. يمكنك أيضًا اختيار فتحات واسعة جدًا مثل f/1.8 إذا كنت تريد أن يكون الشاطئ بأكمله خارج نطاق التركيز البؤري، مع أن يكون هدفك واضحًا فقط

          تعليق


          • #6
            One important thing to note about photographing the sun is that it can be quite dangerous to the eye if you are looking through an optical viewfinder. It is important not to look directly at the sun. Instead, consider using the camera’s rear LCD if the sun is in your photo.
            NIKON D810 @ 300mm, ISO 100, 1/1600, f/5.6NIKON D810 @ 24mm, ISO 100, 1/400, f/16.0
            Next lets look at shutter speed. On sunny days, there is so much light that your camera’s meter will tell you to use a shutter speed of 1/1000th of a second or even faster, such as 1/2000th of a second. However, if you follow this recommendation, you will often end up with a very dark photo. Over my years as a beach photographer, I have never needed to use a shutter speed faster than 1/500 or 1/800 second, no matter what the meter said. Essentially, the camera’s meter is trying to make the scene look a neutral “middle gray” tone, when in reality, you want the beach to look bright and sunny instead.

            On overcast days, it is ok to follow your meter, because without all that direct sunlight it will recommend more reasonable shutter speeds. It’s also the case that on foggy or overcast days, you don’t want the beach photos to look especially bright anyway.

            تعليق


            • #7
              أحد الأشياء المهمة التي يجب ملاحظتها حول تصوير الشمس هو أنه قد يكون خطيرًا جدًا على العين إذا كنت تنظر من خلال عدسة الكاميرا البصرية. ومن المهم عدم النظر مباشرة إلى الشمس. بدلاً من ذلك، فكر في استخدام شاشة LCD الخلفية للكاميرا إذا كانت الشمس في صورتك.

              نيكون D810 عند 300 ملم، ISO 100، 1/1600، f/5.6 نيكون D810 عند 24 ملم، ISO 100، 1/400، f/16.0

              لنلق نظرة بعد ذلك على سرعة الغالق. في الأيام المشمسة، يكون هناك قدر كبير من الضوء لدرجة أن مقياس الكاميرا سيخبرك باستخدام سرعة غالق تبلغ 1/1000 جزء من الثانية أو حتى أسرع، مثل 1/2000 جزء من الثانية. ومع ذلك، إذا اتبعت هذه التوصية، فغالبًا ما ينتهي بك الأمر إلى الحصول على صورة مظلمة جدًا. على مدار السنوات التي قضيتها كمصور فوتوغرافي للشاطئ، لم أحتاج مطلقًا إلى استخدام سرعة غالق أسرع من 1/500 أو 1/800 ثانية، بغض النظر عما يقوله المقياس. في الأساس، يحاول مقياس الكاميرا جعل المشهد يبدو بلون "رمادي متوسط" محايد، بينما في الواقع، تريد أن يبدو الشاطئ مشرقًا ومشمسًا بدلاً من ذلك.

              في الأيام الملبدة بالغيوم، لا بأس بمتابعة جهاز القياس الخاص بك، لأنه بدون كل ضوء الشمس المباشر، سيوصي بسرعات غالق أكثر معقولية. وفي الأيام الضبابية أو الملبدة بالغيوم أيضًا، لا تريد أن تبدو صور الشاطئ مشرقة بشكل خاص على أي حال.

              تعليق


              • #8
                As for ISO, on a sunny day, you can keep it at base ISO with no problem. On most cameras, this is ISO 100. You will only need to raise it in low light. More on that in a bit.
                NIKON D850 @ 28mm, ISO 800, 1/800, f/11.0
                The next step in getting a correct exposure is to deal with the sky and the water. Almost every camera prioritizes metering for your subject, specifically, your focus box. You will find that the meter’s recommendation almost always changes as you move the focus box around the scene, even if you keep your composition exactly the same. In beach photography, since there is so much contrast, this can be a problem. If your focus point is on the water, the sky will be too bright. If your focus point is on the sky, the rest of the photo will be too dark.

                What I always do instead, and it works great, is to aim my little focus box at the exact point between sky and sea. That is, you aim your focus point at the horizon line, making sure that both the sky and the water are in the box and metered simultaneously. This will give you a much better meter reading, and you can then manually set your settings with this proper meter reading in mind.
                NIKON D810 @ 55mm, ISO 100, 1/2000, f/4.5

                تعليق


                • #9
                  أما بالنسبة إلى ISO، ففي يوم مشمس، يمكنك الاحتفاظ به عند ISO الأساسي دون أي مشكلة. في معظم الكاميرات، هذا هو ISO 100. ولن تحتاج إلى رفعه إلا في الإضاءة المنخفضة. المزيد عن ذلك بعد قليل.

                  كاميرا نيكون D850 بمقاس 28 مم، ISO 800، 1/800، f/11.0

                  الخطوة التالية للحصول على التعريض الضوئي الصحيح هي التعامل مع السماء والماء. تعطي كل كاميرا تقريبًا الأولوية لقياس الهدف، وتحديدًا مربع التركيز. ستجد أن توصية جهاز القياس تتغير دائمًا تقريبًا أثناء تحريك مربع التركيز حول المشهد، حتى لو احتفظت بتركيبتك كما هي تمامًا. في التصوير الفوتوغرافي على الشاطئ، نظرًا لوجود الكثير من التباين، قد يكون هذا مشكلة. إذا كانت نقطة تركيزك على الماء، فستكون السماء مشرقة للغاية. إذا كانت نقطة تركيزك على السماء، فستكون بقية الصورة مظلمة للغاية.

                  ما أفعله دائمًا بدلاً من ذلك، وهو يعمل بشكل رائع، هو توجيه صندوق التركيز الصغير الخاص بي إلى النقطة المحددة بين السماء والبحر. وهذا يعني أنك تستهدف نقطة التركيز الخاصة بك عند خط الأفق، مع التأكد من وجود السماء والماء في الصندوق وقياسهما في وقت واحد. سيعطيك هذا قراءة أفضل بكثير للعداد، ويمكنك بعد ذلك ضبط إعداداتك يدويًا مع وضع قراءة العداد المناسبة في الاعتبار.

                  كاميرا نيكون D810 عند 55 مم، ISO 100، 1/2000، f/4.5

                  تعليق


                  • #10


                    A word here about metering and focusing methods. My favorite metering method happens to be center-weight metering with a 12mm circle. However, at the beach, I often will change to matrix metering because it takes into account a much wider area of view. This can help with the variety of light conditions and contrast that can occur in a single image. Any metering method will work well at the beach if you understand all your other settings, and it is really just a matter of preference.

                    As for autofocus method, I generally shoot in single servo, but I change to continuous servo at the beach because of all the rapid motion that goes on there. When shooting gulls, moving boats, or moving people, continuous servo can ensure that you don’t miss out on anything. Any of the focus modes that you prefer will work in that context. I tend to use either single point AF or group area AF, and both work equally well.
                    NIKON D800 @ 72mm, ISO 100, 1/800, f/9.0
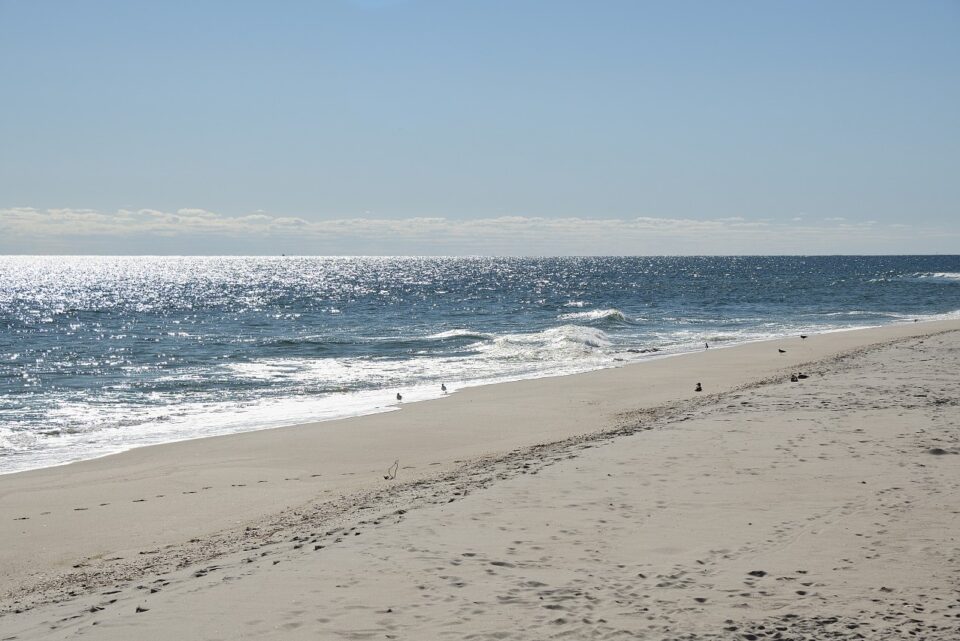
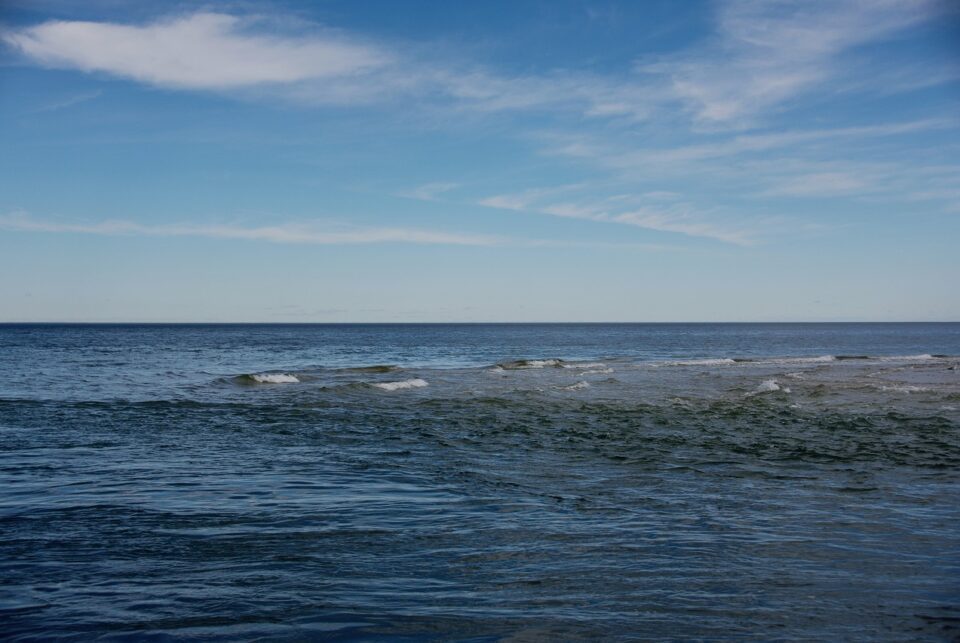
                    Another thing to watch out for in beach photography is composition. Too much water or too much sky? I have many photos where too much of the composition was taken up by water, with just a small strip of sky at the top. When I see one of those, I ask myself “what was I thinking when I composed that shot?”

                    تعليق


                    • #11
                      كلمة هنا عن طرق القياس والتركيز. إن طريقة القياس المفضلة لدي هي قياس الوزن المركزي بدائرة مقاس 12 مم. ومع ذلك، على الشاطئ، غالبًا ما أقوم بالتغيير إلى قياس المصفوفة لأنه يأخذ في الاعتبار مساحة رؤية أوسع بكثير. يمكن أن يساعد هذا في التعامل مع مجموعة متنوعة من ظروف الإضاءة والتباين التي يمكن أن تحدث في صورة واحدة. ستعمل أي طريقة قياس بشكل جيد على الشاطئ إذا فهمت جميع إعداداتك الأخرى، وهي في الحقيقة مجرد مسألة تفضيل.

                      أما بالنسبة لطريقة التركيز البؤري التلقائي، فأنا أقوم بالتصوير بشكل عام بمؤازرة فردية، لكني أغير إلى معزز مستمر على الشاطئ بسبب كل الحركة السريعة التي تحدث هناك. عند إطلاق النار على النوارس، أو تحريك القوارب، أو نقل الأشخاص، يمكن أن يضمن المؤازرة المستمرة عدم تفويت أي شيء. أي من أوضاع التركيز التي تفضلها ستعمل في هذا السياق. أميل إلى استخدام إما نقطة واحدة AF أو منطقة المجموعة AF، وكلاهما يعمل بشكل جيد على قدم المساواة.

                      كاميرا نيكون D800 عند 72 مم، ISO 100، 1/800، f/9.0

                      شيء آخر يجب الانتباه إليه في التصوير الفوتوغرافي على الشاطئ هو التكوين. الكثير من الماء أو الكثير من السماء؟ لدي العديد من الصور التي التقطت فيها المياه جزءًا كبيرًا من التكوين، مع وجود شريط صغير من السماء في الأعلى. عندما أرى واحدة منها، أسأل نفسي "ما الذي كنت أفكر فيه عندما قمت بتأليف تلك اللقطة؟"

                      تعليق


                      • #12
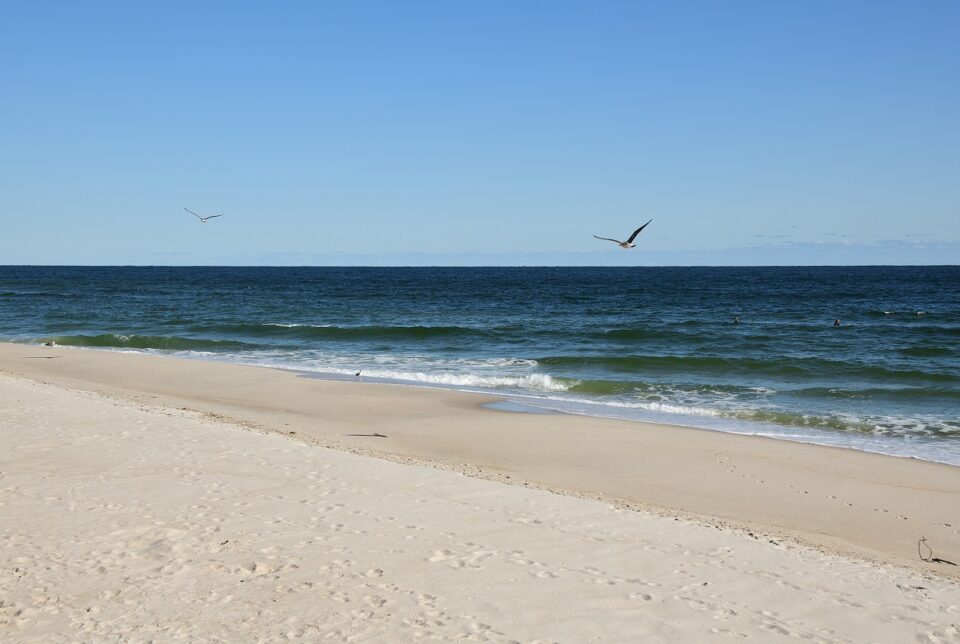
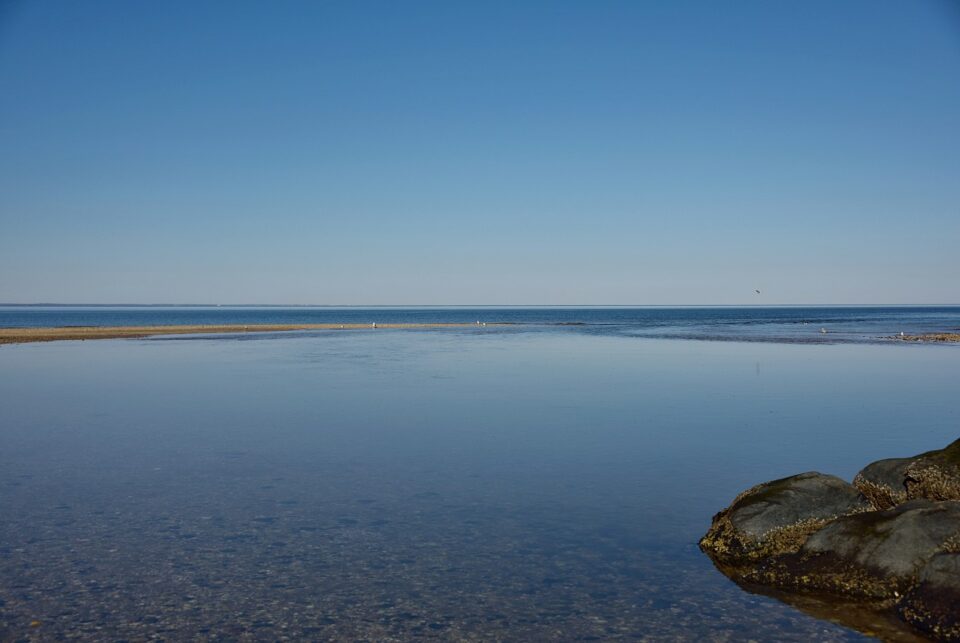
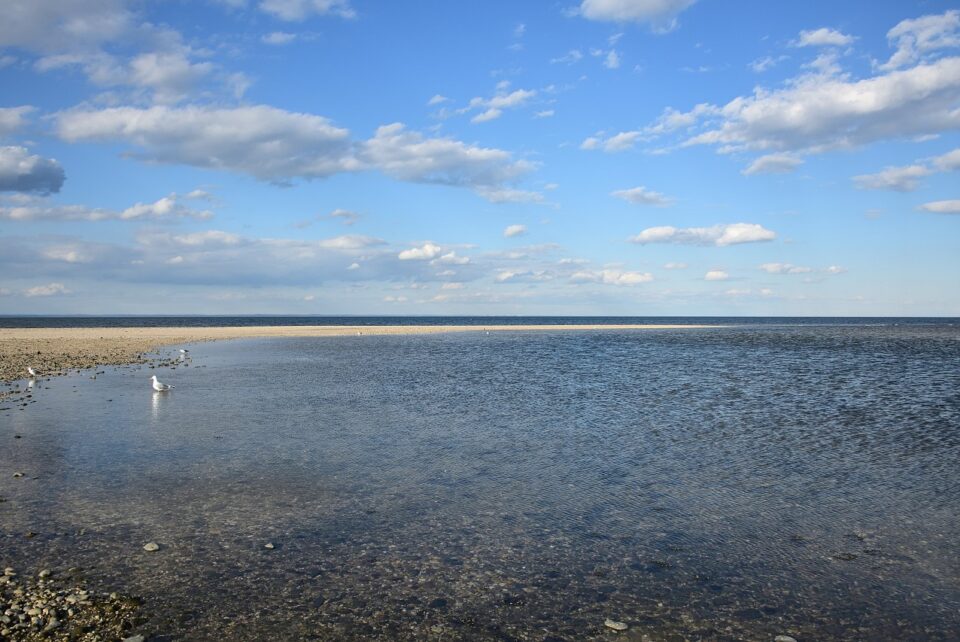
                        The opposite can be true, too. When you have clear blue skies with nothing in them (like interesting clouds), and you somehow made that sky the biggest portion of your photo, that can bring on another “what was I thinking” moment. And yet you often don’t want to have an exact 50/50 sky and water ratio, which can look contrived and boring. Instead, try to compose each photo to emphasize its own strengths, for example, showing more of the sky if the clouds are very interesting that day.
                        NIKON D850 @ 28mm, ISO 100, 1/800, f/9.0
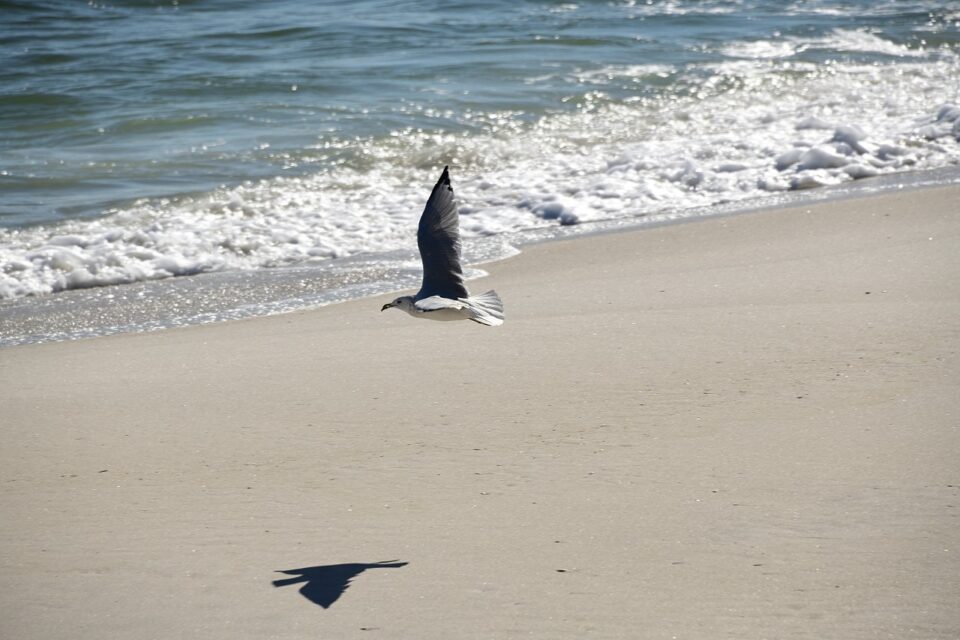
                        Another part of good composition in beach photography is to have something in your seascape shots besides just water and blue sky. The water/sky part is a sort of empty, blue canvas that is best used as a background. Your subject can be a boat, a beautiful cloud structure, unusual waves, a gull flying by, some land at the bottom, or sometimes even a swan slowly swimming by. Gulls playing in the surf, or flocks of birds, are endlessly fascinating. More unusual can be a person swimming in the water, a hang glider, or a wind surfer. A genre all to itself is surfing, which requires a whole skillset of its own to photograph.

                        تعليق


                        • #13
                          والعكس يمكن أن يكون صحيحا أيضا. عندما يكون لديك سماء زرقاء صافية خالية من أي شيء (مثل السحب المثيرة للاهتمام)، وجعلت تلك السماء بطريقة ما الجزء الأكبر من صورتك، فقد يؤدي ذلك إلى لحظة أخرى من "ما كنت أفكر فيه". ومع ذلك، فأنت في كثير من الأحيان لا ترغب في الحصول على نسبة دقيقة للسماء والماء بنسبة 50/50، والتي يمكن أن تبدو مفتعلة ومملة. بدلاً من ذلك، حاول إنشاء كل صورة للتأكيد على نقاط القوة الخاصة بها، على سبيل المثال، إظهار المزيد من السماء إذا كانت السحب مثيرة للاهتمام للغاية في ذلك اليوم.

                          كاميرا نيكون D850 عند 28 مم، ISO 100، 1/800، f/9.0

                          جزء آخر من التكوين الجيد في التصوير الفوتوغرافي على الشاطئ هو أن يكون لديك شيء ما في لقطات المناظر البحرية الخاصة بك إلى جانب الماء والسماء الزرقاء فقط. الجزء المائي/السماء هو نوع من القماش الأزرق الفارغ الذي يُفضل استخدامه كخلفية. يمكن أن يكون موضوعك عبارة عن قارب، أو بنية سحابية جميلة، أو أمواج غير عادية، أو نورس يحلق بالقرب منه، أو بعض الأراضي في الأسفل، أو حتى بجعة تسبح ببطء في بعض الأحيان. النوارس التي تلعب في الأمواج، أو أسراب الطيور، رائعة إلى ما لا نهاية. قد يكون الأمر الأكثر غرابة هو وجود شخص يسبح في الماء، أو طائرة شراعية معلقة، أو راكب أمواج. إن رياضة ركوب الأمواج هي نوع خاص بحد ذاته، الأمر الذي يتطلب مجموعة مهارات كاملة خاصة به للتصوير.

                          تعليق


                          • #14


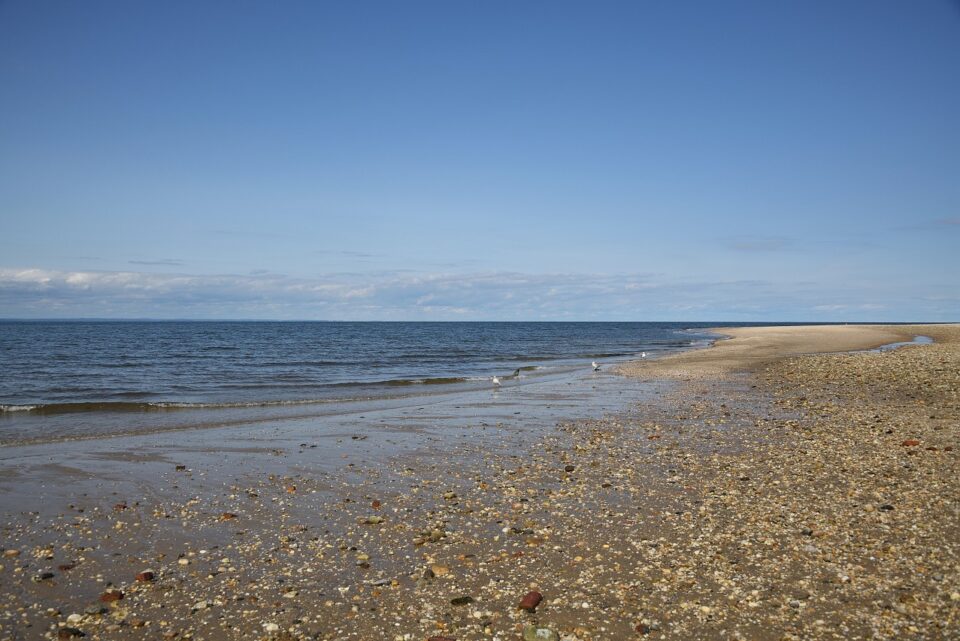
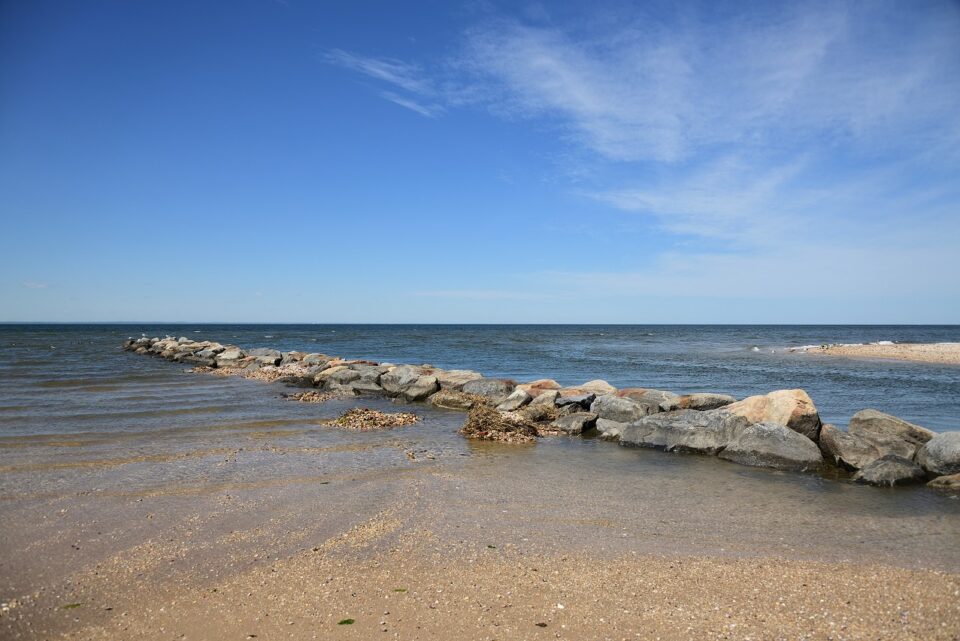
                            If you want shore photos, shells and seaweed can provide material for a good composition. I love shooting waves lapping at the shore. Rocks and pebbles can make good foreground for shoreline shots, too. A nice sandbar can be a great part of beach photography. Dunes are always fascinating. A curvature in the shore line also provides interest, as can a jetty or a rock jetty sticking out into the water. If you combine any of these things with beautiful cloud structures, your picture is bound to be a winner.
                            NIKON D850 @ 28mm, ISO 100, 1/800, f/6.3
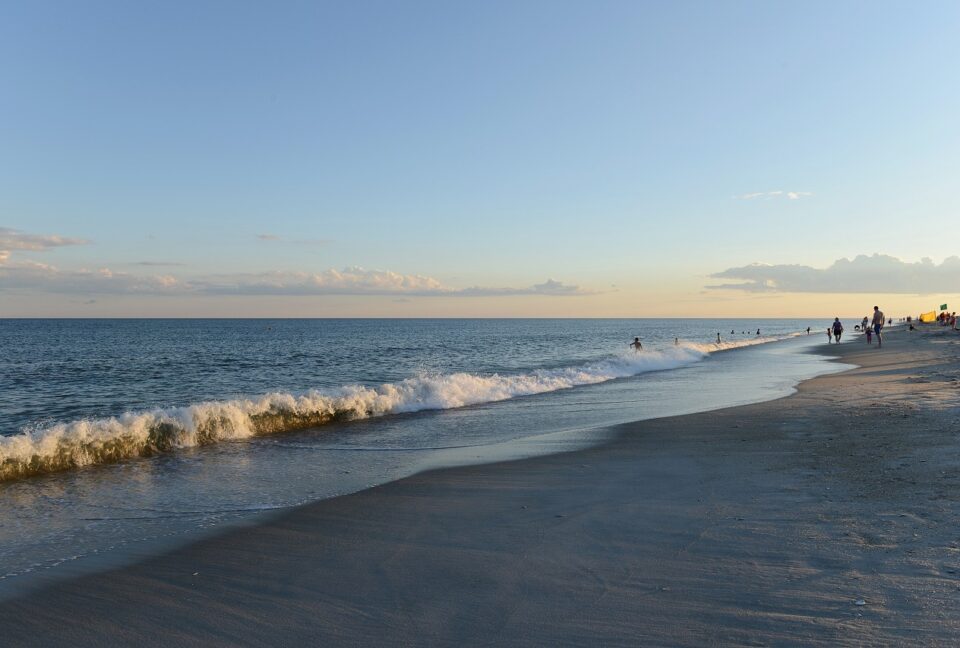
                            If it is a hot summer day, you are likely to find people at your beach. You can do all sorts of things with people photography. I tend to like my seascapes people-free, so I seldom go when lots of people are around, or if there is anyone around, I avoid putting them in my photo. I have one exception to that. If the people are very far away and small in my scene, I leave them in, as they can enhance the image quite a bit.
                            NIKON D800 @ 24mm, ISO 125, 1/100, f/8.0NIKON D800 @ 26mm, ISO 400, 1/400, f/8.0

                            تعليق


                            • #15
                              إذا كنت تريد صورًا للشاطئ، فيمكن أن توفر الأصداف والأعشاب البحرية مادة لتكوين جيد. أحب إطلاق الأمواج على الشاطئ. يمكن للصخور والحصى أن تشكل مقدمة جيدة للقطات الشاطئية أيضًا. يمكن أن يكون الشريط الرملي الجميل جزءًا رائعًا من التصوير الفوتوغرافي على الشاطئ. الكثبان الرملية دائما رائعة. كما أن الانحناء في خط الشاطئ يوفر الاهتمام أيضًا، كما هو الحال مع رصيف المراكب الصغيرة أو الرصيف الصخري الذي يبرز في الماء. إذا قمت بدمج أي من هذه الأشياء مع الهياكل السحابية الجميلة، فلا بد أن تكون صورتك هي الفائزة.

                              كاميرا نيكون D850 عند 28 مم، ISO 100، 1/800، f/6.3

                              إذا كان يومًا صيفيًا حارًا، فمن المحتمل أن تجد أشخاصًا على الشاطئ الخاص بك. يمكنك القيام بكل أنواع الأشياء باستخدام التصوير الفوتوغرافي للأشخاص. أميل إلى أن تكون المناظر البحرية الخاصة بي خالية من الأشخاص، لذلك نادرًا ما أذهب عندما يكون هناك الكثير من الأشخاص حولي، أو إذا كان هناك أي شخص حولي، فأنا أتجنب وضعهم في صورتي. لدي استثناء واحد لذلك. إذا كان الأشخاص بعيدين جدًا وصغارًا في المشهد الخاص بي، أتركهم جانبًا، حيث يمكنهم تحسين الصورة قليلاً.

                              نيكون D800 عند 24 ملم، ISO 125، 1/100، f/8.0 نيكون D800 عند 26 ملم، ISO 400، 1/400، f/8.0

                              تعليق

                              يعمل...
                              X